Illuminated Mask
Contributors:
 Gella
Gella
Gella Finishing Touches
Always remove your battery when working on your project to avoid damaging your components.
After you’ve checked your circuit, it’s time to get creative with adding some details to the mask. With the battery removed, glue the second layer of felt on the back of the mask to add some extra stability and insulate the back of the circuit.

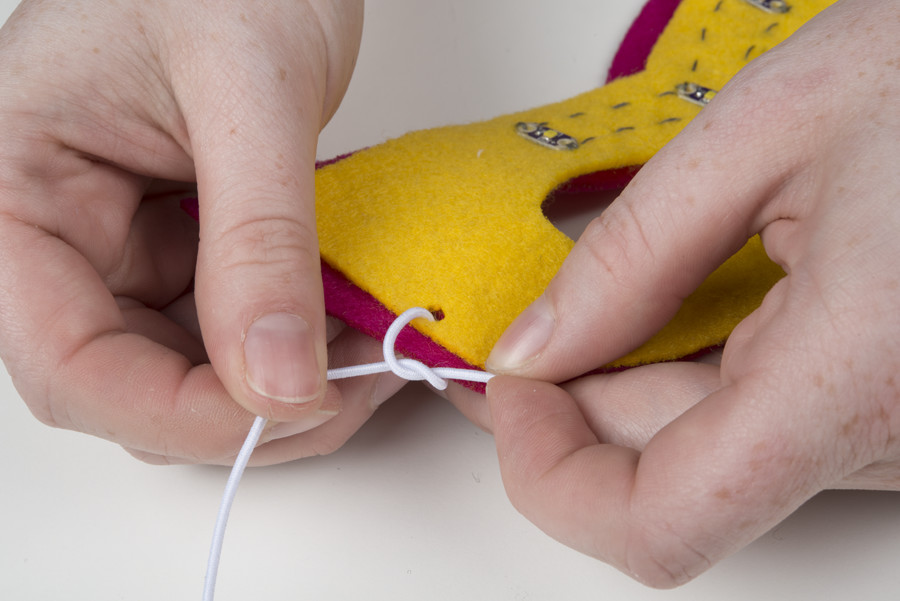
Next, cut small holes on either side of the mask with scissors or a hole punch, and tie the elastic to hold the mask on.
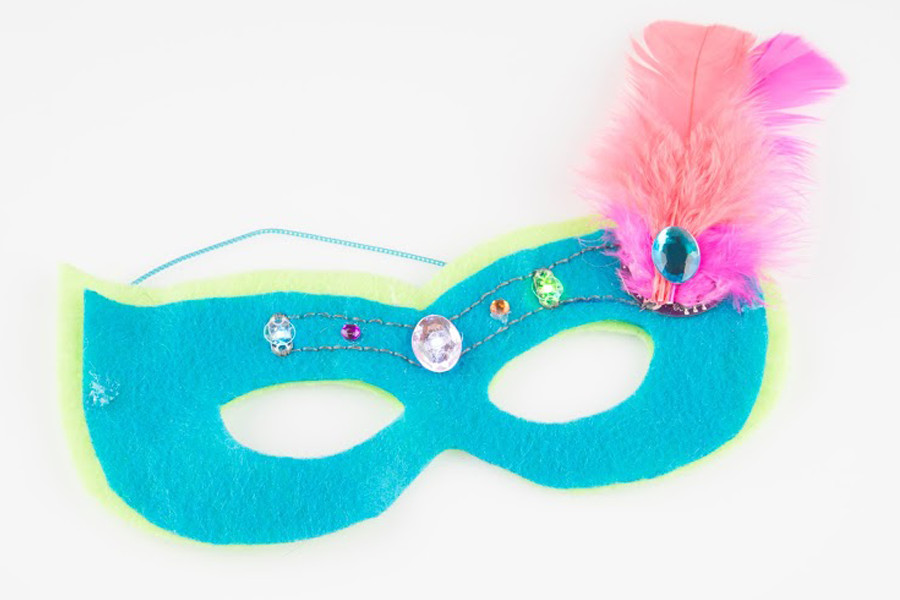
Add craft supplies such as glitter, paint, or other decorative accents to enhance or hide your LEDs and stitching. If you want to cover the battery holder on the front of the mask, feathers or big buttons can add pizzazz and hide the board. Make sure you leave an opening so you can replace the battery when necessary.
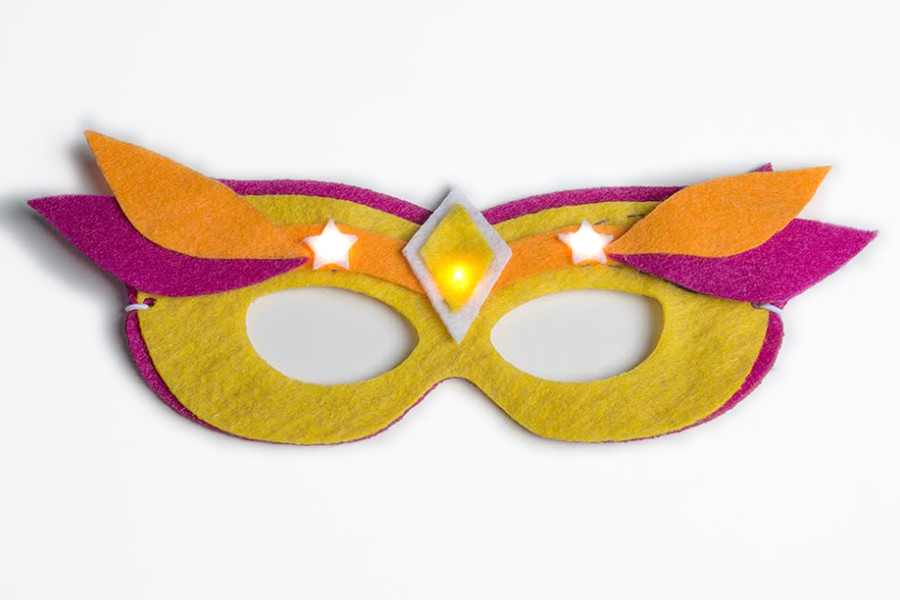
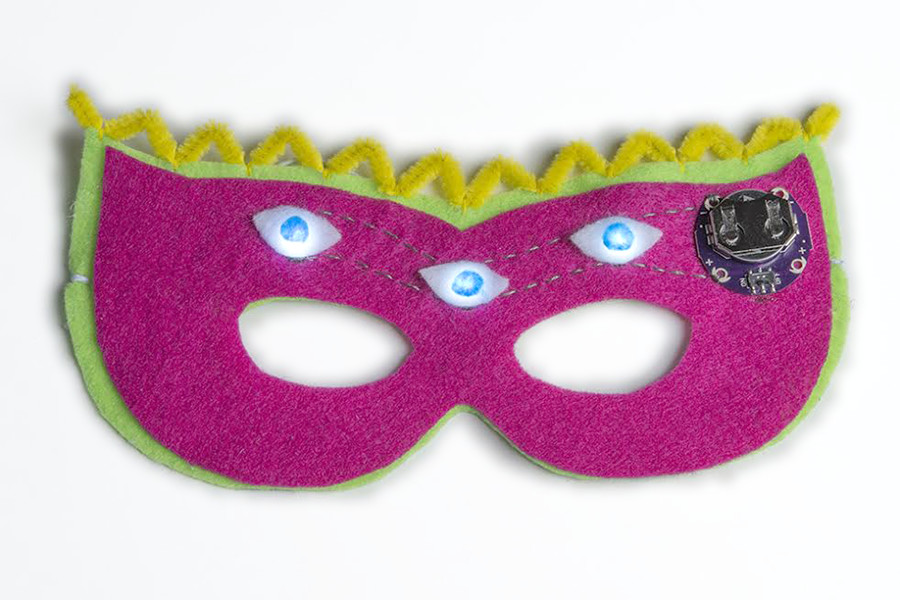
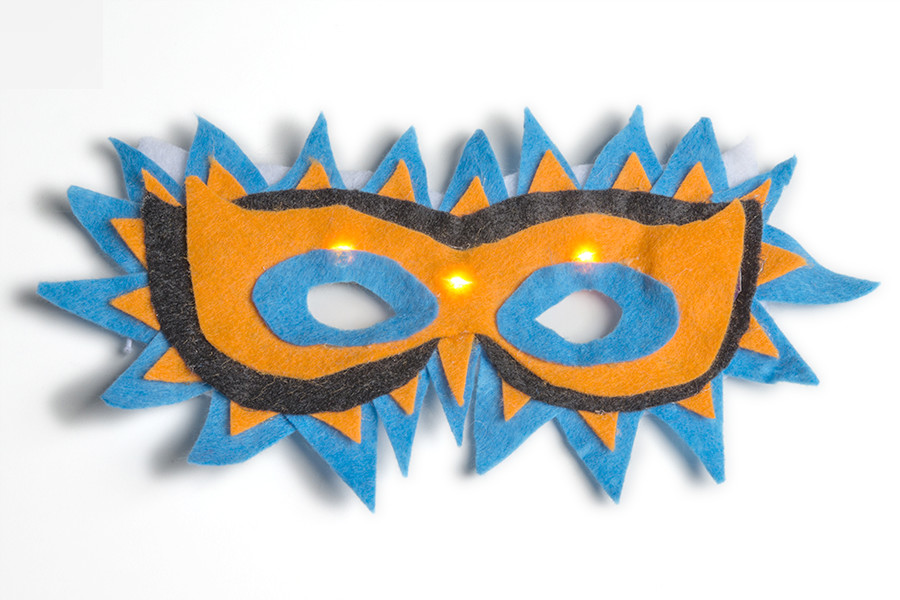
Here are a few examples of creative decorations on finished masks:

