Importing Custom Images into Eagle
 Shawn Hymel
Method 2: Import DXF
AutoCAD developed the Data Exchange Format (.DXF) to allow for sharing of files between AutoCAD and other programs. Lucky for us, newer versions of Eagle (7.7.0+) can also import DXF files. We can use that to add custom artwork to a layer.
Download Inkscape
If you don't already have it, download and install the latest version of Inkscape. You will need it for this method.
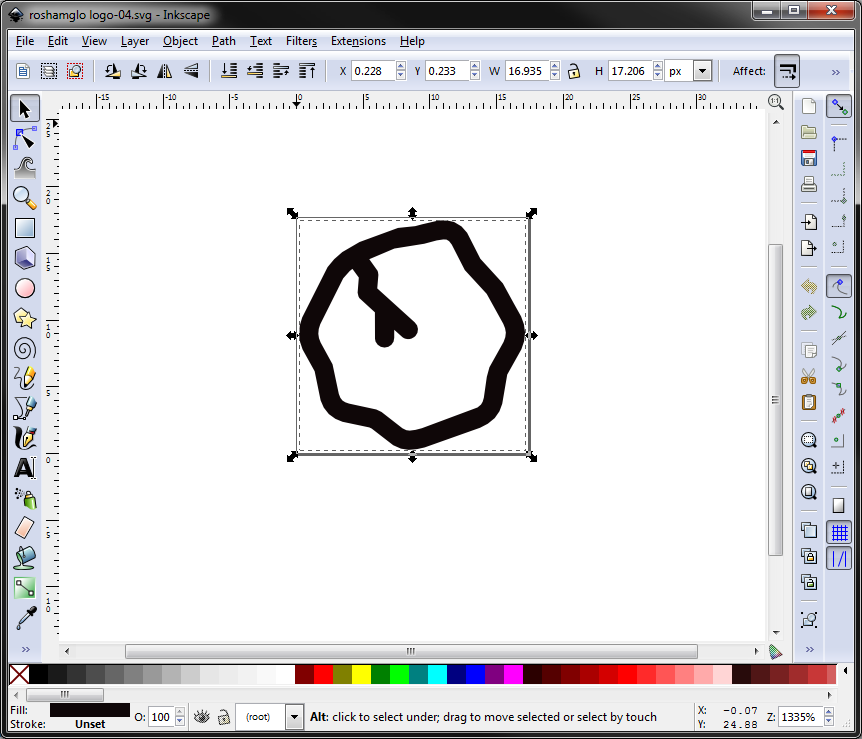
Draw or Import Image
Draw, download, import, etc. your desired image. Make sure it is a single color (we'll use black) and saved as a vector graphic (e.g. SVG). In this example, we'll import an image made with Adobe Illustrator and saved as an SVG.
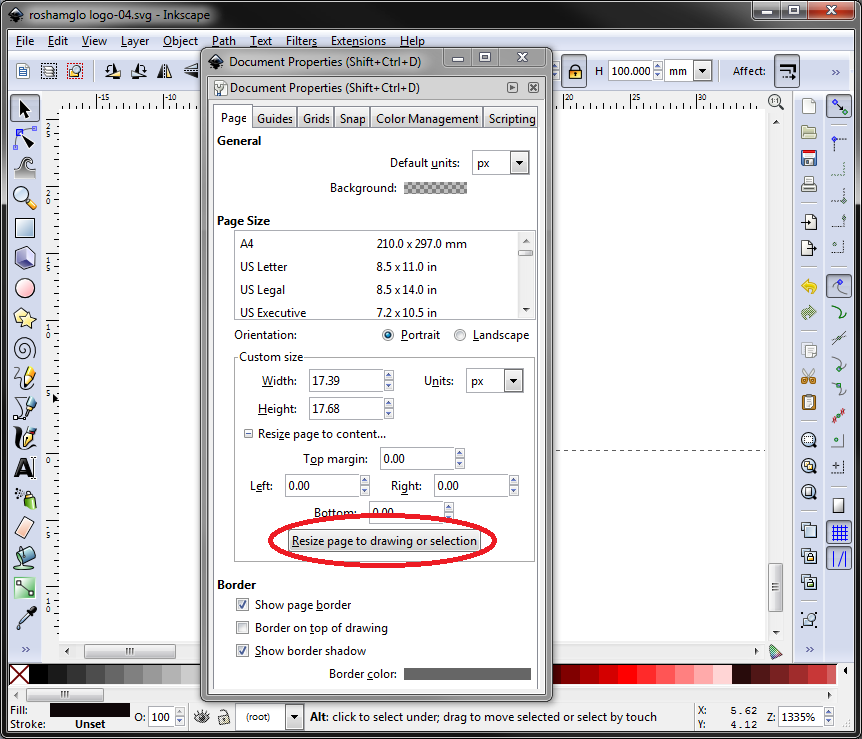
Change Image to Standard Size
Click the select tool (F1), and select Edit > Select All in All Layers (Ctrl + Alt + a).
Click the button to lock the height/width ratio.

Change the units to mm, and change height to 100.

Go to File > Document Properties..., select Resize page to content... drop down, and click Resize page to drawing or selection.
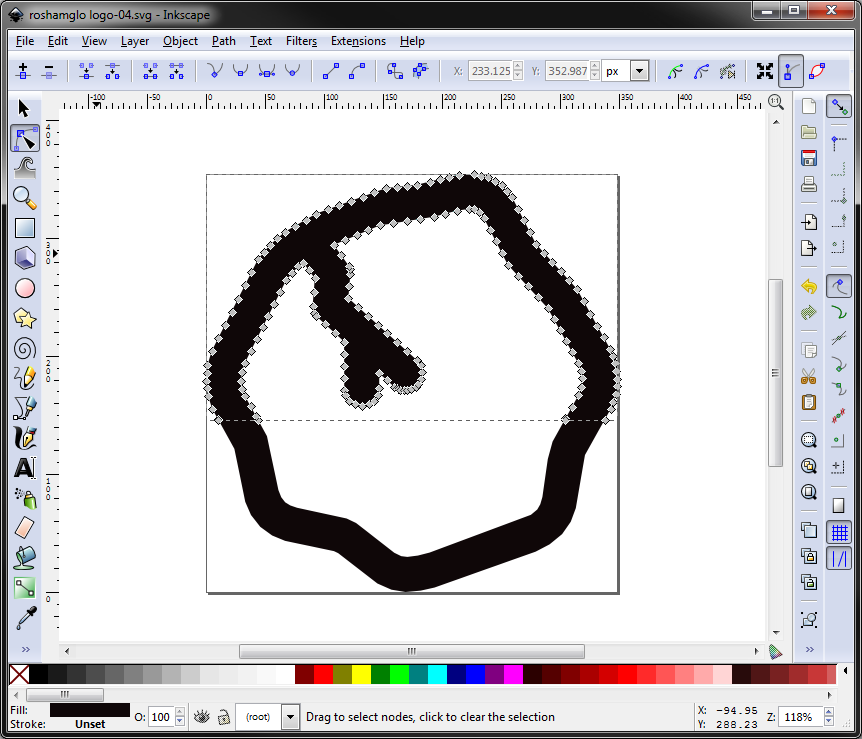
Massage Nodes
Convert the object to a path and select nodes:
- Path > Object to Path (Shift + Ctrl + c)
- Object > Ungroup (Shift + Ctrl + g) - Press this a number of times to make sure all objects have been ungrouped
- Select all nodes with the path editor tool (F2, Ctrl + a)
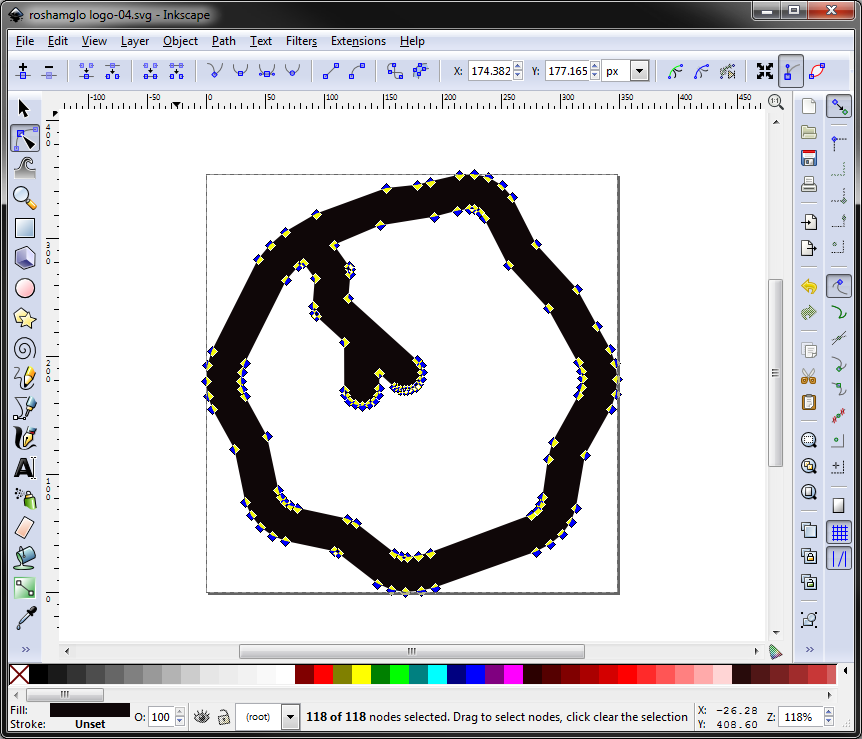
Add interpolated nodes and flatten beziers (we want straight lines for the polygon):
- Extensions > Modify Path > Add Nodes - Leave defaults, click Apply, and close the pop-up window
- Select the nodes again (F2, Ctrl + a)
- Extensions > Modify Path > Flatten Beziers - Leave defaults, click Apply, and close the pop-up window

Cut Closed Loops
Any shapes that have a closed loop or a "hole," you'll need to cut them (Eagle doesn't know how to create a polygon with a hole in it).
Draw a shape, such as a rectangle, that divides the hole.

Hold Shift, and select both the rectangle and your image. Select Path > Division (Ctrl + /). Repeat this process for any closed loops in your image, such as donuts, outlines, and letters like 'o' and 'd'. You should end up with a number of paths that make up your image.

Select all nodes with the path editor tool (F2, Ctrl + a). Click Path > Break Apart (Shift + Ctrl + k).
Export as DXF
Click File > Save As, give your file a name (make sure to include the .dxf extension!), and select Desktop Cutting Plotter (R13) (*.dxf) from the Save as type: drop-down menu. Click Save.
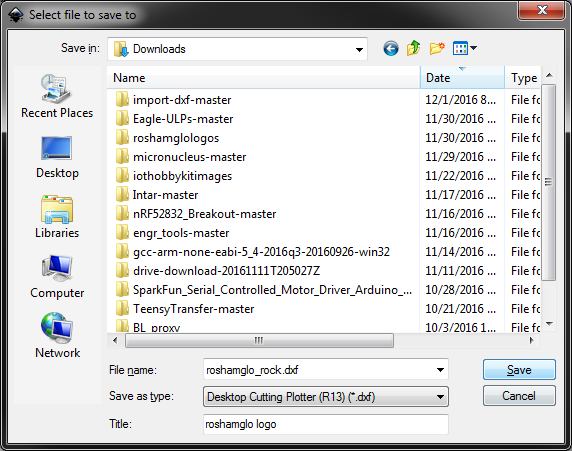
Make sure use LWPOLYLINE type of output is selected, and click OK.

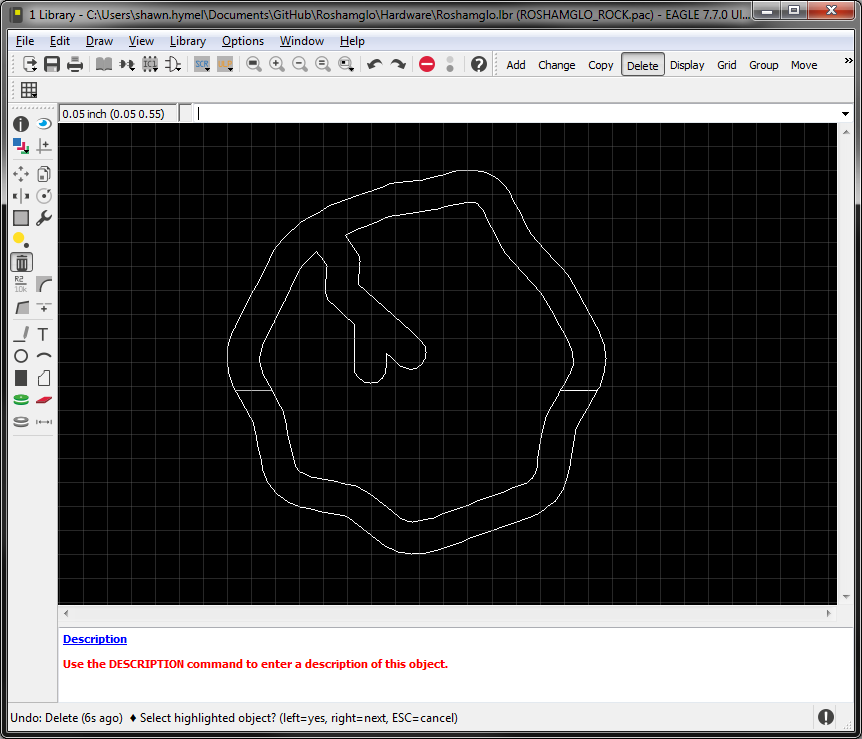
Import DXF in Eagle
Start Eagle, and either create a new footprint or open your layout where you want to import the graphic.
Enter the command
run import-dxf
Click Browse to select your DXF file. Select the target layer, and change the scale as desired.
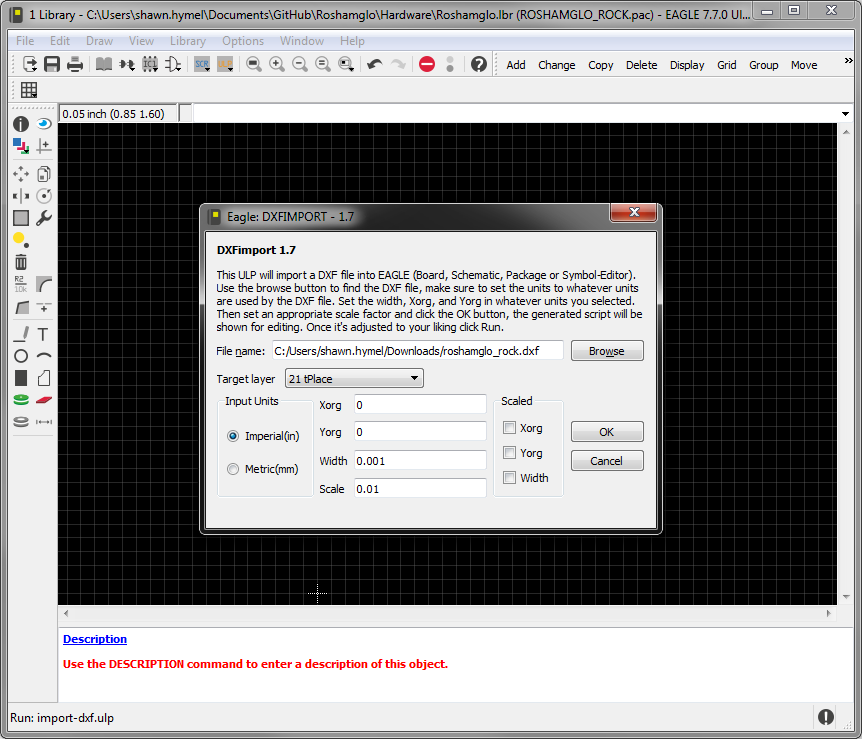
Click OK and Run on the pop-up window to import the image. Because the outline is made of lines, you can delete, move, and add lines as needed.