Installing a Bootloader on the MicroView
 jimblom
Introduction
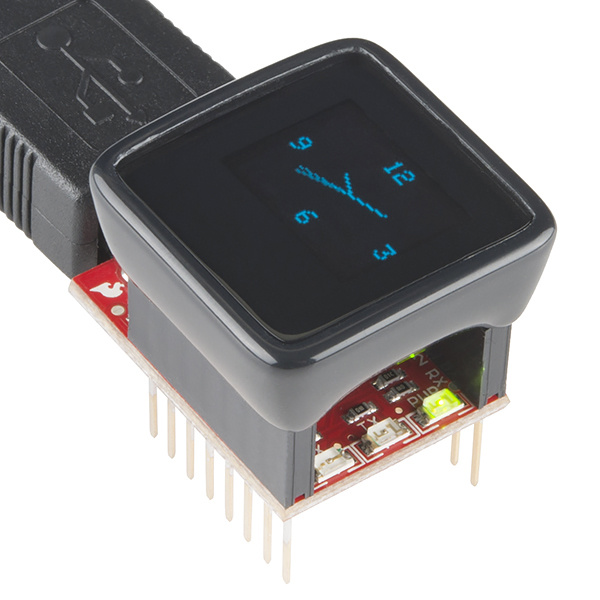
The MicroView. Such a cool concept! An Arduino, with a built-in display, fully enclosed in a beautiful, ergonomic case. Use it to create small video games, wearable electronics, or to simply explore electronics and programming. But as cool as the MicroView is, if you can't reprogram it, it's not much more than an annoyingly repetitive demo.
In August 2014, we (unknowingly at the time) sent out nearly 2000 MicroViews without bootloaders. Void of a bootloader, the MicroView is essentially un-programmable -- that exciting Arduino platform becomes a glorified paperweight.
A bootloader is a small piece of firmware, living inside a microcontroller's memory, which can write to the remaining program memory of that microcontroller. Bootloaders usually allow for easier, less expensive means for updating the program memory on a processor. Instead of specialized tools to program the device, more generic, commonly available components can be used.
One of the reasons Arduinos, like the MicroView, are so popular is because they all have a serial bootloader built into them. Instead of using an external piece of specialized hardware – in this case an AVR ISP (in-system programmer) – to program the processor, a more commonly available serial port can be used. In the case of the MicroView, that's the MicroView USB Programmer, which converts the ubiquitously available USB to serial.
If you've received a defective unit, first of all: we're so sorry! We're shipping replacements as fast as we can build them, you'll be getting one soon. In the mean time, this is a great opportunity to learn a new skill.
In this tutorial, we'll walk you through every step involved in loading a bootloader onto the MicroView: disassembling the enclosure, wiring up an assortment of programmers in a variety of ways, programming the bootloader, and testing it out.