Installing a Bootloader on the MicroView
 jimblom
Testing and Closing
We're just about back to square one. Before closing the MicroView back up, it'd be best to test it out and make sure it's bootloader-programmable.
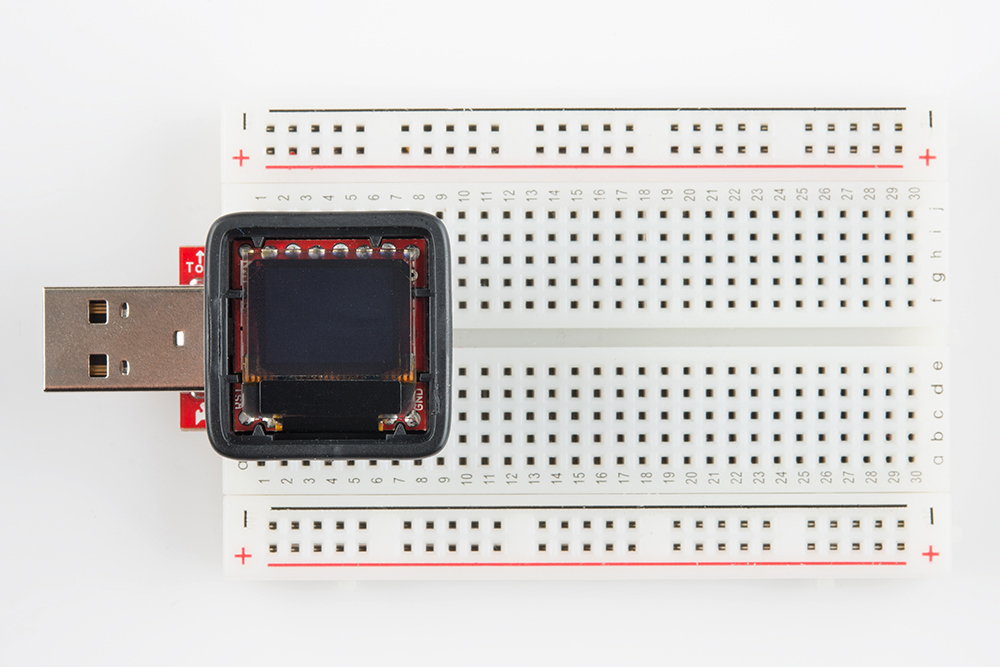
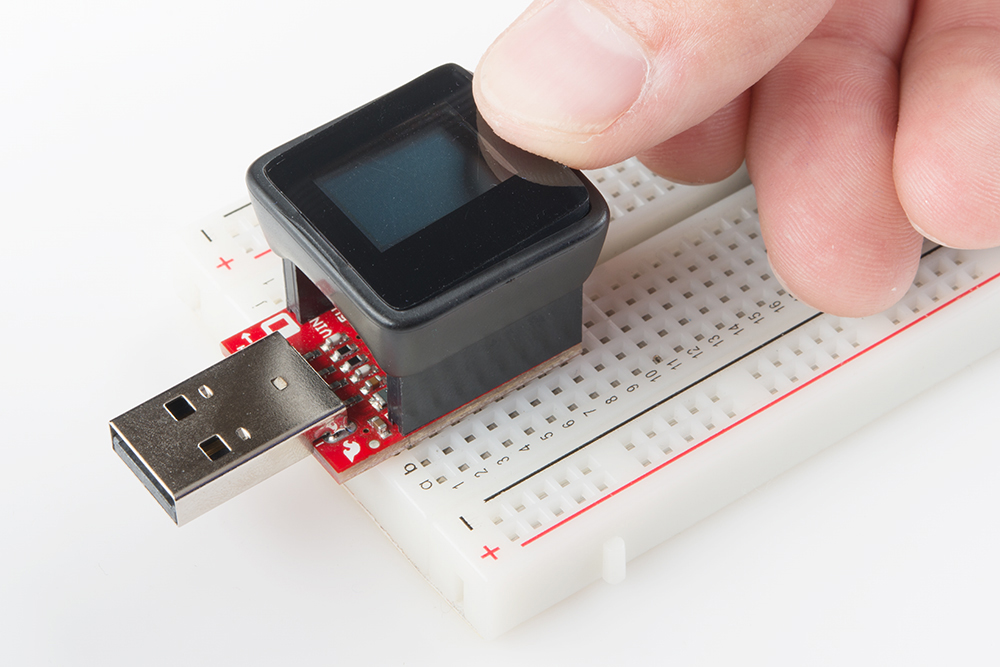
Disconnect your AVR programmer from the MicroView, plug the MicroView into your the MicroView USB Programmer (if it wasn't already), and plug your programmer into the computer.
Then repeat the Arduino programming process from the "Identifying" section. In the Arduino IDE, load up an example from the MicroView library, make sure the Serial Port and Board ("Arduino Uno") are set correctly in the Arduino IDE, and program away!
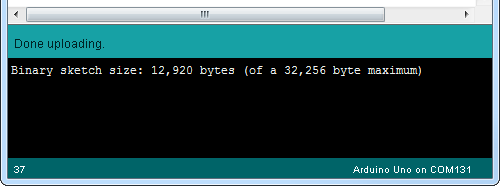
If you're greeted with a "Done uploading." message above the console, you've succeeded in reprogramming your MicroView! The MicroView Demo you've loaded should also start running. Program it again to make extra sure...
Closing the MicroView
If you soldered to any of the MicroView's vias, you'll first need to remove those jumpers from the board. Heat each joint up, and remove the wire one-by-one.
If you removed the MicroView PCB from the enclosure, put it back in. The MicroView PCB is keyed, so it should only go in one way, make sure the pairs of notches on the top and bottom of the board match up to the notches in the enclosure. Don't press down on the screen, lift it up and push the MicroView PCB into the enclosure. You should hear a snap as it clicks in, under two small clips on each side of the enclosure, which secure the PCB in place.
Next, fold the OLED back on top of the PCB. There are guides in the enclosure to hold the display in place. It should be seated just about flush with the enclosure notches on the sides and top of the display.
Before closing it up, gently wipe off the OLED to remove any fingerprints. You may also need to wipe off the bottom side of the enclosure lens as well.
Finally, close it up! The tabs of the enclosure are offset from the middle of the edge, they're closer to the inner-facing side of the lens. Slot in one tab of the enclosure lens, then press down on the opposite side to snap it in.
No one will ever know the difference!