Installing Arduino IDE
 bboyho
 b_e_n
b_e_n
Mac
This page will show you how to install and test the Arduino software on a Mac computer running OSX.
Go to the Arduino download page and download the latest version of the Arduino software for Windows if you have not already.
When the download is finished your Mac should automatically un-zip the contents. This will probably in your Downloads folder.
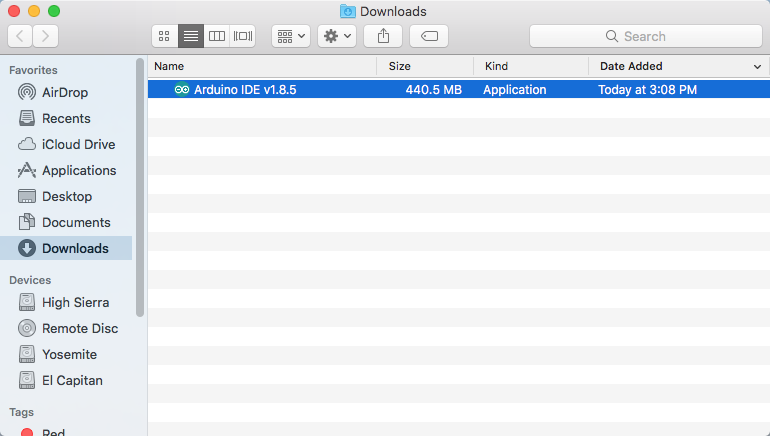
You can leave the program in the Downloads folder or move it into your Applications folder.

Connecting Your Arduino
Power up your Arduino by connecting your Arduino board to your computer with a USB cable (or FTDI cable if you're using an Arduino Pro). You should see the an LED labeled 'ON' light up. (this diagram shows the placement of the power LED on the UNO).
Drivers for Arduino Uno on Mac
For the Arduino Uno, you do not need to install drivers for Mac! You can skip on down and try uploading a blink sketch!
Drivers for RedBoard on Mac
Depending on your board, there may be different USB-to-serial converters on your board. If you are using a RedBoard you will need to go to the How to Install FTDI Drivers tutorial. If you are using the or RedBoard Qwiic, you will need to go to the How to Install CH340 Drivers tutorial. Make sure to look closely at your board and its respective hookup guide to determine USB-to-serial converter that is on board.
How to Install FTDI Drivers
June 4, 2013
How to Install CH340 Drivers
August 6, 2019
Launch and Blink!
After following the appropriate steps for your software install, we are now ready to test your first program with your Arduino board!
Launch the Arduino application wherever the program is located. If you disconnected your board, plug it back in.
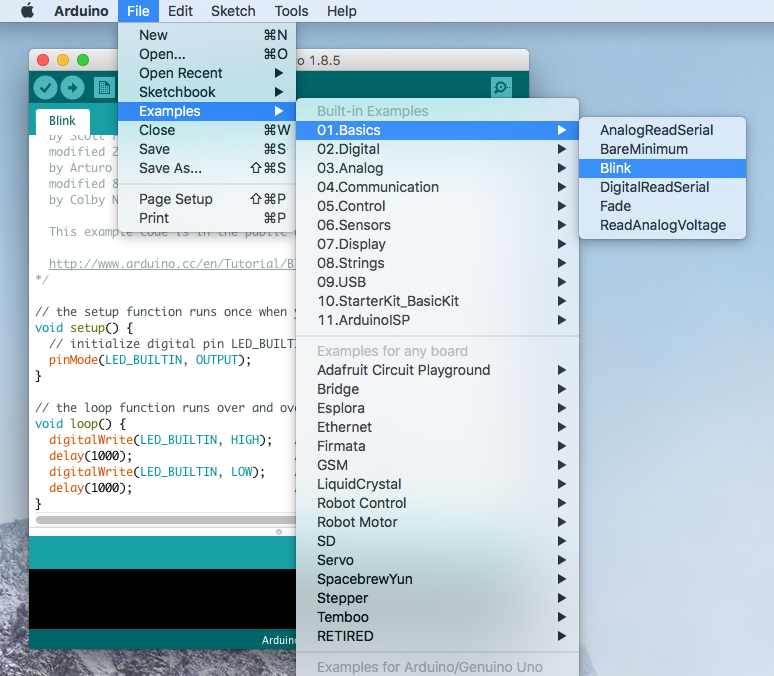
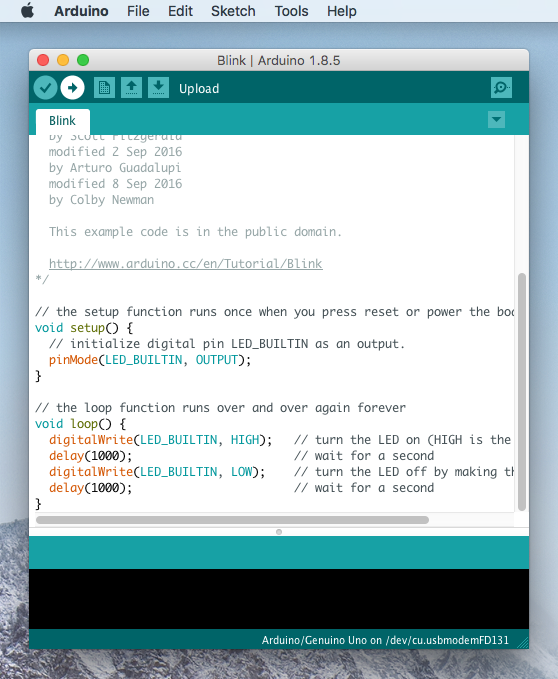
Open the Blink example sketch by going to: File > Examples > 01.Basics > Blink.
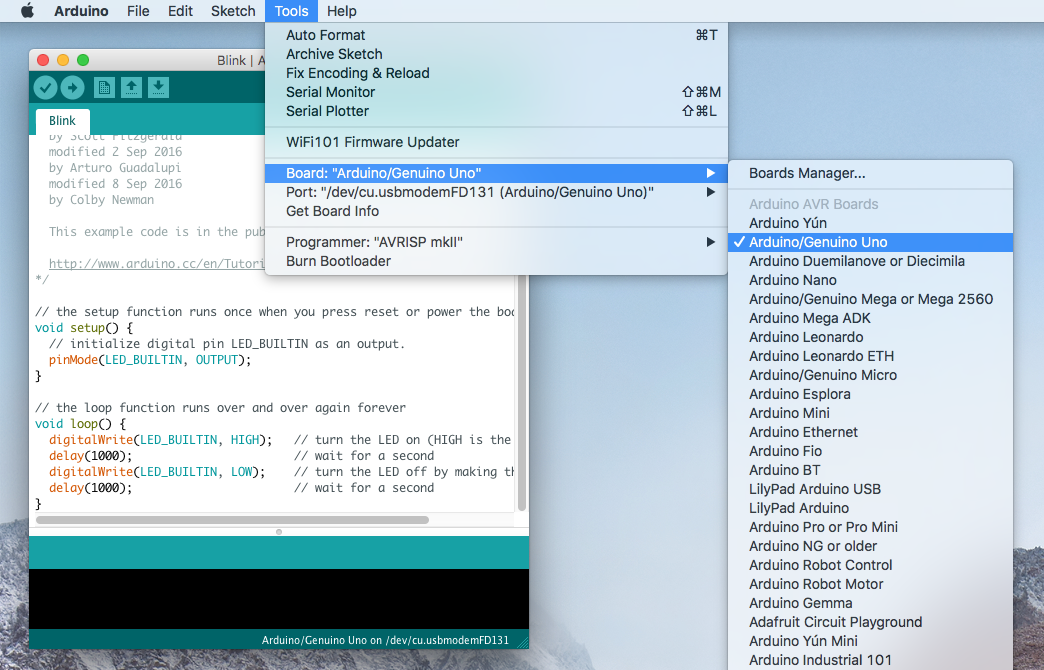
Select the type of Arduino board you're using: Tools > Board > Arduino Uno.
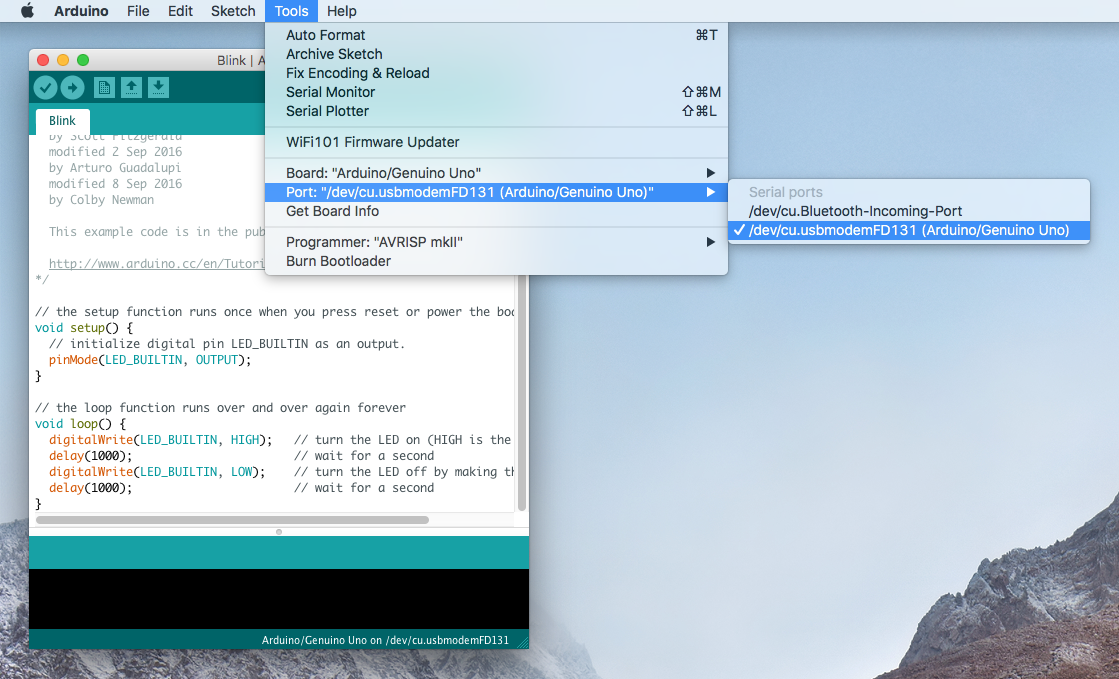
Select the serial port that your Arduino is attached to: Tools > Port > xxxxxx. It'll probably look something like "/dev/tty.usbmodemfd131" or "/dev/tty.usbserial-131" but probably with a different number. In this case, it was /dev/cu.usbmodemFD131.
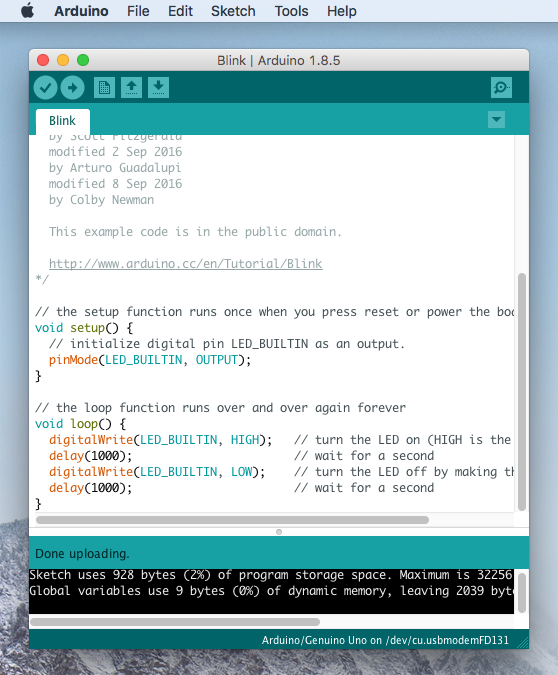
With your Arduino board connected and the Blink sketch open, press the "Upload" button.
After a second, you should see some LEDs flashing on your Arduino, followed by the message "Done Uploading" in the status bar of the Blink sketch.
If everything worked, the onboard LED on your Arduino should now be blinking! You just programmed your first Arduino!
LED_BUILTIN or pin 13 to a different value before uploading.
Troubleshooting
If you're having problems, check out this troubleshooting guide from Arduino.