Internet of Things Experiment Guide
 Shawn Hymel
Experiment 1: Temperature and Humidity Logging
One of the most basic IoT projects is to log data from a sensor to an online channel, and we're going to do just that. For the first experiment, we'll capture temperature and humidity data from a sensor and post it to our ThingSpeak channel.
Parts Needed
- SparkFun ESP8266 Thing Dev Board
- Humidity and Temperature Sensor - RHT03
- Breadboard
- M/M Jumper Wires
Hardware Hookup
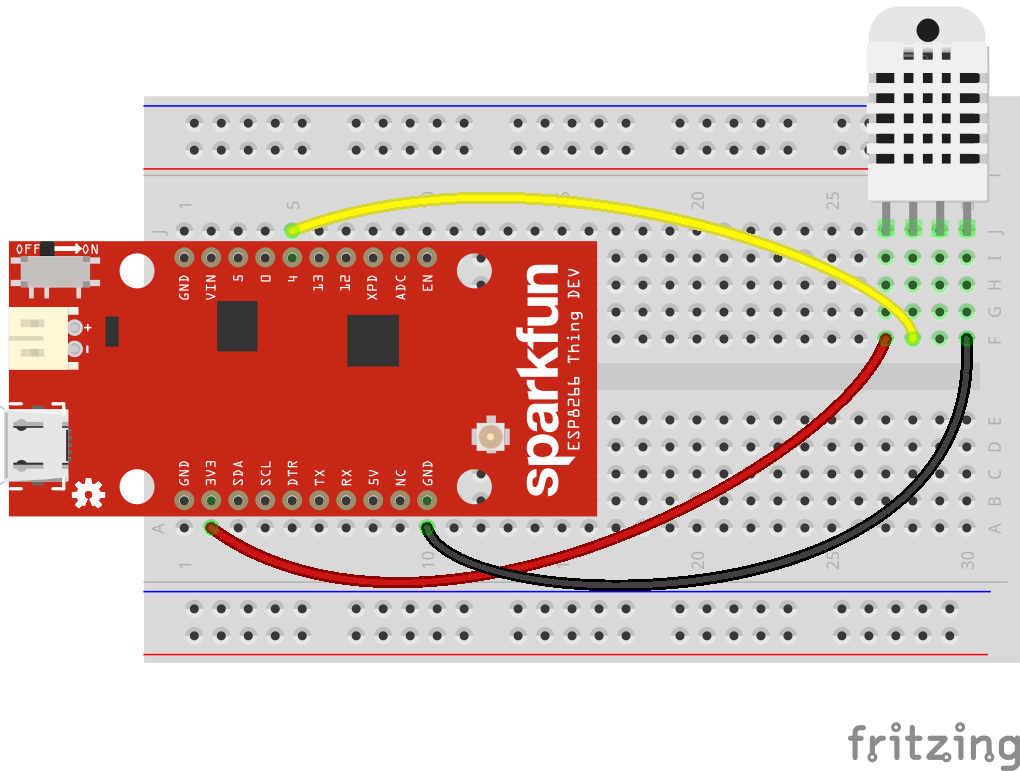
Connect the RHT03 to the Thing Dev board as shown:
Create ThingSpeak Channel
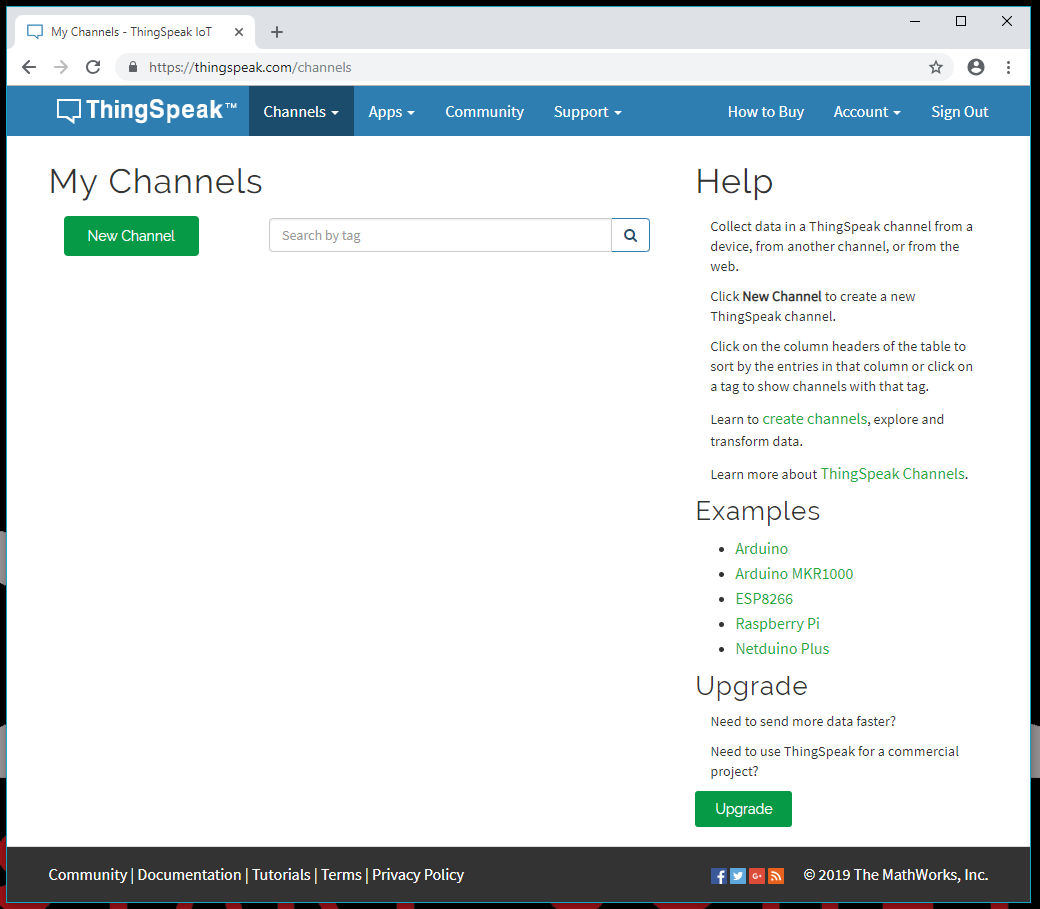
Head to thingspeak.com, sign in, and navigate to Channels > My Channels.
Click New Channel, and fill out the required information, adding fields 2 and 3 to your channel.

Scroll down to the bottom of the page, and click Save Channel.
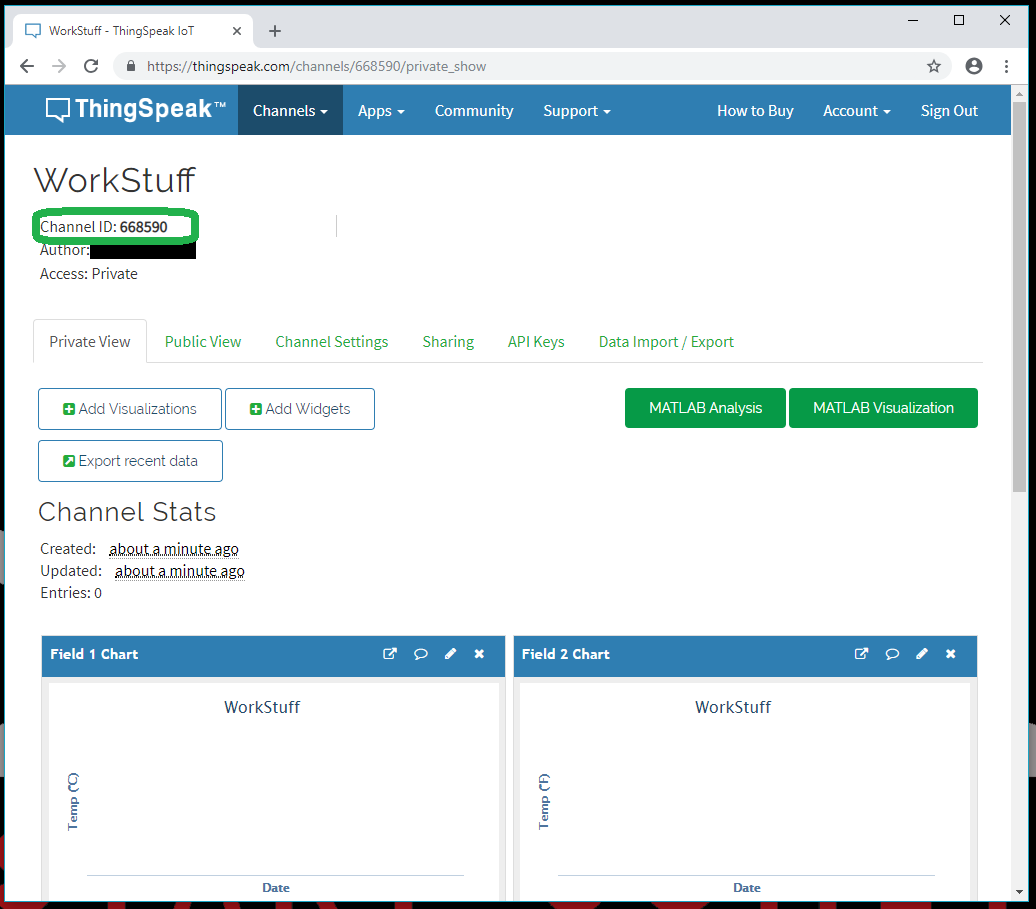
On the page that follows, copy down your Channel ID number (highlighted in the screenshot below).
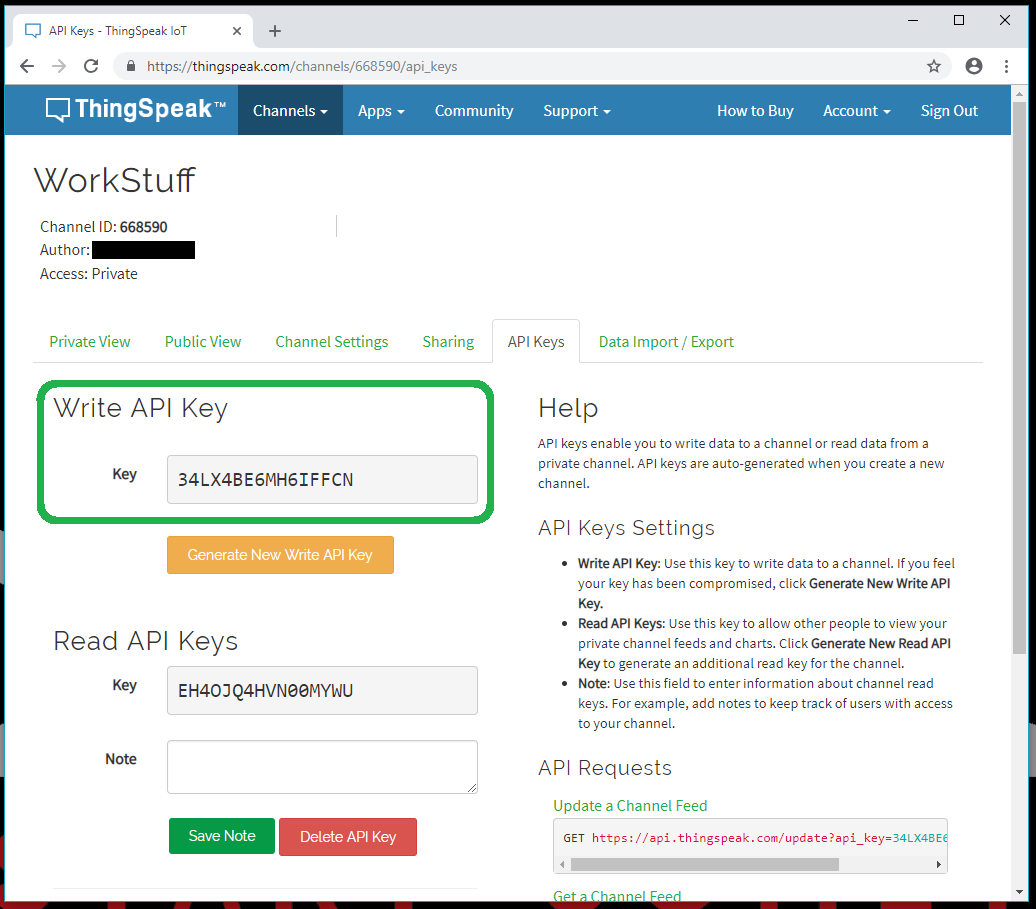
Click on API Keys and copy your Write API Key.
The Code
Note: This example assumes you are using the latest version of the Arduino IDE on your desktop. If this is your first time using Arduino, please review our tutorial on installing the Arduino IDE.
If you have not previously installed an Arduino library, please check out our installation guide.In a new Arduino sketch, copy in the code below (make sure you have the ThingSpeak library and the RHT03 library installed!). In the code, find the section under // WiFi and Channel parameters, and change <YOUR WIFI SSID>, <YOUR WIFI PASSWORD>, <THINGSPEAK CHANNEL ID>, and <THINGSPEAK WRITE API KEY> to your WiFi network's name, password, ThingSpeak Channel ID, and Write API Key, respectively.
language:c
/**
 * IoT Kit - Temperature and Humidity Logger
 * Author: Shawn Hymel (SparkFun Electronics)
 * Date: October 30, 2016
 *
 * Log temperature and humidity data to a channel on
 * thingspeak.com once every 20 seconds.
 *
 * Connections:
 *   Thing Dev |  RHT03
 *  -----------|---------
 *      3V3    | 1 (VDD)
 *        4    | 2 (DATA)
 *      GND    | 4 (GND)
 *
 * Development environment specifics:
 *  Arduino IDE v1.6.5
 *  Distributed as-is; no warranty is given.
 */

#include <ESP8266WiFi.h>
#include <SparkFun_RHT03.h>
#include "ThingSpeak.h"

// WiFi and Channel parameters
const char WIFI_SSID[] = "<YOUR WIFI SSID>";
const char WIFI_PSK[] = "<YOUR WIFI PASSWORD>";
unsigned long CHANNEL_ID = <THINGSPEAK CHANNEL ID>;
const char * WRITE_API_KEY = "<THINGSPEAK WRITE API KEY>";

// Pin definitions
const int RHT03_DATA_PIN = 4;
const int LED_PIN = 5;

// Global variables
WiFiClient client;
RHT03 rht;

void setup() {

  // Set up LED for debugging
  pinMode(LED_PIN, OUTPUT);

  // Connect to WiFi
  connectWiFi();

  // Initialize connection to ThingSpeak
  ThingSpeak.begin(client);

  // Call rht.begin() to initialize the sensor and our data pin
  rht.begin(RHT03_DATA_PIN);
}

void loop() {

  // Flash LED to show that we're sampling
  digitalWrite(LED_PIN, LOW);

  // Call rht.update() to get new humidity and temperature values from the sensor.
  int updateRet = rht.update();

  // If successful, the update() function will return 1.
  if (updateRet == 1)
  {

    // The tempC(), tempF(), and humidity() functions can be
    // called after a successful update()
    float temp_c = rht.tempC();
    float temp_f = rht.tempF();
    float humidity = rht.humidity();

    // Write the values to our ThingSpeak channel
    ThingSpeak.setField(1, temp_c);
    ThingSpeak.setField(2, temp_f);
    ThingSpeak.setField(3, humidity);
    ThingSpeak.writeFields(CHANNEL_ID, WRITE_API_KEY);
  }
  else
  {

    // If the update failed, try delaying for some time
    delay(RHT_READ_INTERVAL_MS);
  }

  // Turn LED off when we've posted the data
  digitalWrite(LED_PIN, HIGH);

  // ThingSpeak will only accept updates every 15 seconds
  delay(20000);
}

// Attempt to connect to WiFi
void connectWiFi() {

  byte led_status = 0;

  // Set WiFi mode to station (client)
  WiFi.mode(WIFI_STA);

  // Initiate connection with SSID and PSK
  WiFi.begin(WIFI_SSID, WIFI_PSK);

  // Blink LED while we wait for WiFi connection
  while ( WiFi.status() != WL_CONNECTED ) {
    digitalWrite(LED_PIN, led_status);
    led_status ^= 0x01;
    delay(100);
  }

  // Turn LED off when we are connected
  digitalWrite(LED_PIN, HIGH);
}
Run It!
When you upload and run the Arduino code on the Thing Dev Board, it should connect to your WiFi and begin sending data to ThingSpeak about once every 20 seconds. You'll see data points appearing in the charts in your channel under the Private View tab.

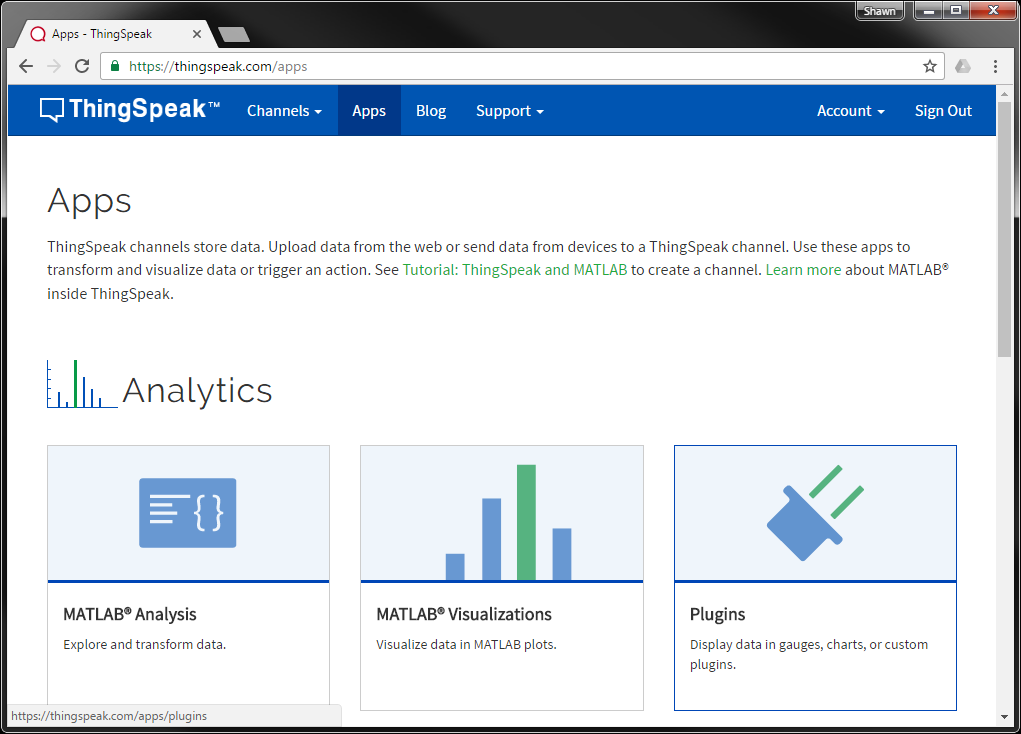
Challenge
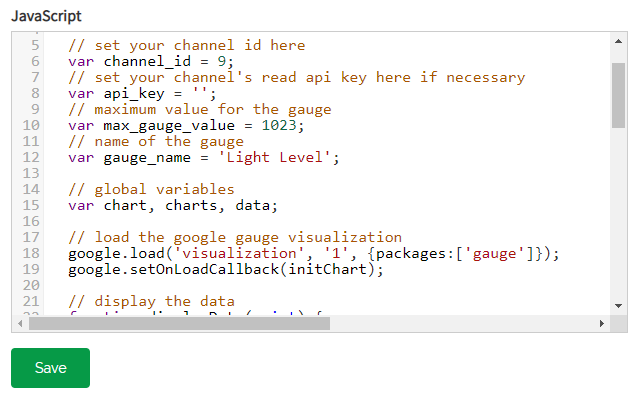
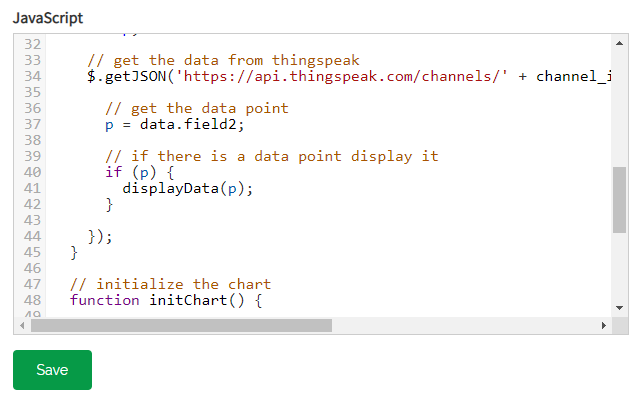
If you go to the Apps tab and select Plugins, you'll be able to create an embeddable widget for your data channel. If you're familiar with HTML, JavaScript and CSS, you can customize these widgets to do things like display a chart with multiple series.
See if you can create a gauge plugin, modify it so it shows the temperature in Fahrenheit, and display it on your channel.

Click on the images for a closer look.