IOIO-OTG Hookup Guide
 Joel_E_B, Ytai
 Hardware Assembly
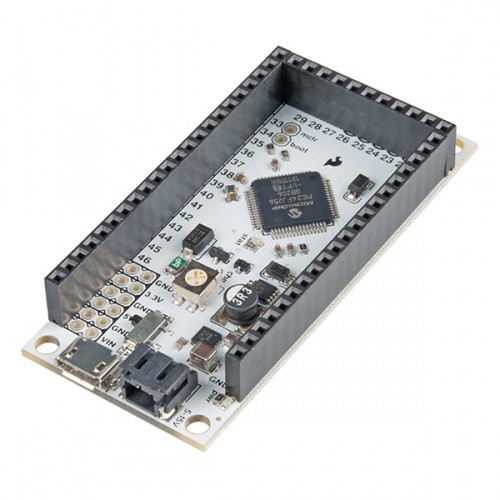
This section will cover attaching hardware to your IOIO-OTG. The examples in this tutorial will only be making use of the on-board LED found on the IOIO. However, the techniques you learn to control the on-board LED will translate to a multitude of other hardware such as buttons, motors, switches and knobs.
To make attaching other hardware to your IOIO, you'll want to solder on some headers. If you have never soldered before, we have a great guide to get you started. We recommend using female headers.
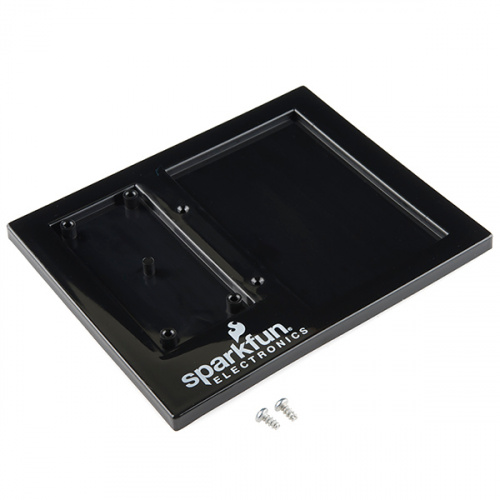
One additional part that may make your IOIO development that much easier is the IOIO and Breadboard Holder Base Plate. Similar to our Arduino and Breadboard Base Plate, this allows you to attach your IOIO and a breadboard to the same plate, making cicuit building easier and adding durability to your project. The holder comes with screws for attaching the IOIO.
With all the hardware suggestions in this section added, your platform should look something like this:
