IR Communication
Transmitting IR Example
In this example, your Arduino and an IR LED imitate an IR remote to control an appliance (TV, stereo, etc.). In order to control your appliance with the LED, you need to know what type of IR protocol your appliance uses. The easiest way to find this out is to have the remote that comes with the appliance. This example receives a remote key press with the TSOP382 IR receiver, copies the data, then sends it out of the IR LED.
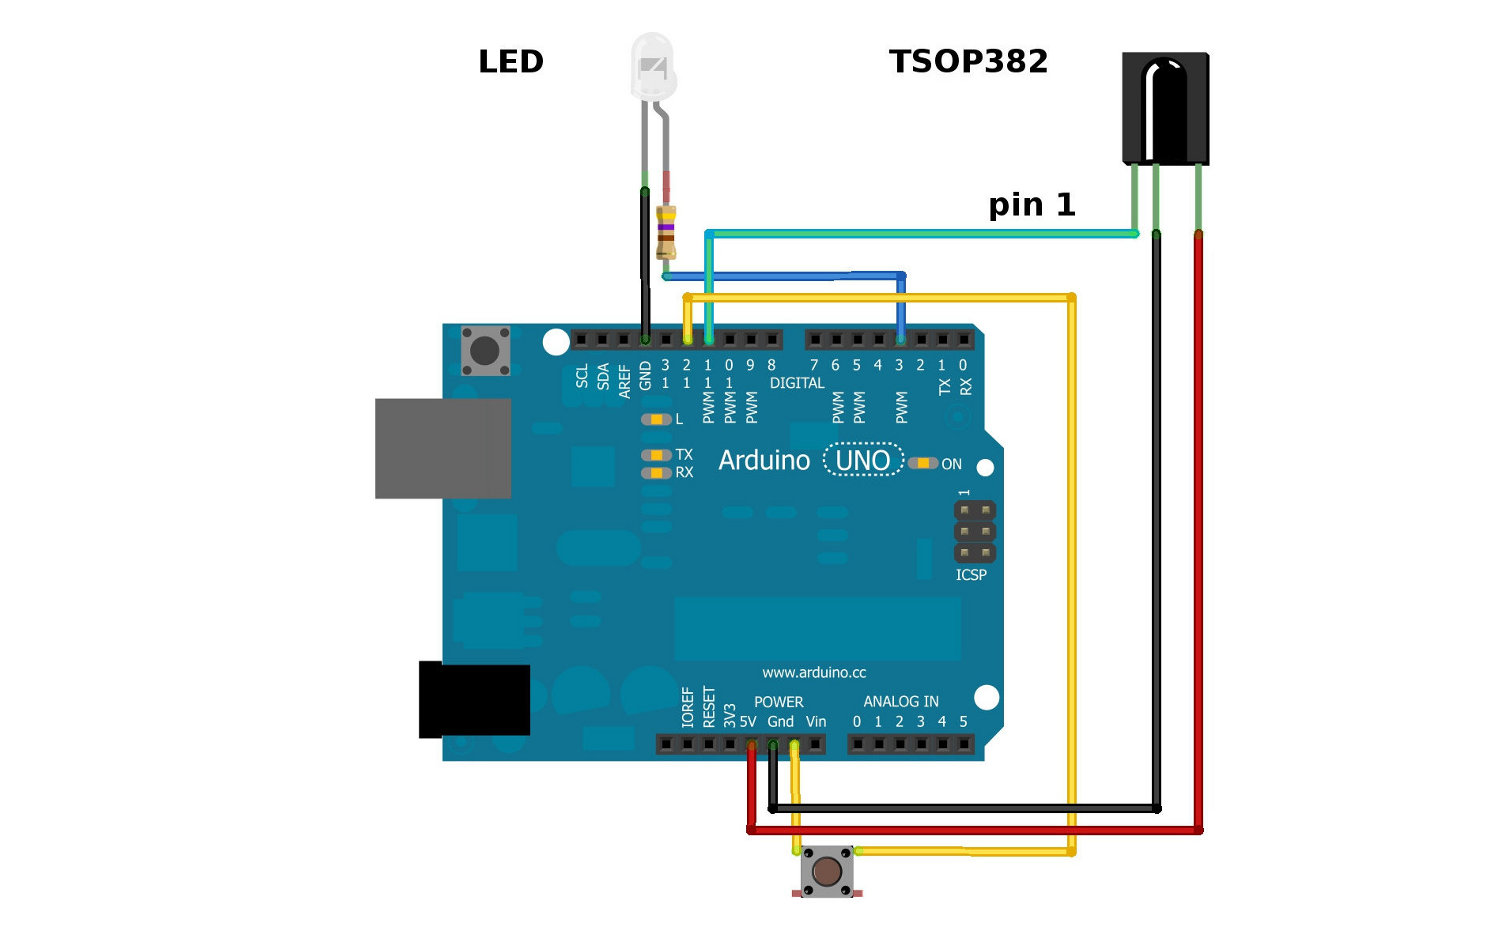
Assuming that you have the IRremote library, go to your Arduino project directory: Arduino/libraries/IRremote/examples/IRrecord and open the IRrecord.ino. Upload the sketch to your Arduino.
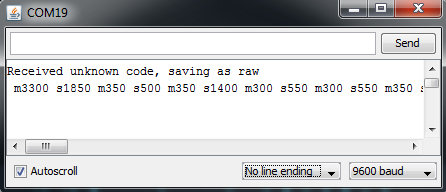
After you have loaded the sketch, open the Arduino serial monitor to 9600bps. Point your remote directly at the TSOP382 and hit a button. You should see specific codes in the terminal window, corresponding to the button you hit on the remote.
Now if you point the LED at your appliance and hit the push button that is connected to your Arduino, the code for the button press on your remote will be sent. Once you know which codes correspond to each button, you can create your own remote with the Arduino and IR LED.
For example, the transmitting IR example circuit received an unknown code when the volume up button on my Panasonic remote was hit. The data bytes on the second line are the raw codes displayed as mark and space timings for the volume up command.
If you received an unknown code and want to send it, use this line in your Arduino sketch:
language:c
irsend.sendRaw(rawCodes, codeLen, 38);
If you don’t have the appliance’s remote or if you are lucky enough to have a remote that uses a common protocol, then you can try the pre-loaded manufacturer codes from the IRSendDemo.ino example in the IRremote library.
For example, if you have a Sony TV and want the LED to turn your TV on/off, you can use this piece of code:
language:c
for (int i = 0; i < 3; i++)
{
    irsend.sendSony(0xa90, 12); // Sony TV power code
    delay(40);
}
Different appliance manufacturers use different protocols to send commands. This is why you have to define the manufacturer of the appliance to use this library. Also, note that the Sony command needs to be sent three times using a for() loop. Every protocol will have its own intricacies. A good reference for un-official commands to common IR protocols can be found on San Bergmans' website:
There are a few common protocols the IR Arduino library supports. They are: NEC, Sony SIRC, Philips RC5, Philips RC6, and raw formats. Here are the methods you can use in your Arduino code for different manufacturers:
language:c
void sendNEC(unsigned long data, int nbits);
void sendSony(unsigned long data, int nbits);
void sendRC5(unsigned long data, int nbits);
void sendRC6(unsigned long data, int nbits);
void sendDISH(unsigned long data, int nbits);
void sendSharp(unsigned long data, int nbits);
void sendPanasonic(unsigned int address, unsigned long data);
void sendJVC(unsigned long data, int nbits, int repeat);
void sendRaw(unsigned int buf[], int len, int hz);
You will need to fill in the data and nbits fields with a information specific to the protocol you are using. More information on how use this feature can be found in the IR Arduino library blog post (see the "Details of the sending library" section).
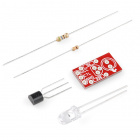
If you want to drive an IR LED properly, consider using the IR LED with a transistor and resistor that was used in the design of the old SparkFun Max Power IR LED kit. To control, simply provide it with voltage (5V), ground, and connect the CTL pin to a digital pin on your Arduino, and you can drive this kit just like a normal LED. However, a 330Ω attached to your IR LED should give about 10 feet of range.