Jetson Nano + Sphero RVR Mash-up (PART 1)
 D___Run___
SparkFun Hardware
With the Jetson Nano Dev kit mounted to the topper plate it was now time to start to build out the rest of my system's hardware. I used a combination of SparkFun hardware from both the JetBot as well as the Autonomous Kit for the RVR.
SparkFun Servo pHAT
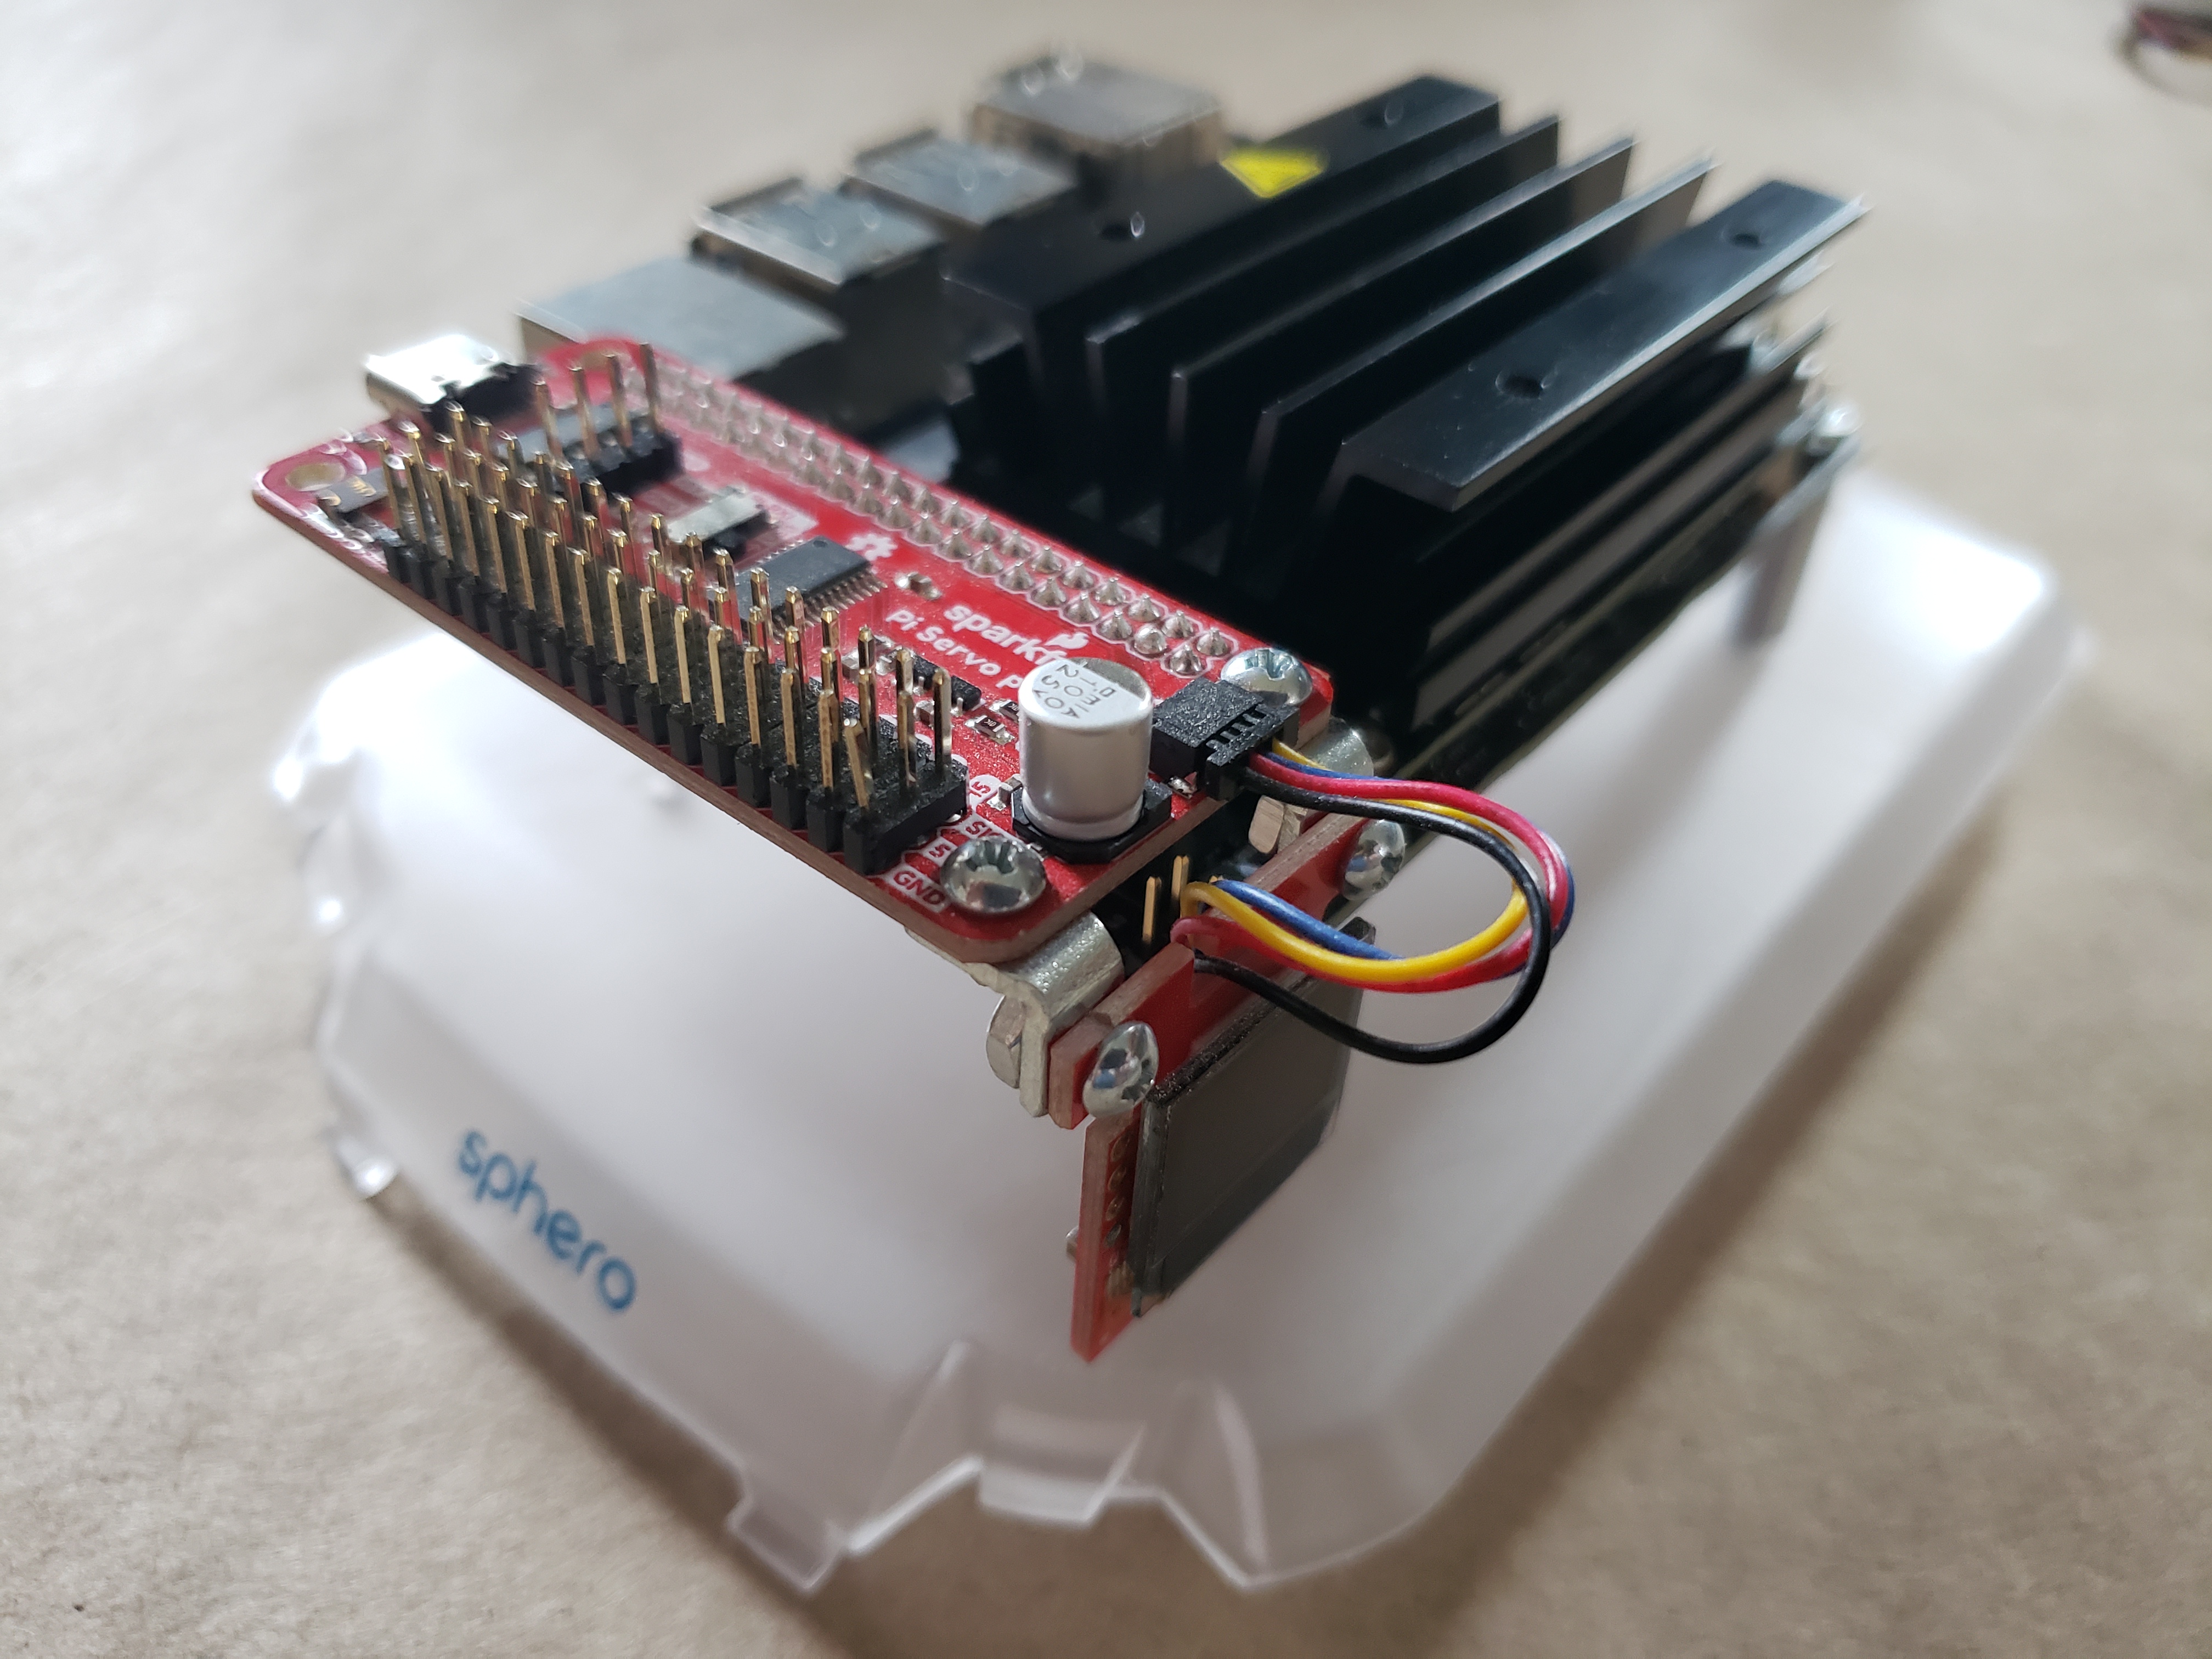
The crux of this project is the SparkFun Servo pHAT.
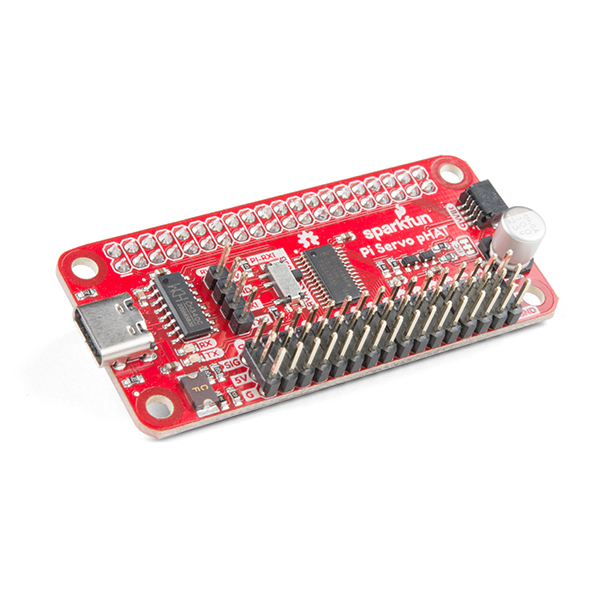
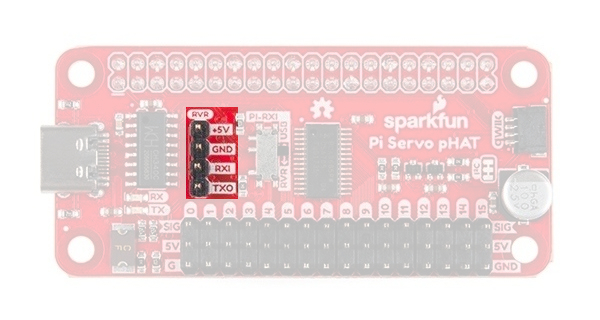
This pHAT enables a number of things for this project. Probably the most important is that it gets us access to a 4 pin UART connection to enable clean and straightforward wiring for the UART communication wires between the Nano and the RVR.
It is also how we are going to provide power to the Jetson Nano through the USB-C connector as well as other peripheral hardware using the Qwiic connector on it as well.
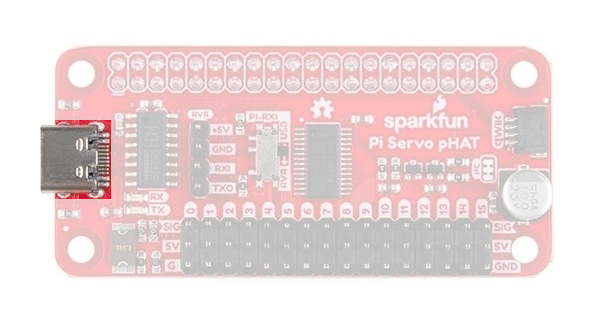
We use this connector for power rather than the USB or barrel jack power supply on the Jetson Nano Developer Kit so that we have access to raw power for both the Qwiic boards but more importantly any other hardware we want to hook up such as servo motors, etc.
Micro OLED Breakout (Qwiic)
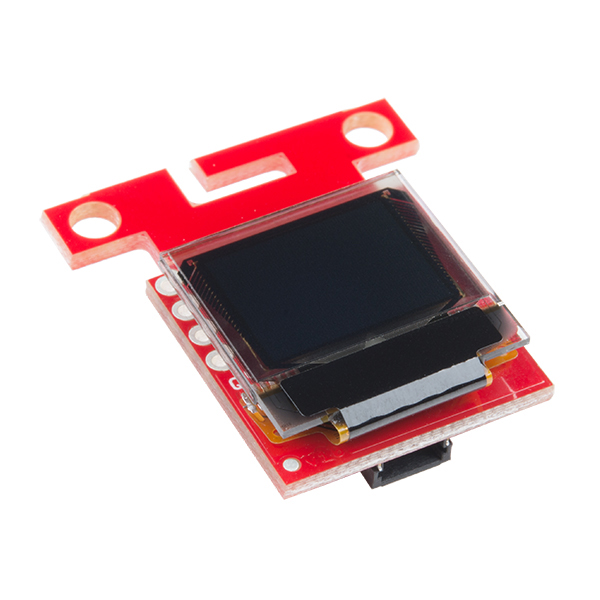
If you own a JetBot kit, you know that the OLED display is a really handy part of the bot. The JetBot uses the OLED to print out important information about the JetBot's network connection, CPU and memory usage as well as its IP address. This is really handy when you need to access and program your robot through the Jupyter Notebooks application which you can access via a browser pointed at the JetBot's IP address. More on that in the programming tutorial!
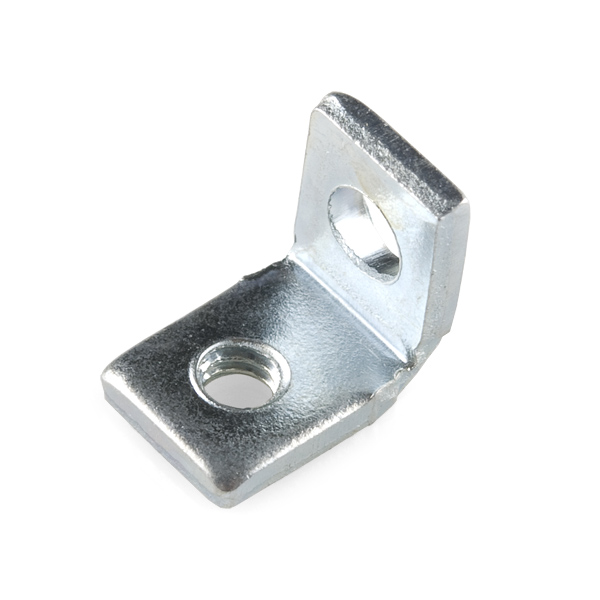
Mounting the display was a tricky problem for this project, but with some ingenuity and a few 90 degree mounting brackets I found a good place to put it that is out of the way, but still accessible and visible.
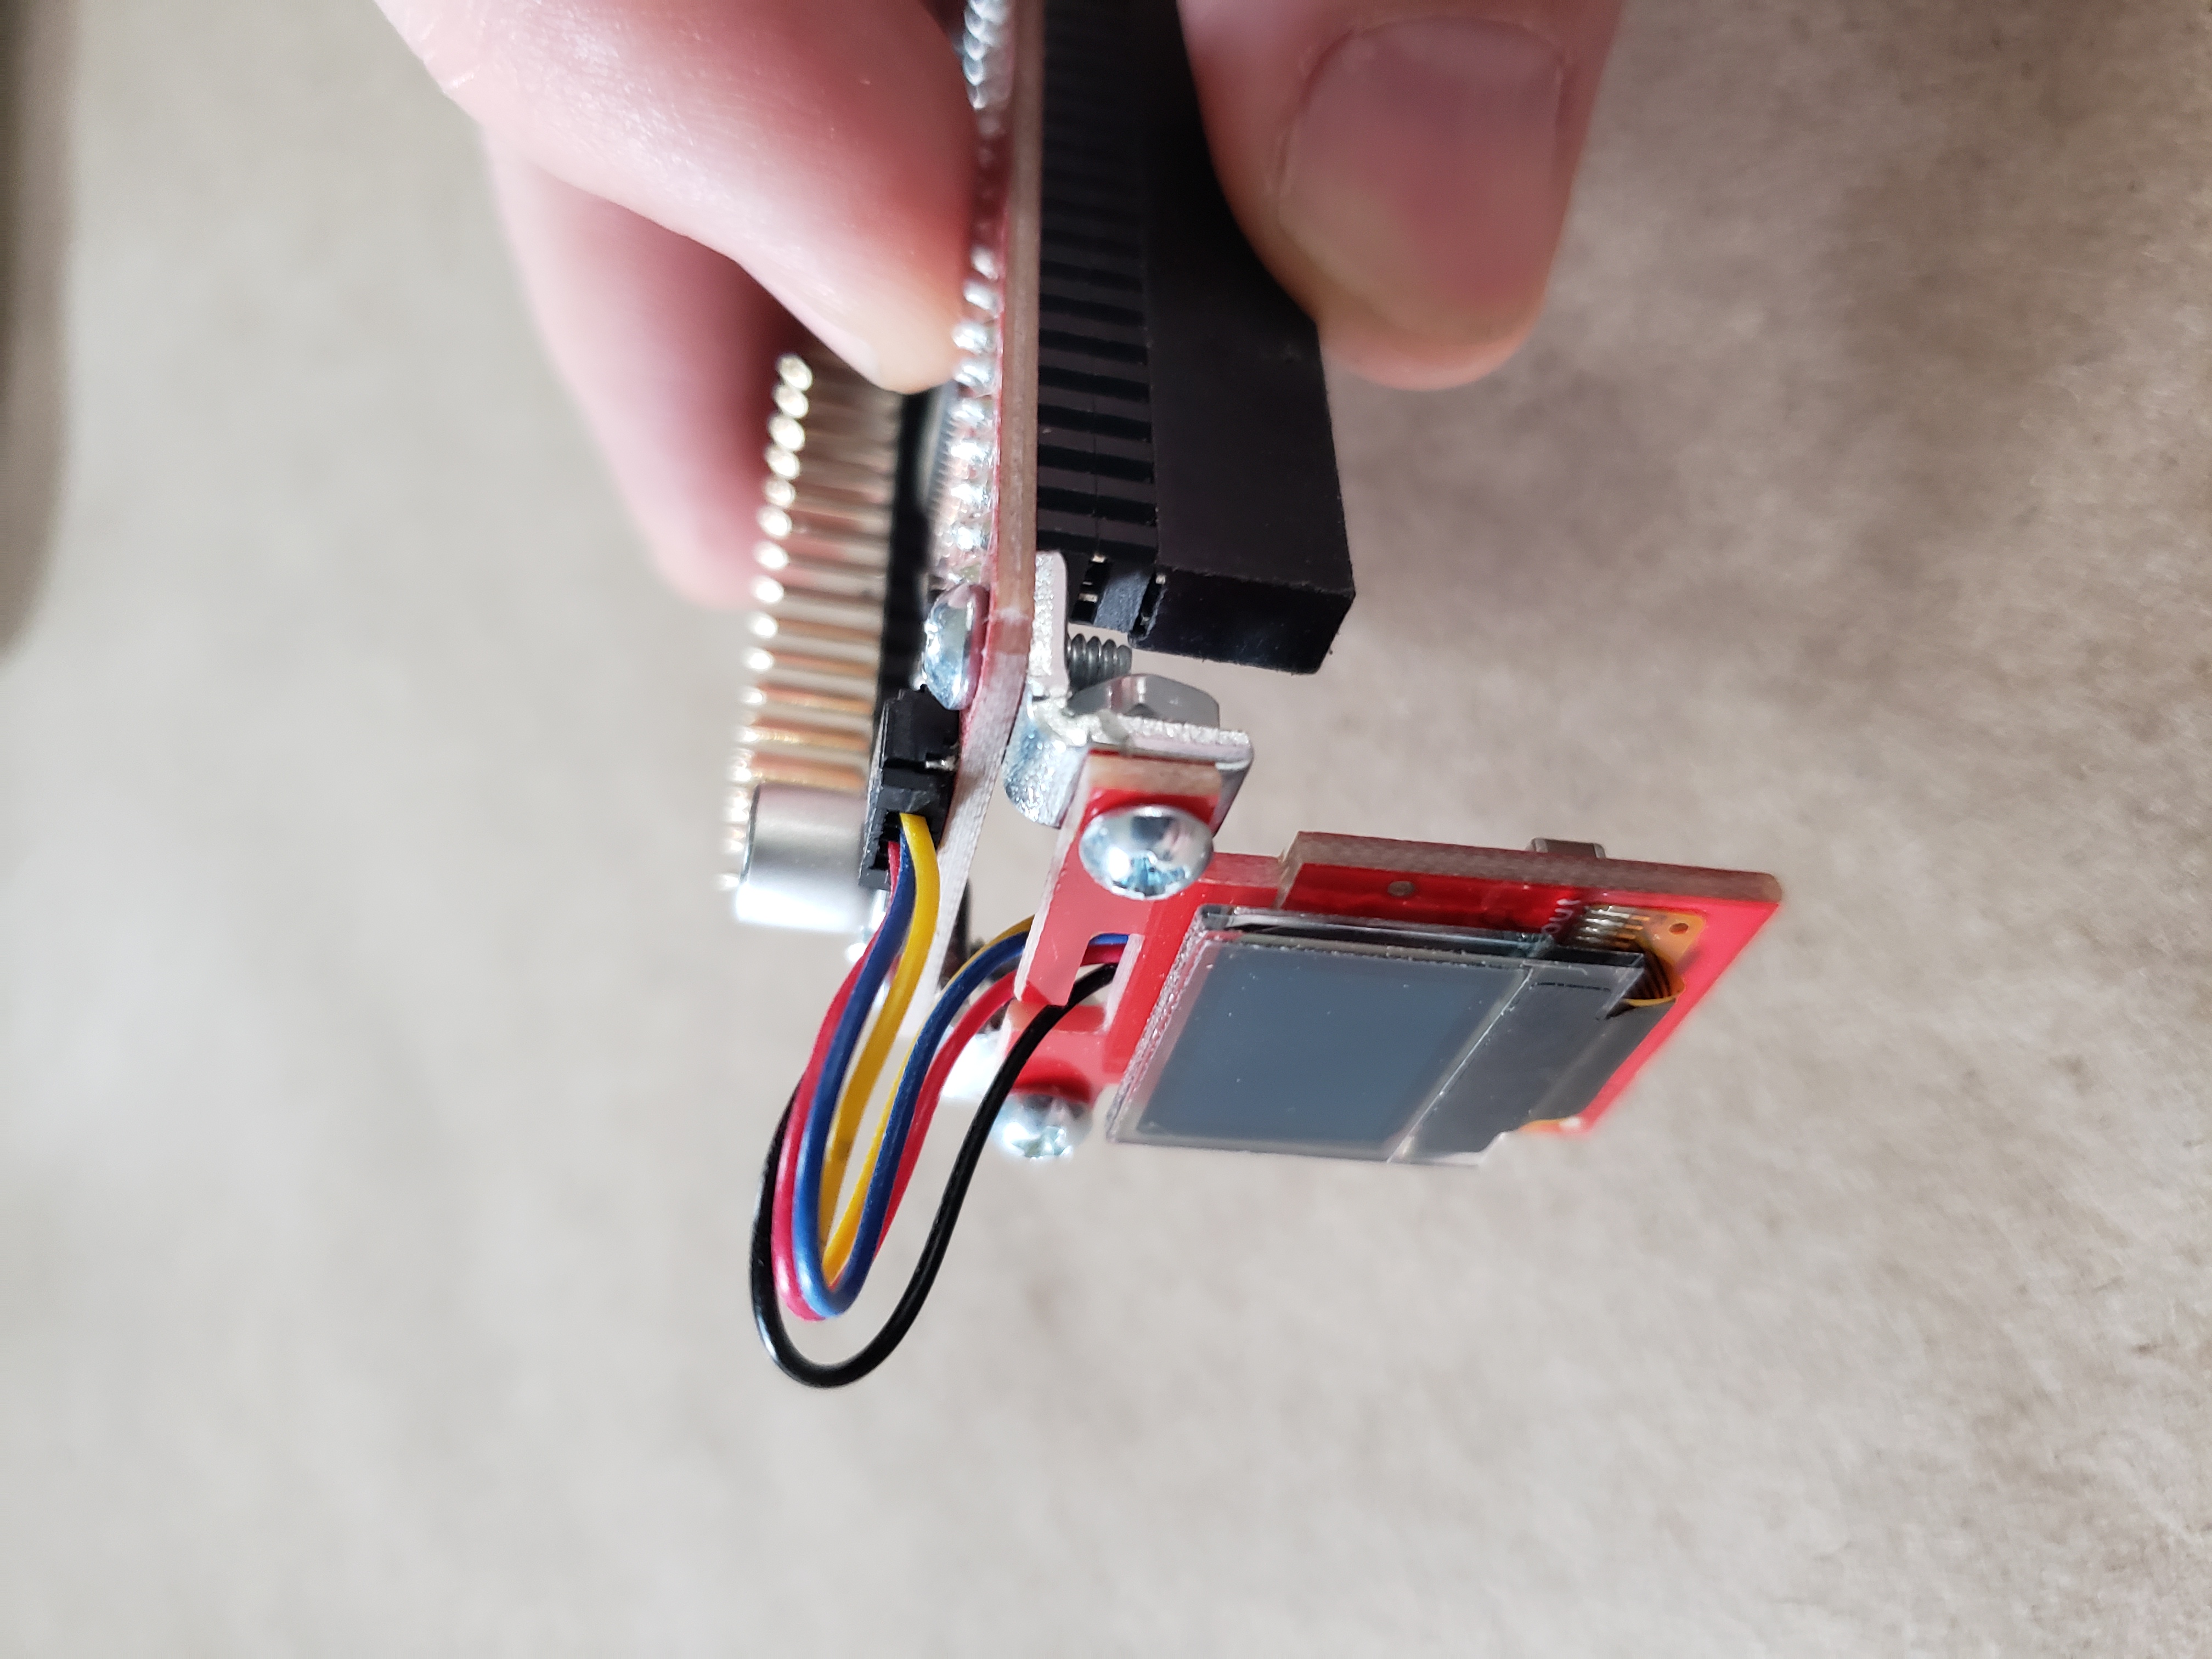
These 90 degree brackets are one thing that I used that was not included in one of the two kits I started with.
With the display mounted to the Servo pHAT and connected to it via a Qwiic cable I placed the pHAT on the Jetson Nano Dev kit as shown.