Jetson Nano + Sphero RVR Mash-up (PART 2)
Contributors:
 D___Run___
Introduction
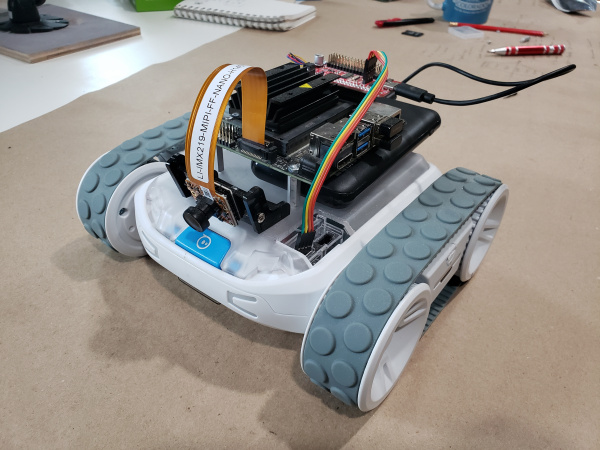
Welcome to the second part of our two part tutorial around mashing up two robotics kits; our SparkFun JetBot AI Kit v2.1 Powered by Jetson Nano and our SparkFun Advanced Autonomous Kit for Sphero RVR into a single robot project.
In the first tutorial we assembled the robot from parts and pieces from the two kits on top of a Sphero RVR, using it as our driving base and offloading the computation and control to the NVIDIA Jetson Nano. As a recap here are the steps we took to get this far:
- Mounted the Jetson Nano on the standard topper plate for the RVR.
- Combined and assembled the Qwiic pHAT and Qwiic OLED on the Jetson Nano.
- Mounted and hooked up the camera.
- Add the microSD card with the JetBot image and Edimax WiFi Adapter to the Nano.
- Added a battery and powered up the NVIDIA Jetson Nano.
If you have not yet built up your own, or are curious about any of these steps please refer back to the hardware assembly tutorial for this project.
Jetson Nano + Sphero RVR Mash-up (PART 1)
April 23, 2020
We took two of our biggest robotics partnerships from the previous year and shazamed them together into one robot to rule them all!
