LDK Experiment 6: Microcontroller Circuits
 Dia
Dia 
Negative Traces
This is the homestretch! The negative side of this circuit will be one long trace, so make sure your thread is long enough!
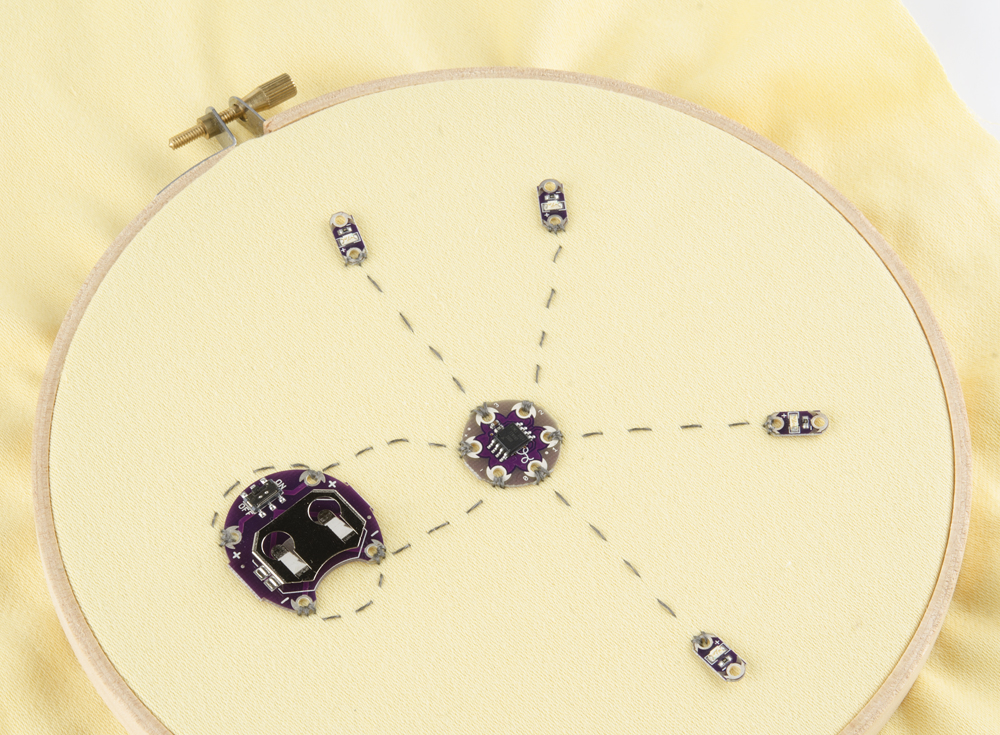
Just like you did on the positive side, sew down both pins of the battery pack, then extend that trace to the negative pin of the Tiny board. Unlike the positive side, you don't need to knot and cut the thread here; you'll be continuing this trace.
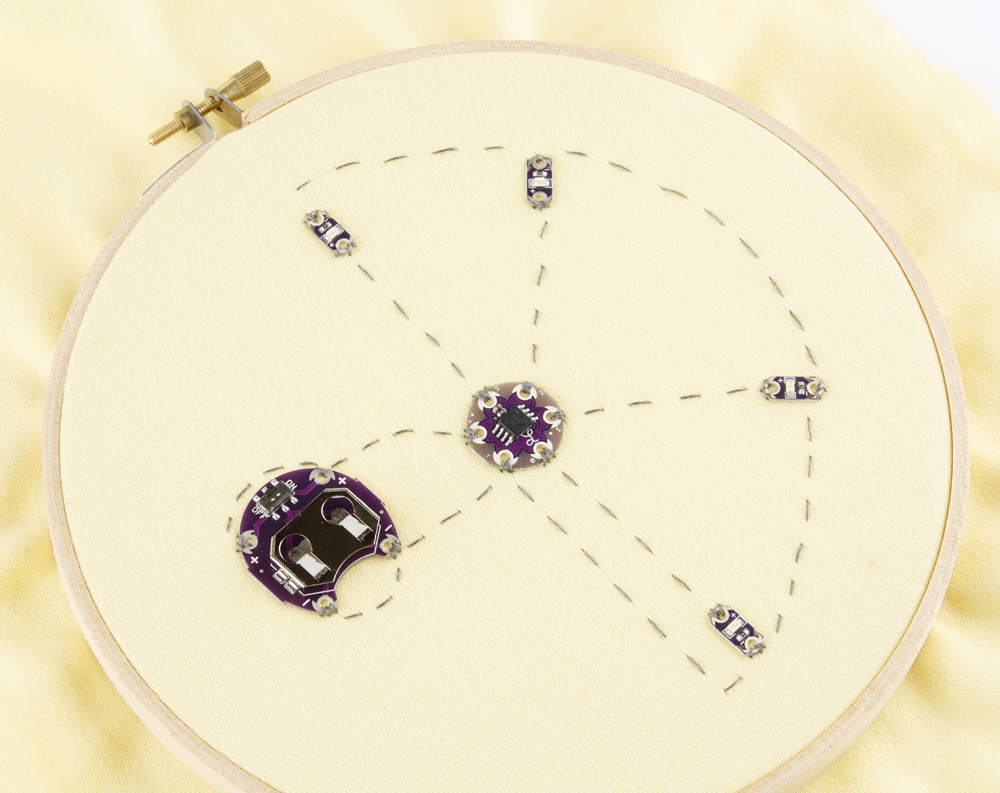
Extend the line of stitching from the negative pin of the Tiny board to the negative pin of the nearest LED, being very careful to parallel the positive trace without touching it. Continue this trace around the outer perimeter of the LEDs, connecting all of the negative pins as you encounter them. When you get to the last LED, knot and cut your thread -- there's no need to bring it back around to the battery pack.
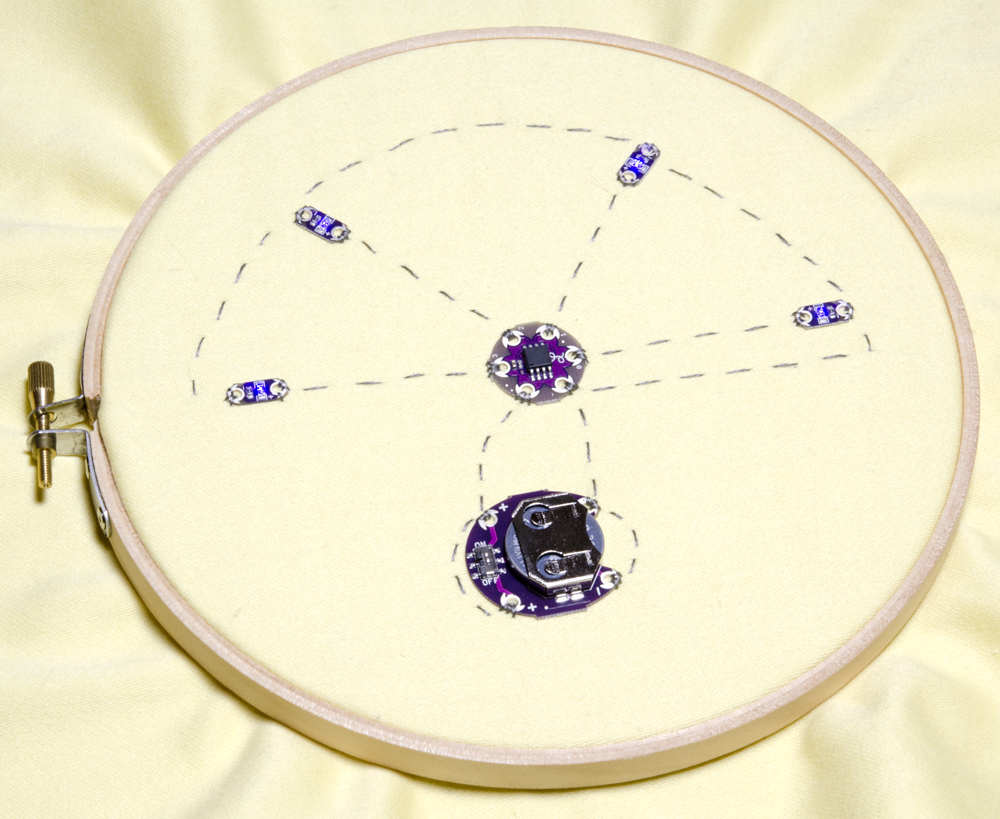
This is it! Slide the battery, positive side up, into the battery holder, and turn the switch on.
How it Works
Each light will display a different behavior. Pin 0 will do a "breathing" fade. Pin 1 will flash a heartbeat pattern. Pin 2 will blink on and off. And, Pin 3 will display a random twinkle. These are great examples of just a few of the light effects you can achieve with Arduino code. When you're ready to start programming for yourself, you'll find the code used in this board on the LilyTiny product page under "Documents"
LilyTwinkle
If you love the LilyTiny circuit and want to try another pre-programmed microcontroller, check out the LilyTwinkle! It's the exact same board you've just used, but with different code. That means that you'll hook up lights the same way, but instead of performing 4 different behaviors, they'll all display a twinkling effect together. Cute!