LED Butterfly Pop Up Card
 Gella
Gella 
Step 3: Prepare and Place LEDs
Before prepping the LED, fold the card in half along the dotted line to save the hassle of trying to make a neat fold once there are components sticking up from the paper.
Now that our copper is in place, time to add the LEDs. The template has two LED symbols which show shaped wires - we use this method to help us remember which side is positive and negative on the LED.
Read more about LED polarity in our Light-emitting Diodes (LEDs) Tutorial .
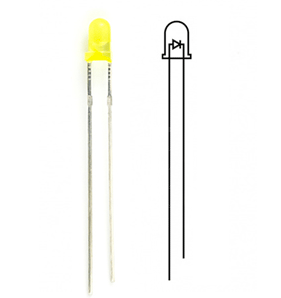
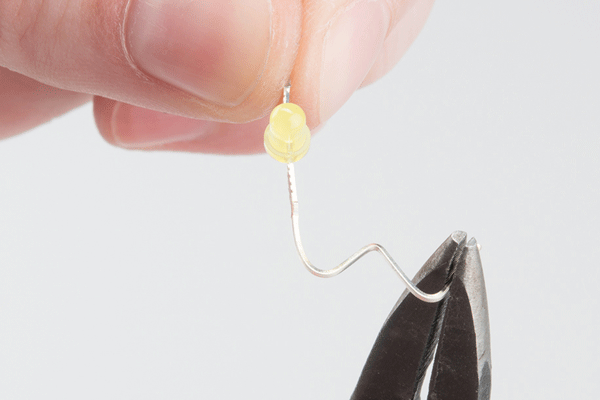
Here are directions for bending each 3mm LED (as shown in the image above) to prepare it for our circuit.
Using pliers (or your finger), bend the longer leg of the LED flat.
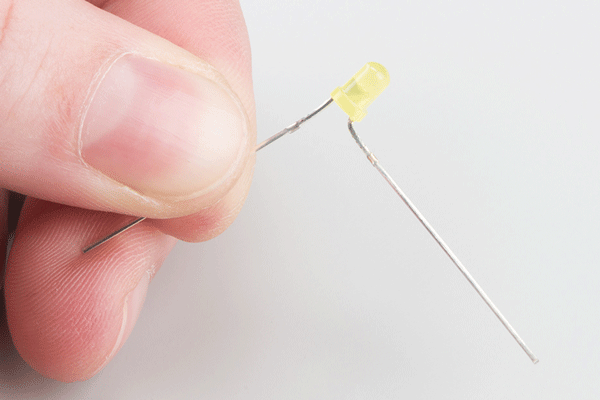
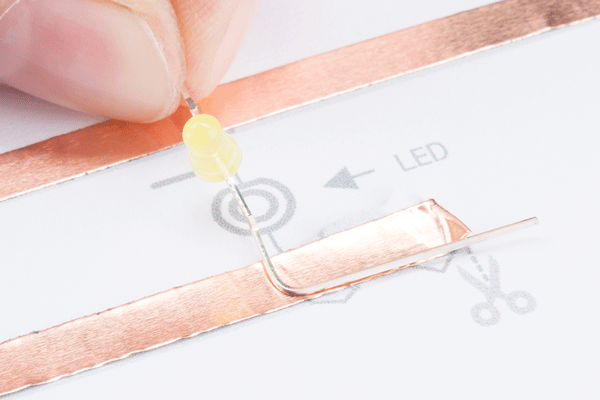
Then form the wire into an L, it helps to use the copper tape lines as a reference for where the bend should be.
Next, bend the end of the wire into a zig zag shape. Be careful not to break the wire by bending back and forth over the same joint too many times.
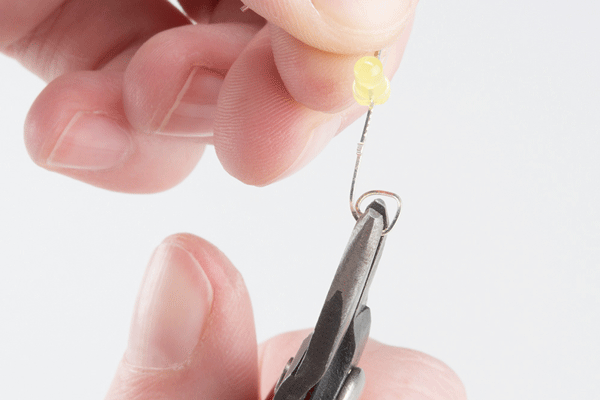
Now for the other side of the LED. Bend the other leg flat and curl into a spiral. Use the end of the pliers to lightly grab the end of the wire and curl around the tool.
Once all shaping is complete, place the LEDs on a table or flat surface to make sure they sit flat and upright. If not, make any adjustments now.
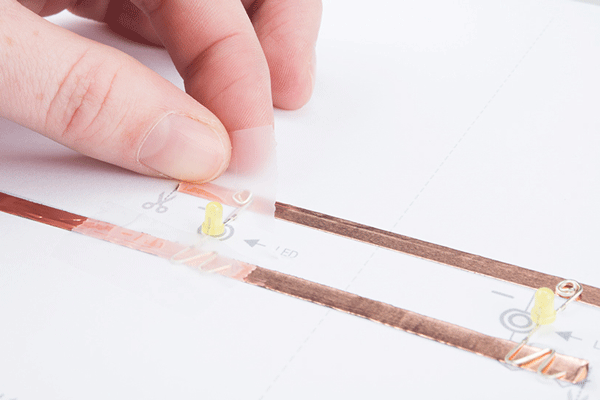
Tape Down LEDs
Line up the positive leads with the copper tape marked + and the negatives with -. Use clear tape over the leads to hold down to the copper.