LED Light Bar Hookup
 jimblom
Assembly Tips
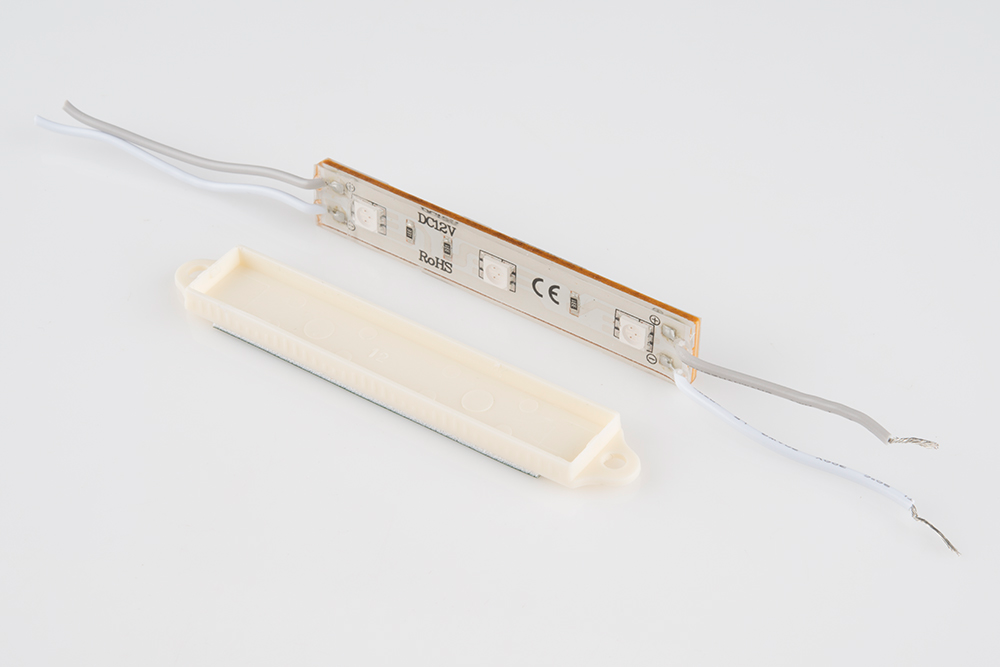
In most cases, Light Bar assembly begins with stripping some wire. The wire pigtails on the bars are 20 AWG, and should be easy enough to strip with any, old wire stripper.
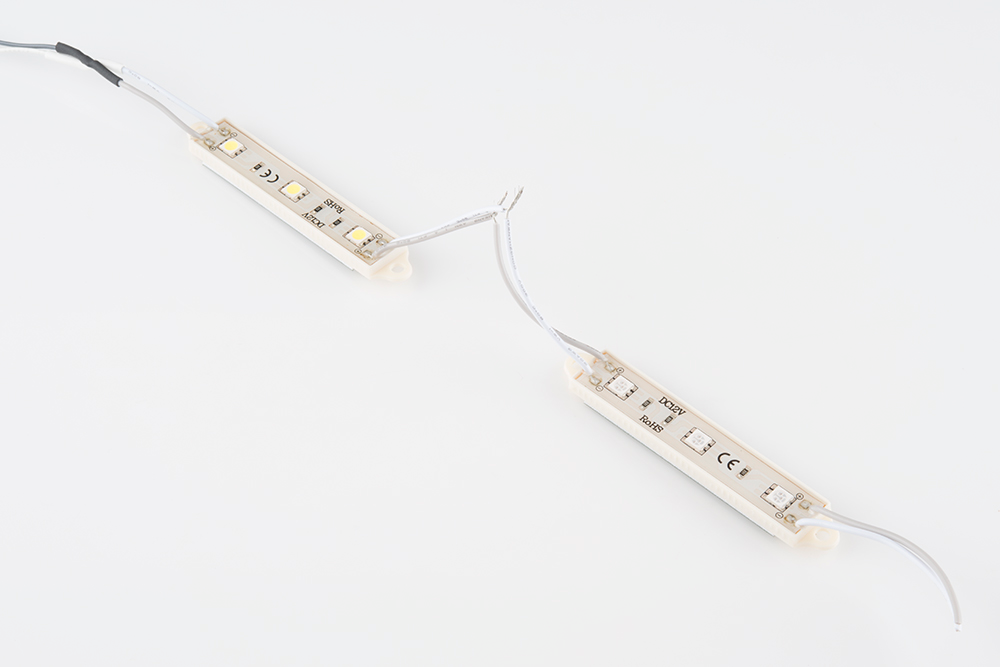
The wire lengths can be extended, if need be, with a little splice. Don't forget to cover your splice with heatshrink!
Alternatively the stripped pigtails can be tinned, crimped, or plugged directly into a mating connector.
Stringing Bars
The '+' and '-' wires of one bar can be connected to another to string them together. More and more bars can be stringed until you start to approach the current limit of the 20 AWG wires -- about 1.5A. With some back of the napkin calculations -- 55mA per bar, 1.5A max -- that'd be 25-ish bars.
Mounting the Bars
There are two possible methods for mounting the LED bars. There are mounting holes on either end of the bar with a 0.15" drill diameter, allowing for the bars to be screwed down. Every bar also includes a peel-away sticky-foam backing which adheres about as well as you could expect.
With a little prying, the PCB assembly part of the LED bar can be removed from the plastic mounting backing. This might be useful if your boards might need a tighter fit.