Light-Seeking Robot
 Shawn Hymel
Hardware Assembly
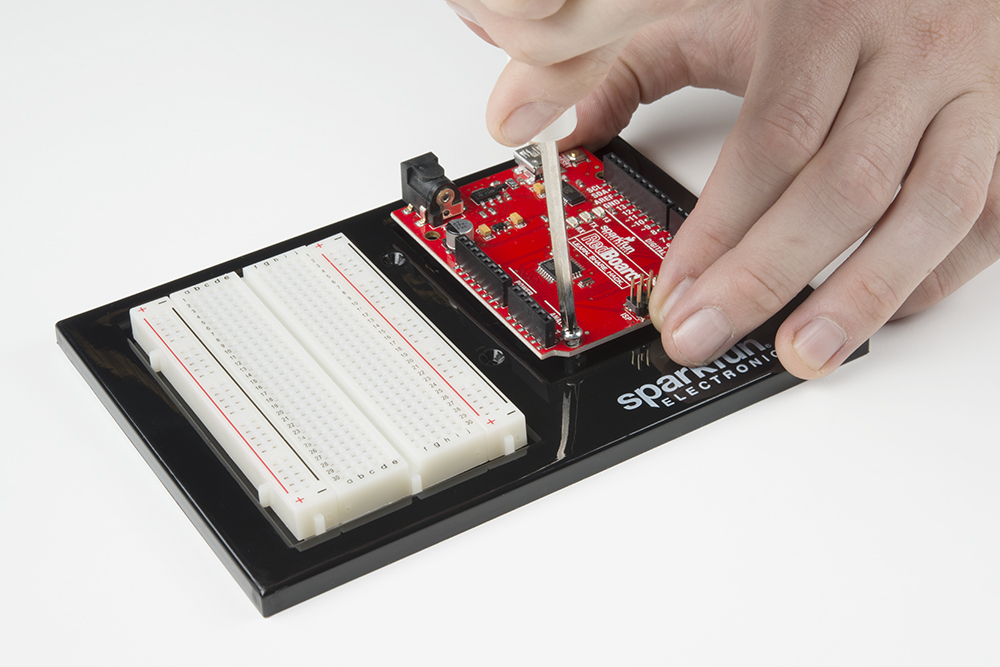
To begin, make sure that your breadboard and Arduino are secured to the baseplate. Complete instructions for attaching both can be found here.
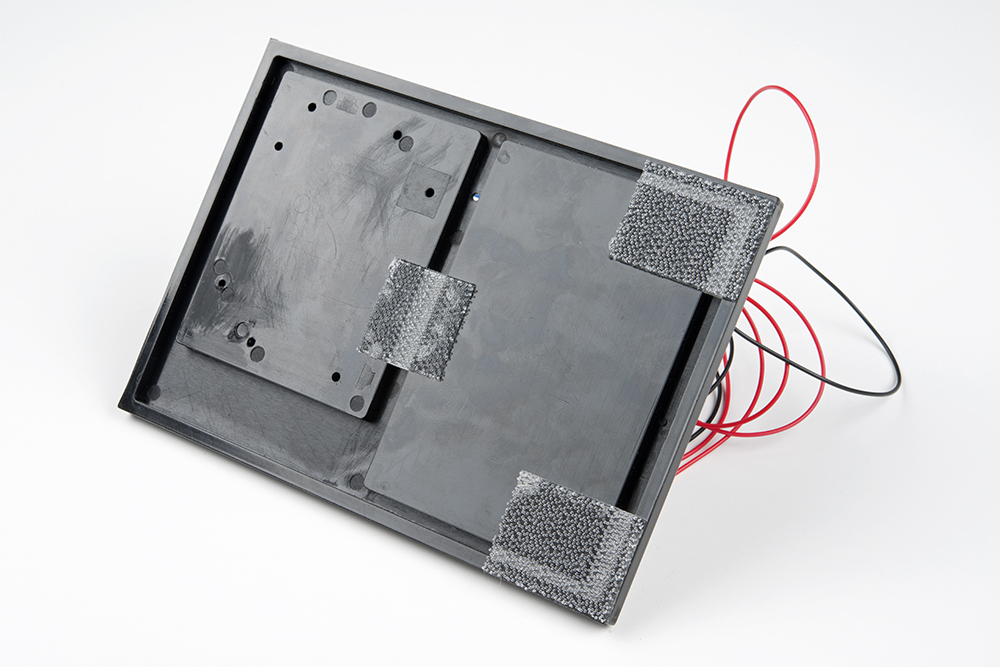
Using scissors, cut three strips of Dual Lock that are 1.25 inches (3.2cm) long and 1 inch (2.5cm) wide. Remove the adhesive backing, and attach two pieces to the corners under the baseplate and a third in the center.
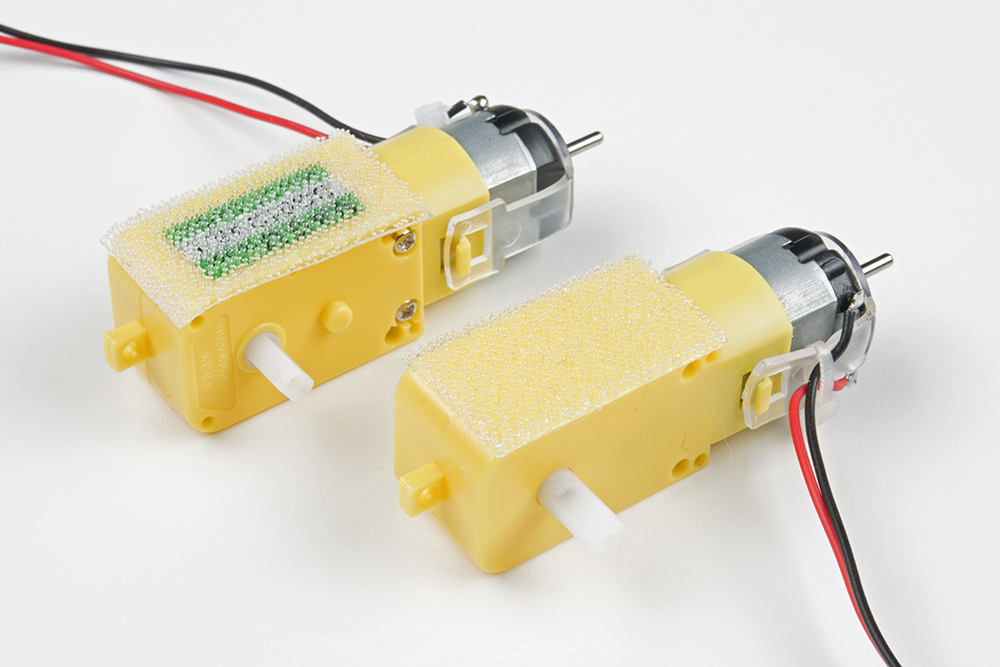
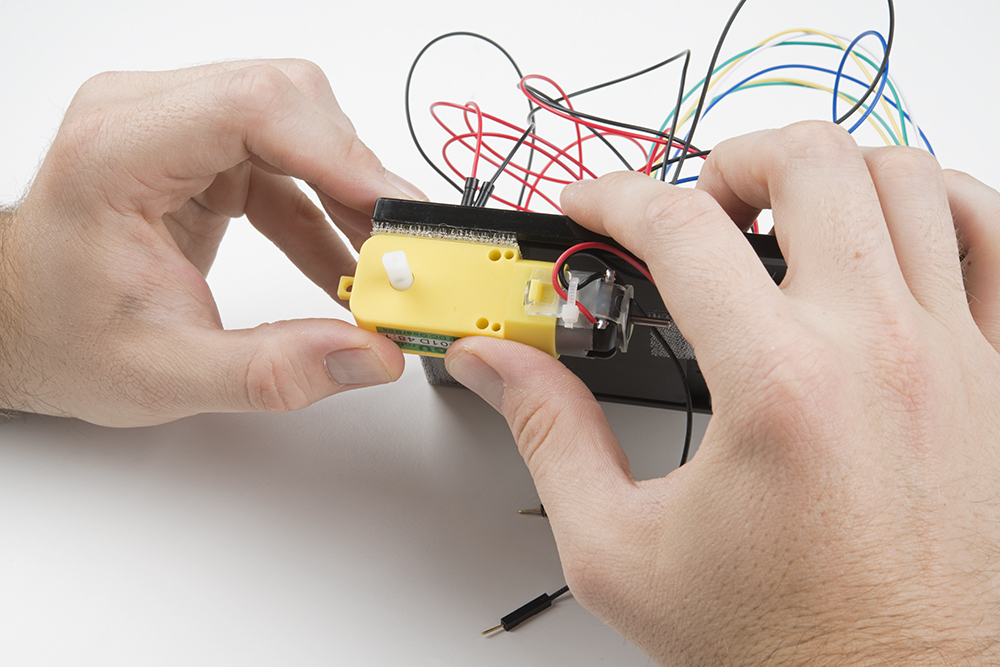
Cut two more strips that are 1.25 inches (3.175cm) long and ¾ inch (1.9cm) wide. Remove the adhesive backing, and attach the strips to the two motors. Be sure that your motors are mirror images of each other when you attach the Dual Lock.
Press the motors to the baseplate, connecting the two Dual Lock surfaces. Try to get the motors as straight as possible so your robot will drive straight.
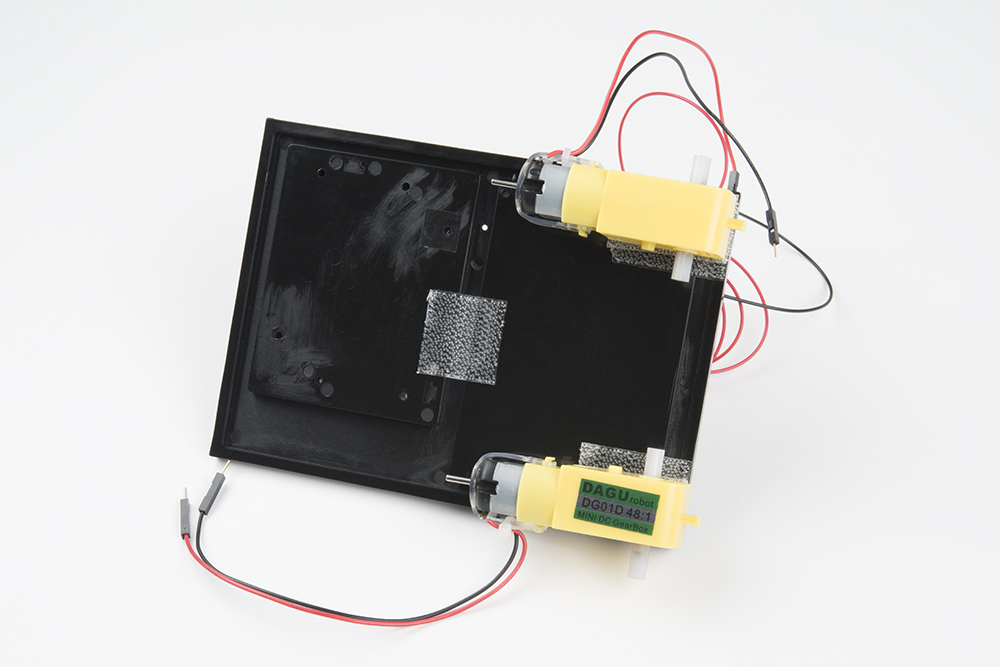
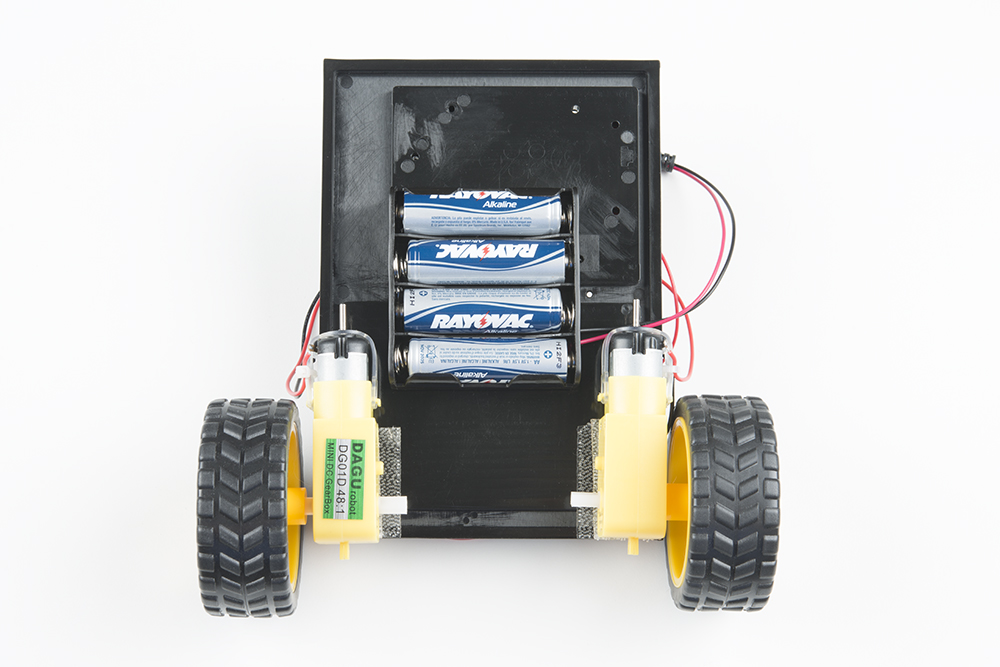
The bottom of your baseplate should look like the image below. Remember that the two motors should be mirror images of each other.
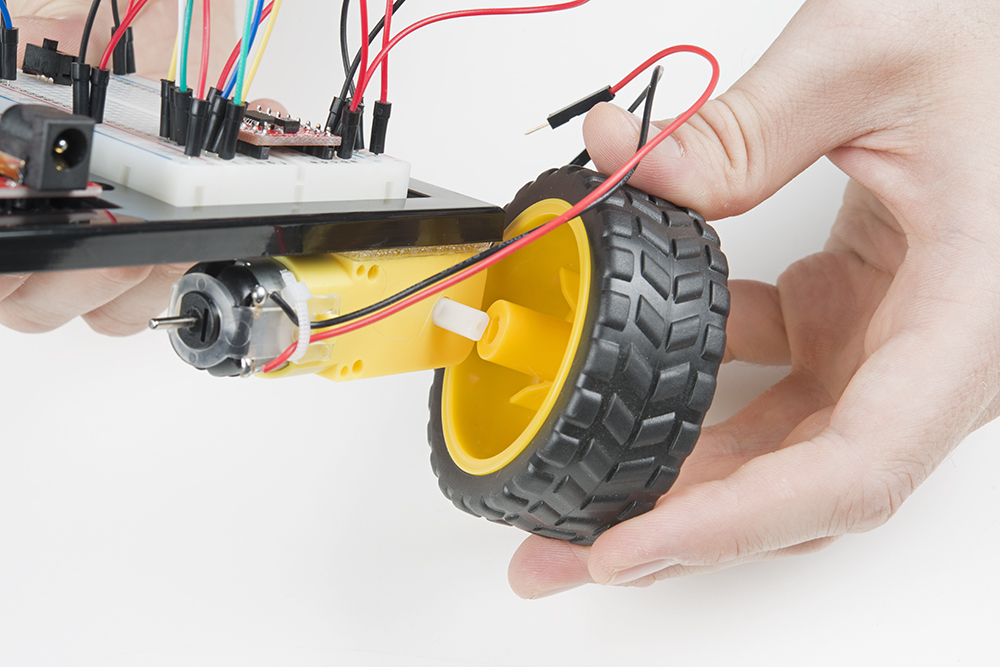
Attach the wheels by sliding them onto the plastic shafts on the gearmotor. The shaft is flat on one side, as is the wheel coupler. Align the two, and then press to fit the wheel onto the shaft.
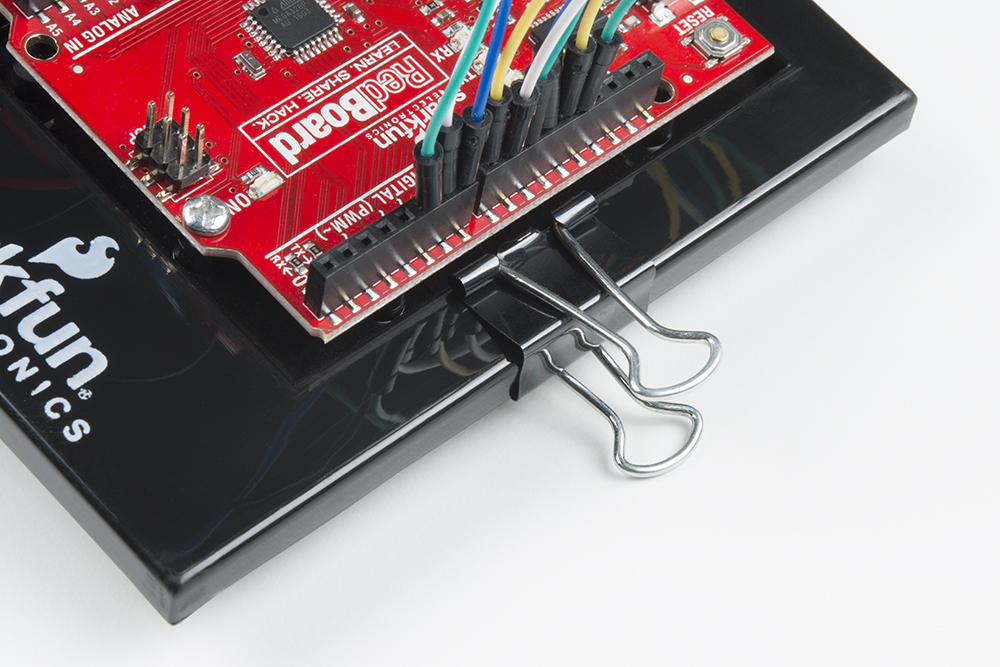
Clip the binder clip onto the back end of the robot. This will act as a caster as the robot drives around.
Cut a piece of Dual Lock that is about 1.25 inch x 1 inch (3.2cm x 2.5cm). Remove the adhesive backing and attach it to the back of the battery holder.
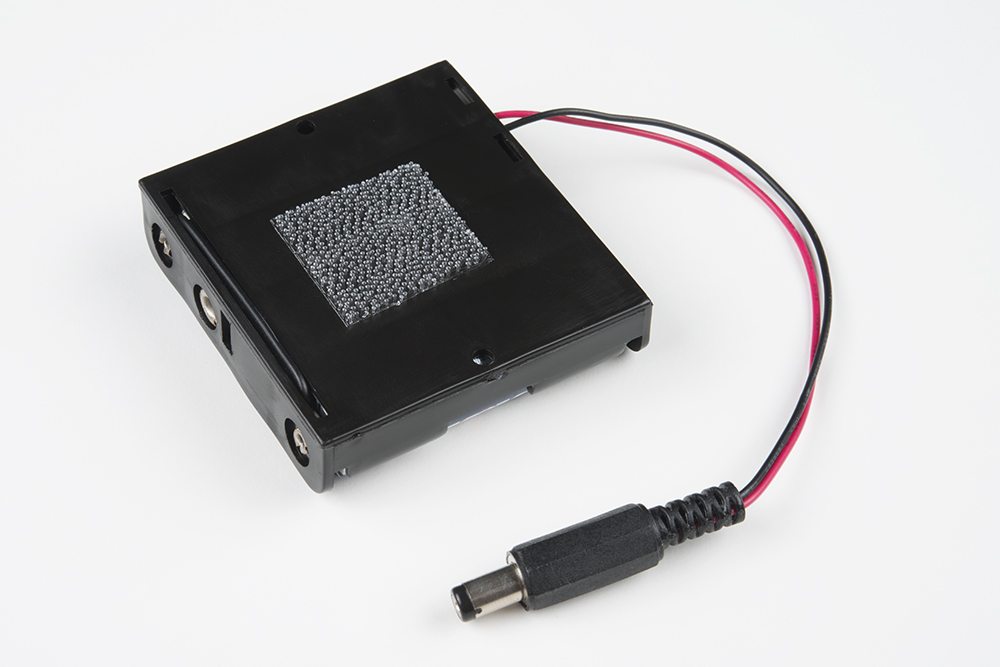
Press the battery holder to the baseplate so that the two pieces of Dual Lock snap together. Insert the batteries into the holder if you have not done so already. Remember that batteries are polarized and can only go in one way.
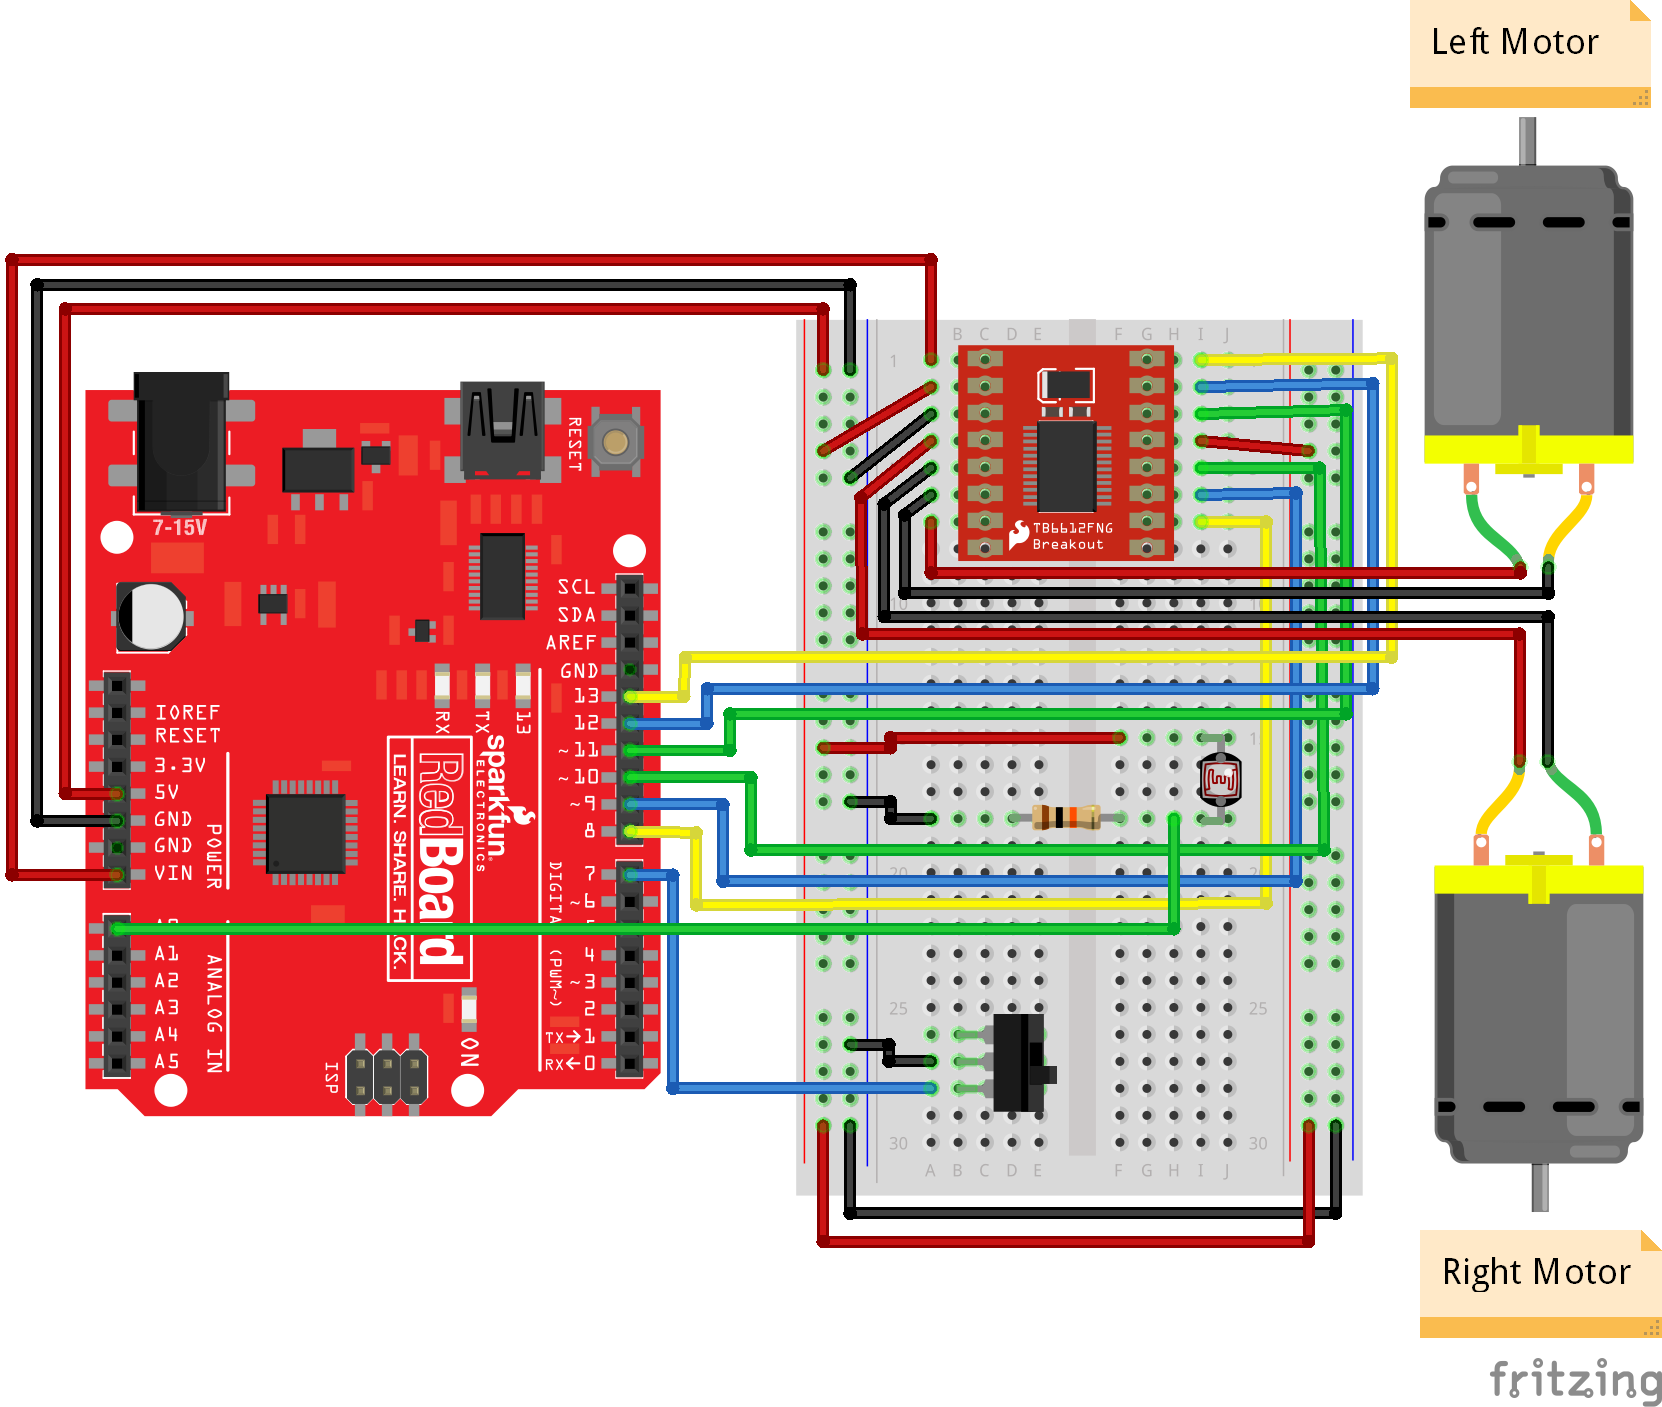
Circuit Diagram
Using jumper wires, connect the components as shown in the diagram below.