LuMini Ring Hookup Guide
 Englandsaurus
 Introduction
The LuMini rings (3 inch, 2 inch, 1 inch) are a great way to add a ring of light to just about anything.
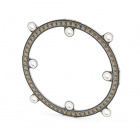
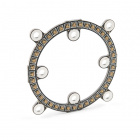
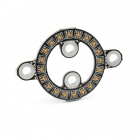
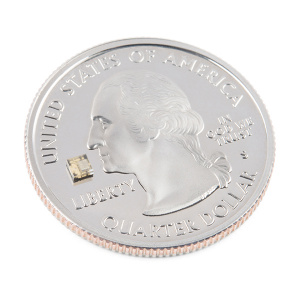
The LuMini line uses the same LED used on our Lumenati boards, the APA102, just in a smaller, 2.0x2.0 mm package. This allows for incredibly tight pixel densities, and thus, a more continuous ring of color. While the LuMini Rings come in different sizes, they all operate in a similar fashion.
 |
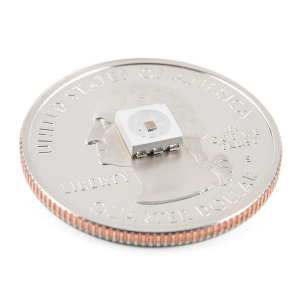 |
| Size of a APA102, 2020 Package | Size of a APA102, 5050 Package |
In this tutorial, we'll go over how to connect the LuMini rings up to more LuMini rings as well as other APA102 based products. We'll check out how to map out a ring of lights in software so we can get a little more creative with circular animations. We'll go over some things to consider as you string more and more lights together, and we'll also go over some neat lighting patterns to get you away from that standard rainbow pattern (if you have 16 million colors why would you use 255).
Required Materials
To follow along with this tutorial, you will need the following materials. You may not need everything though depending on what you have. Add it to your cart, read through the guide, and adjust the cart as necessary.
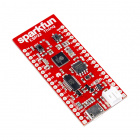
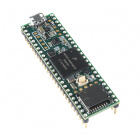
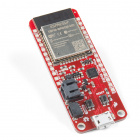
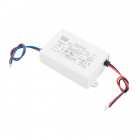
Choosing a Microcontroller
You'll need a microcontroller to control everything, however, there's a few things to consider when picking one out for the purpose of controlling a whole ton of LED's. The first thing is that, although they don't have to operate at a specific timing, APA102 LED's can transmit data really, really fast for LED's, like 20 MHz fast. So you should use a microcontroller fast enough to take advantage of this fact. Another thing to consider when you start getting into higher LED counts is the amount of RAM taken up by the LED frame. Each LED takes up 3 bytes of space in RAM, which doesn't sound like a lot, but if you're controlling 5000 LED's, well, you might need something with a bit more RAM than your traditional RedBoard. The below chart outlines the amount of LED's where you may start running into memory issues. Keep in mind that these are very generous estimates and will decrease depending on what other global variables are declared.
| Microcontroller | Max LED's | Clock Speed |
|---|---|---|
| SparkFun RedBoard | 600 | 16 MHz |
| Arduino Mega 2560 | 2600 | 16 MHz |
| Pro Micro | 700 | 16 MHz |
| SparkFun ESP8266 Thing | 27,000 | 160 MHz |
| SparkFun ESP32 Thing | 97,000 | 160 MHz or 240 MHz |
| Teensy 3.6 | 87,000 | 180 MHz (240 MHz Overclock) |
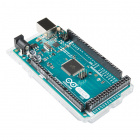
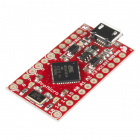
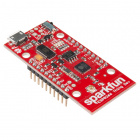
It's pretty easy to choose the ESP or Teensy when it comes to stuff like this, as you've got a ton of overhead in clock cycles to run wacky calculations for animations. However, if your project isn't all about lights, and you're just tossing a LuMini Ring on a project as an indicator, less powerful microcontrollers will suffice. Here are a few microcontrollers listed from the catalog. Depending on the development board, you may need to solder headers based on your personal preference.

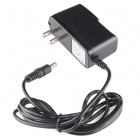
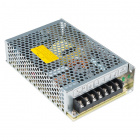
Selecting a Power Supply
In most cases, your LED installation is gonna pull more than your board can handle (Depending on brightness and animation, anywhere from 100-250 LED's can be too much for your board's voltage regulator to handle) so you should snag a sweet 5V power supply that's got enough wattage in the cottage for all of your LED's. Here are a few 5V power supplies listed in our catalog. Just make sure to get the appropriate cable and adapter when connecting to your power hungry LEDs.
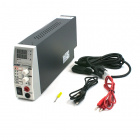
You can either estimate the necessary size of your power supply by taking the amount of LED's and multiplying by 60 mA (0.06 A) which is the amount of current it takes to run an LED at full white. This calculation will give you the maximum amount of power your LED's could draw, but most of the time, this is a gross overestimate of the amount of power you'll actually end up consuming. Instead of calculating, I usually like to test my completed installation on a benchtop power supply using the brightest animation it'll be running, and then add 20 or 30 percent to give myself a little wiggle room if I want to turn the brightness up in the future.
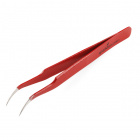
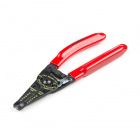
Tools
You will need a wire stripper, wire, soldering iron, solder, general soldering accessories. Tweezers are optional if you are soldering the surface mount decoupling capacitor to the back of the board.


Suggested Reading
If you aren’t familiar with the following concepts, we recommend checking out these tutorials before continuing.