Mario the Magician's Magical Lapel Flower
Contributors:
 Dia
Dia
Dia 
Put it Together!
The first thing you need to do is upload the drivers needed to operate your Pro- Micro. The process is painless. All the info is in the quickstart guide.
Upload the sketch. (The code can be found here)
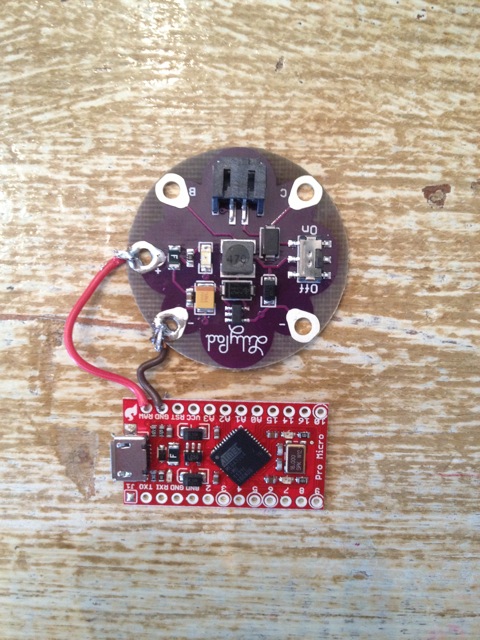
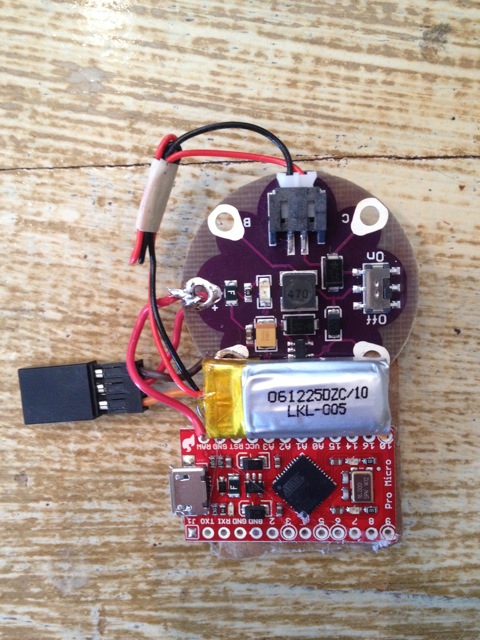
Solder ground to ground and positive to RAW. Be sure to solder it to RAW and not to VCC, or you will fry your board! Also, keep your wires kind of tight, because this makes for a snug fit in the end.
-
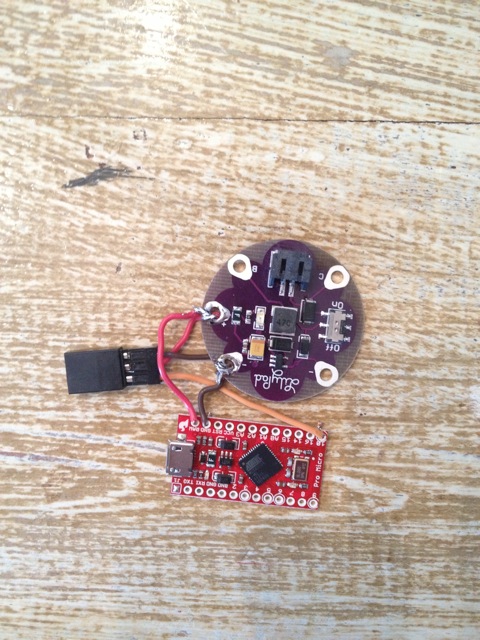
4. Clip the female part of your servo cable, and solder red to positive, dark brown
to negative, and light brown to pin 10.
-
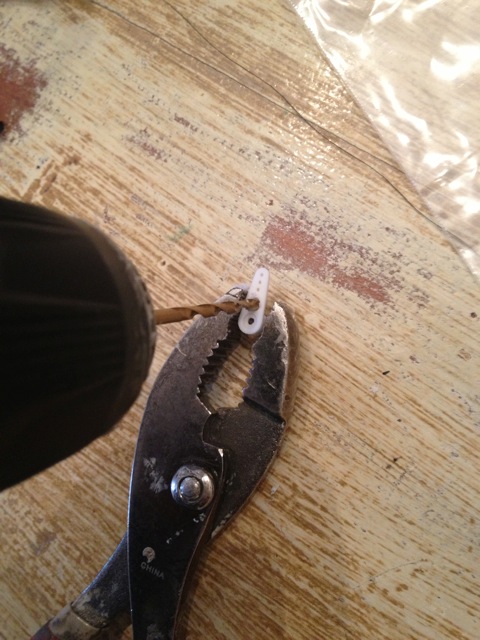
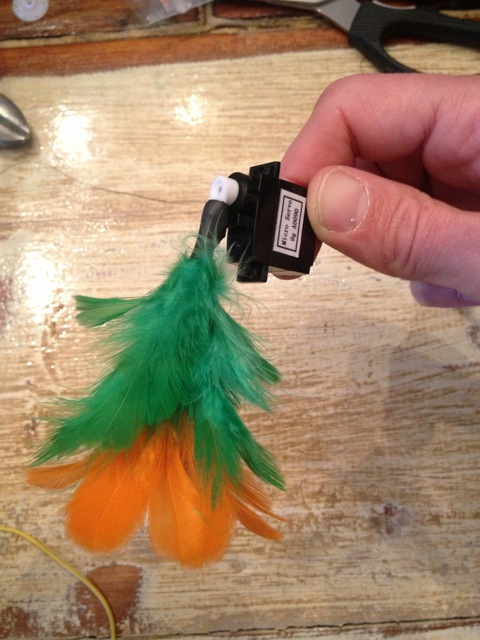
5. Clip your flower to the desired size. I clipped mine to about 4 inches in length.
Depending on how thick the wire is that holds the flower, drill a matching hole
through your servo arm.
-
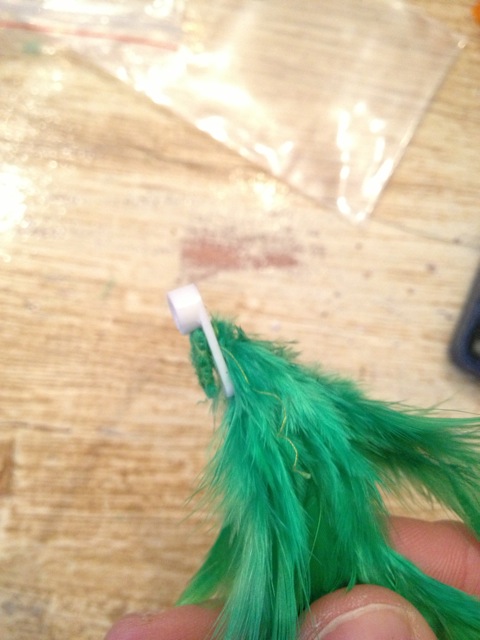
6. Push the stem through the drilled hole and bend it down. I used a pair of pliers
to press it down.
-
7. Use a piece of shrink tubing to really secure the flower to the servo arm.
-
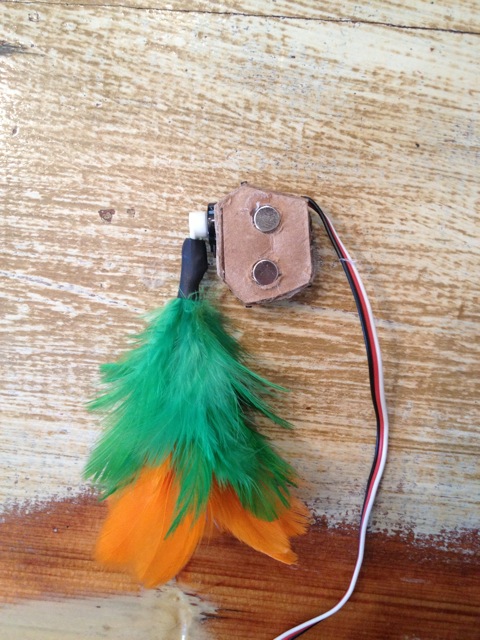
8. Cut the cardboard to fit on top of the servo. Hot glue it down. Hot glue two
magnets to the cardboard. Cut out a second piece of cardboard, with holes for
the magnets to poke through, and hot glue it on top of the first piece of
cardboard. Cover the magnets and cardboard with a piece of masking tape.
-
9. Glue a piece of velcro to the other side of the servo.

-
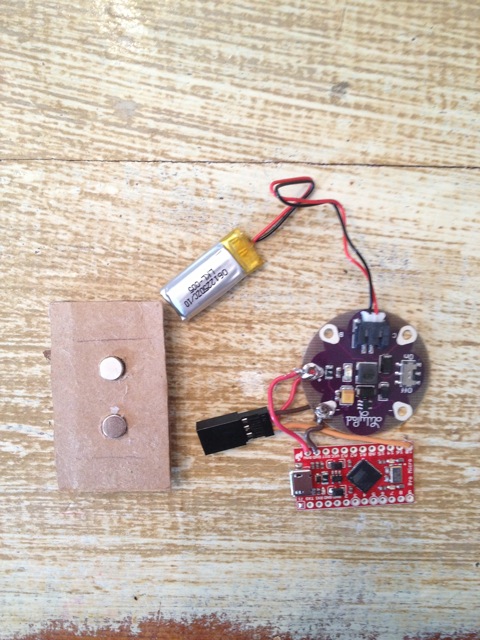
10. Cut out a rectangle of cardboard that will fit the Pro-Micro and power supply.
Same as the flower… glue two pieces of cardboard together, with holes in one of
the pieces of cardboard for two magnets to poke through. Make sure the spacing
of the magnets matches the spacing of the ones on the servo so they can
connect.
-
11. Now is a good time to decide which side of your hoodie you want your flower
on. The on/off switch should be closest to your zipper, so you can turn it on
without fumbling deep into your hoodie. Mine is on my left “lapel.” Hot glue the
Pro-Micro and power supply first. No need for a lot of glue! I am always cautious
when hot gluing electronics. Next, glue the tiny battery down, and you are
complete!
-
12. I finished my project by painting the cardboard and tape with black acryclic
paint.

-
13. You need to find a sweet spot on your hoodie for the flower, where you can
fold over your zipper and cover the servo. Use the circuit as a guide. Connect the
magnets so you can slide the servo without having to hold it. Once you find that
spot, clip a small opening in the fabric of your hoodie, so the servo wire can slide
through. Take a smaller piece of velcro, and place it on the edge of the servo. Put
some hot glue on the small piece, fold your hoodie over to the servoʼs edge, and
press down so the glue sticks. Connect your servo wire to the circuit. Before
screwing the servo arm to the servo, turn it so the servo arm is all the way down
to a wilted flower position.