Favorited
Favorite
9
Introduction
The SparkFun MAX30105 Particle Sensor is a flexible and powerful sensor enabling sensing of distance, heart rate, particle detection, even the blinking of an eye. This tutorial will get you up and running to get the raw data from the sensor.
Retired
SEN-14045
The SparkFun MAX30105 Particle Sensor is a flexible, powerful sensor enabling sensing of distance, heart rate, particle detec…
2
Retired
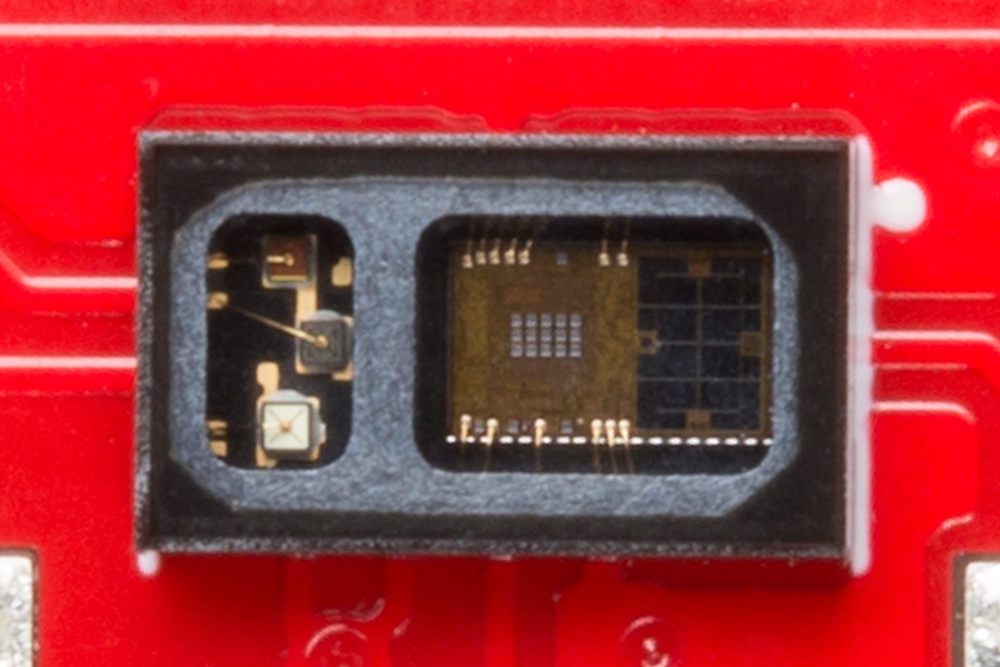
Behind the window on the left, the MAX30105 has three LEDs. On the right is a very sensitive photon detector. The idea is that you obstruct the different LEDs, detecting what light shines back at the detector, and, based on the signature, you can tell the presence of different types of particles or materials (such as oxygenated blood or smoke from a fire).
Close up photo of the MAX30105 sensor.
Suggested Materials
You'll need a handful of extra parts to get the MAX30105 breakout up-and-running. Below are the components used in this tutorial, if you want to follow along.
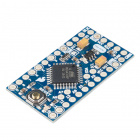
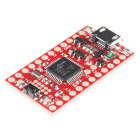
A microcontroller that supports I2C is required to communicate with the MAX30105 and relay the data to the user. The SparkFun RedBoard or Arduino Uno are popular options for this role, but just about any microcontroller development board should work. (The firmware examples use an Arduino library, if that serves as any extra motivation to use an Arduino.)
In stock
DEV-11113
SparkFun's minimal design approach to Arduino. This is a 5V Arduino running the 16MHz bootloader.
140
In stock
DEV-11021
This is the new Arduino Uno R3. In addition to all the features of the previous board, the Uno now uses an ATmega16U2 instead…
138
Out of stock
DEV-13664
If you’re ready to step your Arduino game up from older 8-bit/16MHz microcontrollers, the SparkFun SAMD21 Mini Breakout is …
18
Retired
DEV-12757
At SparkFun we use many Arduinos and we're always looking for the simplest, most stable one. Each board is a bit different an…
127
Retired
5V Recommended! The MAX30105 can run at 3.3V to 5V and can communicate with 3.3V and 5V microcontrollers. Most USB based development boards have a 5V pin that will power the MAX30105 nicely.
Four or five jumper wires and a breadboard help interface the sensor to your Arduino. To insert the breakout into the breadboard, you'll need to solder headers or cut jumper wires to the pins. (Don't forget a soldering iron and solder!)
In stock
PRT-12002
This is your tried and true white solderless breadboard. It has 2 power buses, 10 columns, and 30 rows - a total of 400 tie i…
48
In stock
PRT-00116
A row of headers - break to fit. 40 pins that can be cut to any size. Used with custom PCBs or general custom headers.
20
Only 14 left!
TOL-09507
This is a very simple fixed temp, quick heating, 30W 110/120 VAC soldering iron. We really enjoy using the more expensive iro…
7
Retired
PRT-13870
These are 101mm long 20AWG jumpers with male connectors on both ends. Use these to jumper from any female header on any board…
Retired
Suggested Reading
The MAX30105 is designed for a handful of uses including Pulse Oximetry. If you're unfamiliar with optical pulse detection there are some very good app notes from TI and NXP that have great starter information.
The MAX30105 communicates over I2C. We’ve got a great library to make it easy to use. And, we’re going to be using a breadboard to connect the breakout board to the RedBoard. If any of these subjects sound foreign to you, consider browsing through that tutorial before continuing.
Installing an Arduino Library
How do I install a custom Arduino library? It's easy! This tutorial will go over how to install an Arduino library using the Arduino Library Manager. For libraries not linked with the Arduino IDE, we will also go over manually installing an Arduino library.
How to Use a Breadboard
Welcome to the wonderful world of breadboards. Here we will learn what a breadboard is and how to use one to build your very first circuit.
I2C
An introduction to I2C, one of the main embedded communications protocols in use today.
 Nate
Nate 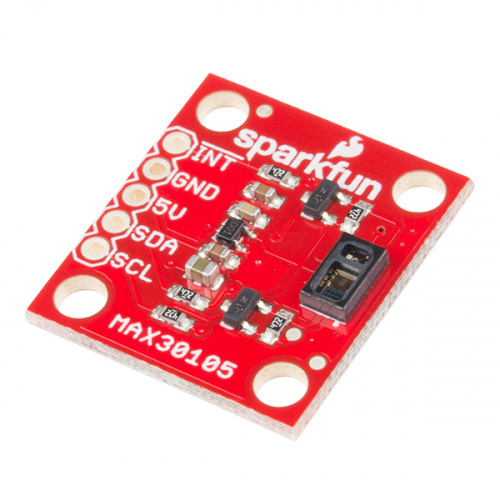


