micro:climate Kit Experiment Guide
 bboyho,
  D___Run___
 Experiment 2: Reading the Light Level
Introduction
Light conditions are a huge part of the weather. The great thing is that the weather:bit doesn't have a light sensor. No, we didn't miss a typo! The weather:bit doesn't have a light sensor. Why not? Because the micro:bit has one already! In this experiment you will measure the light around you and have the micro:bit "graph" it
Parts Needed
You will need the following parts:
- 1x micro:bit Board (Not Included with Kit)
- 1x Micro-B USB Cable (Not Included with Kit)
- 1x weather:bit Carrier Board
Didn't get the kit? Have no fear! Here are the parts you will need to complete this experiment. You may not need everything though depending on what you have. Add it to your cart, read through the guide, and adjust the cart as necessary.


Suggested Reading
- Using LEDs as Light Sensors --- That's correct! You can use LEDs as light sensors. In fact, that is how the micro:bit does it.
Hardware Hookup
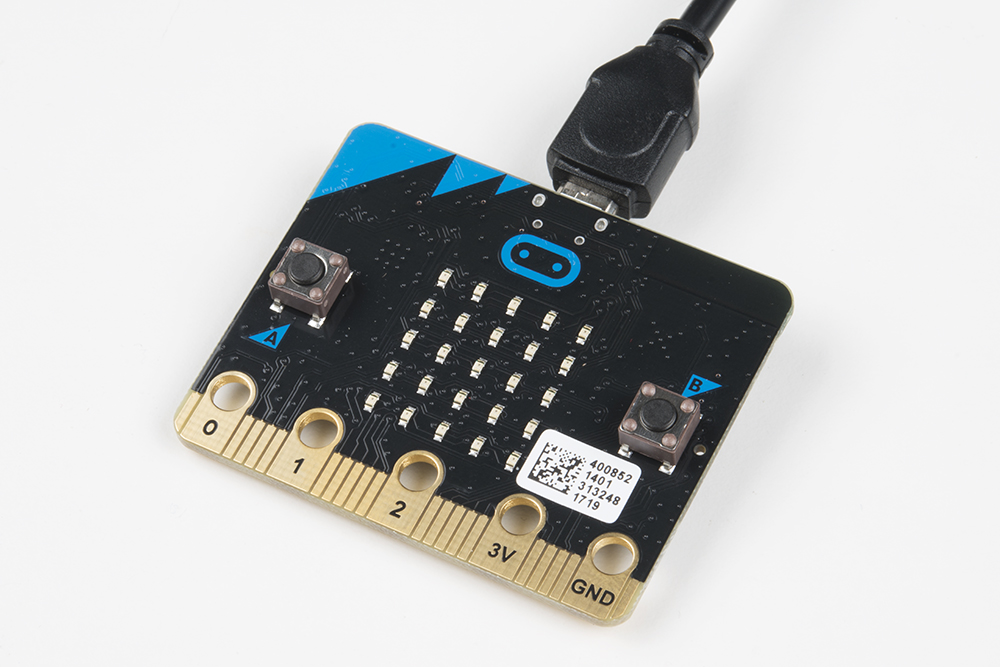
Again, the hardware hookup here is minimal! Plug your micro:bit into your computer with the USB cable, and you are good to go!
Running Your Script
Please open a browser window and navigate to makecode.microbit.org. This should open the MakeCode environment that you used to install the weather:bit extension.
Code to Note
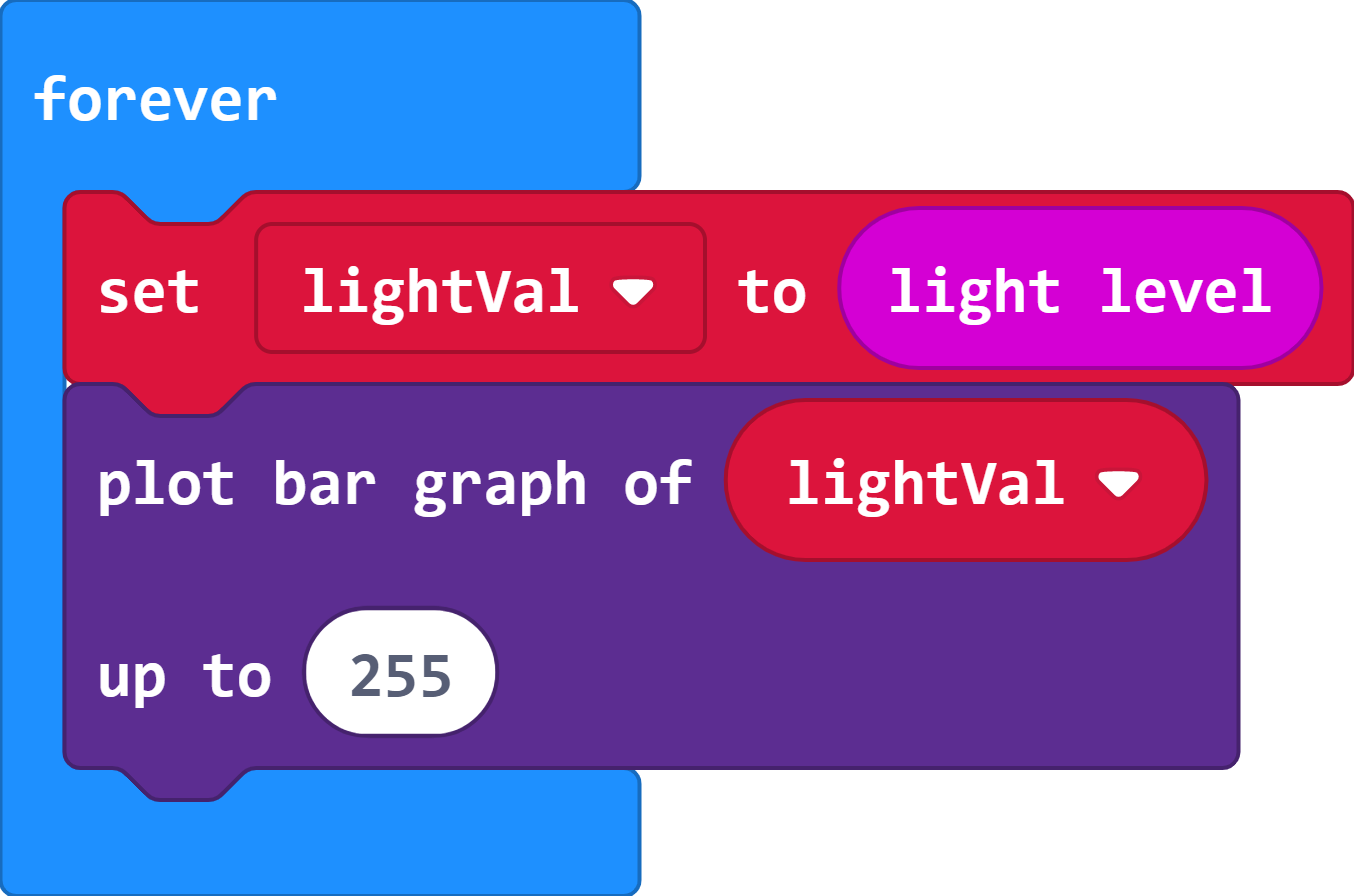
Set lightVal To
We read the light level in the area using the light level block and store it in a variable called lightVal. This is the value that we can compare against the calibration value you captured at the beginning of your script.
Plot Bar Graph Of
This block is fun! It accepts two values: the value of what you want to graph and a maximum value of that variable. In this case we want to graph lightVal, and it has a maximum value of 255. This will create a "bar graph" of the light value on your micro:bit.
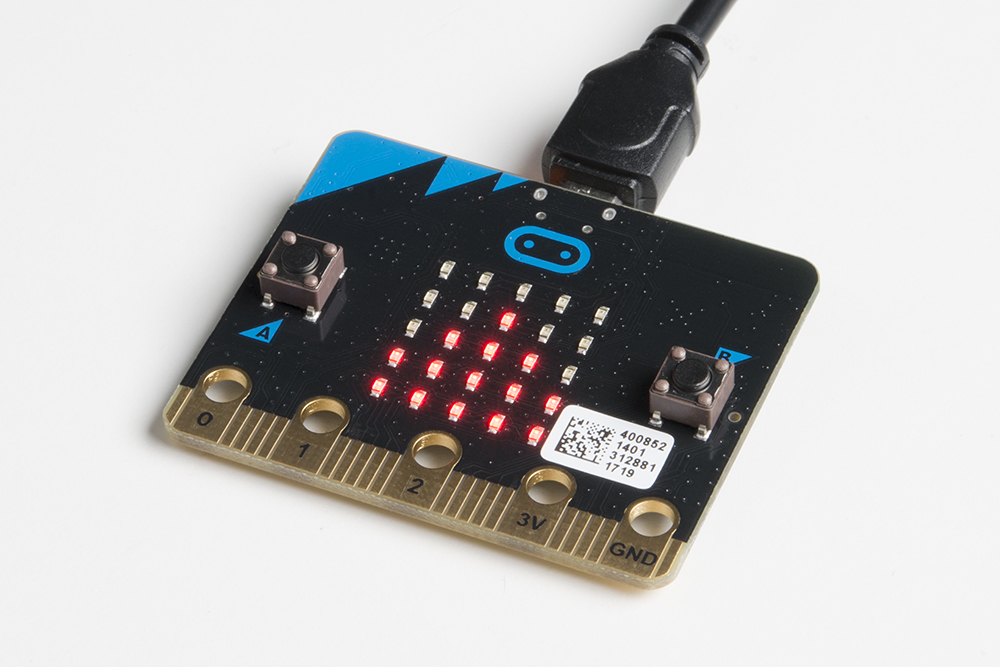
What You Should See
You should see the LED array light up as a graph based on how bright it is wherever you are. Turn out the lights or pass your hand over the array, and the graph should react. Pretty sweet! You now have a way to measure the light value as well as another way to display data with the micro:bit.
Troubleshooting
odd light readings --- Make sure you are not leaning over the micro:bit, your shadow will impact the sensor reading.
The arrows threshold is odd --- Try resetting the micro:bit while you are not leaning over it or casting a shadow on it.