micro:climate Kit Experiment Guide
 bboyho,
  D___Run___
 Experiment 3: Reading the Soil Moisture
Introduction
How wet is the ground? It is actually an important question to ask if you are thinking about growing plants, digging a hole, or even walking across your yard. Enter the soil moisture sensor. In this experiment you will hook up the soil moisture sensor and use it. You will display different images on your micro:bit based on the moisture level of the soil.
Parts Needed
You will need the following parts:
- 1x micro:bit Board (Not Included with Kit)
- 1x micro-B USB Cable (Not Included with Kit)
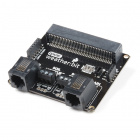
- 1x weather:bit Carrier Board
- 3x 12" M/M Jumper Wires
- 1x SparkFun Soil Moisture Sensor
Didn't get the kit? Have no fear! Here are the parts you will need to complete this experiment. You may not need everything though depending on what you have. Add it to your cart, read through the guide, and adjust the cart as necessary.


Suggested Reading
- Soil Moisture Sensor Hookup Guide --- How does the moisture sensor work?
- Voltage Dividers --- The moisture sensor works as a voltage divider. Dig in and see what makes it tick!
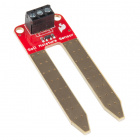
About the Moisture Sensor
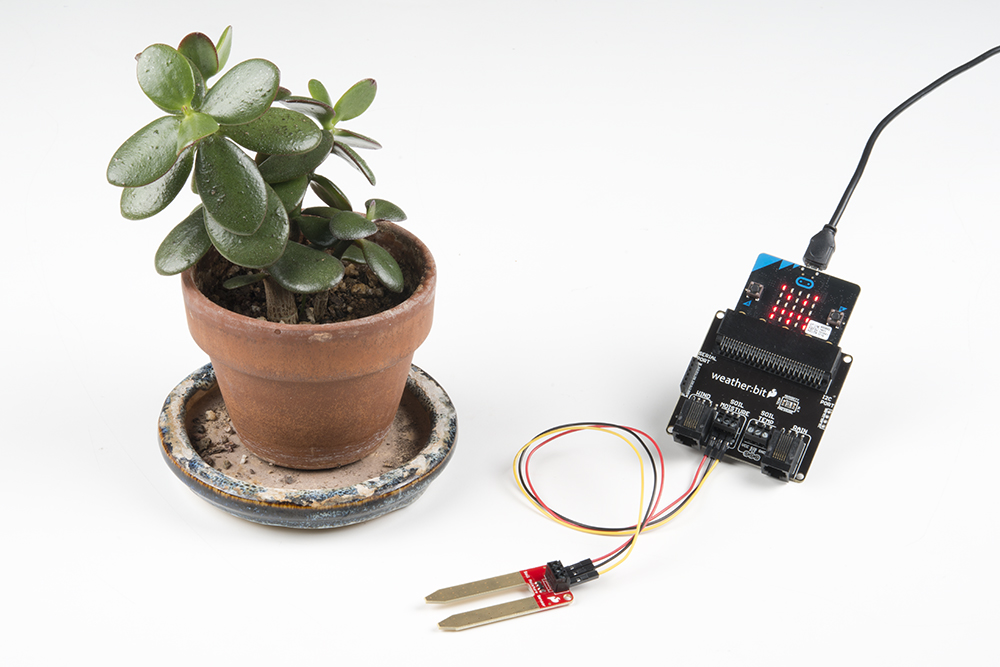
The SparkFun Soil Moisture Sensor is a simple breakout board for measuring the moisture in soil and similar materials. The soil moisture sensor is straightforward to use. The two large, exposed pads function as probes for the sensor, together acting as a variable resistor. The more water that is in the soil, the better the conductivity between the pads will be, which will result in a lower resistance and a higher SIG (output voltage).

To get the SparkFun Soil Moisture Sensor functioning with your weather:bit, all you need to do is connect the VCC, GND and SIG pins to the weather:bits VCC, GND and SIG screw terminals. You will receive a SIG out, which will depend on the amount of water in the soil. Oh, and you'll also need a bit of dirt in a pot to test it all out!
One commonly known issue with soil moisture sensors is their short life span when exposed to a moist environment. To combat this, we've had the PCB coated in gold finishing (ENIG, or Electroless Nickel Immersion Gold).
Hardware Hookup
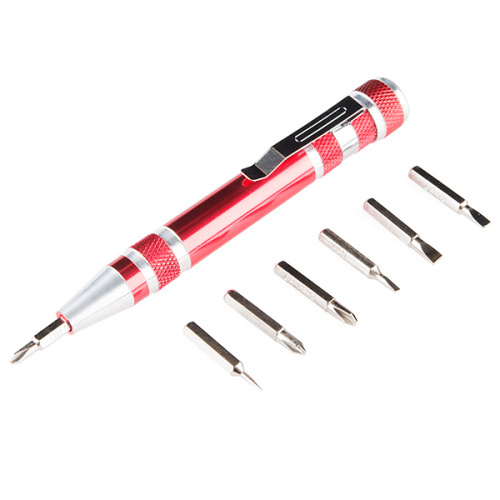
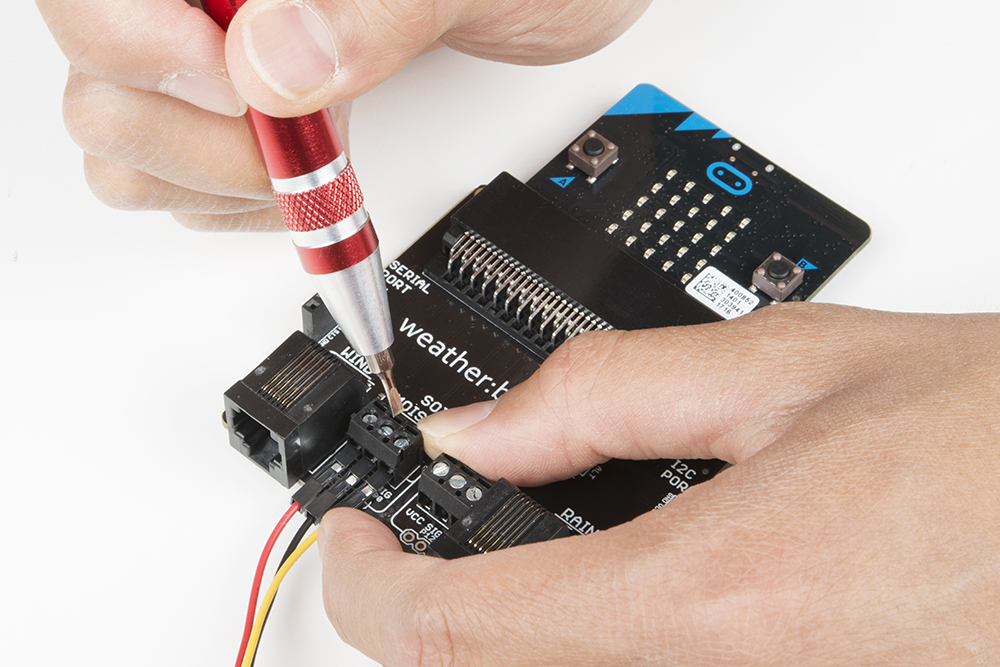
Hooking the moisture sensor up to the weather:bit is relatively easy. You will need a screwdriver with a small bit, preferably a jeweler's screwdriver or our pocket screwdriver.
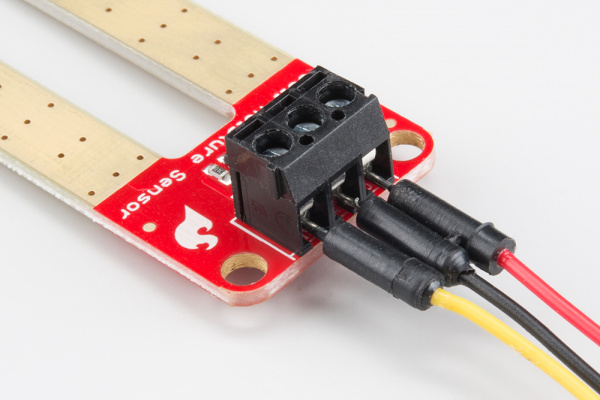
Start by using the screwdriver to open the three screw terminals on the moisture sensor enough that you can insert the ends of the jumper wires into them. Next, insert three jumper wires into the screw terminals using Red for VCC, Black for GND and Yellow for SIG. Tighten the screws down so that the wires will not come loose.
Next, do the same thing for the screw terminals for the moisture sensor port on the weather:bit. Open the screws enough that you can insert the jumper wires with Red to VCC, Black to GND and Yellow to SIG. Tighten the screws enough to hold the wires in place.
With that, you are done hooking the moisture sensor up!
Running Your Script
Please open a browser window and navigate to https://makecode.microbit.org. This should open the MakeCode environment that you used to install the weather:bit extension.
Code to Note
Soil Moisture
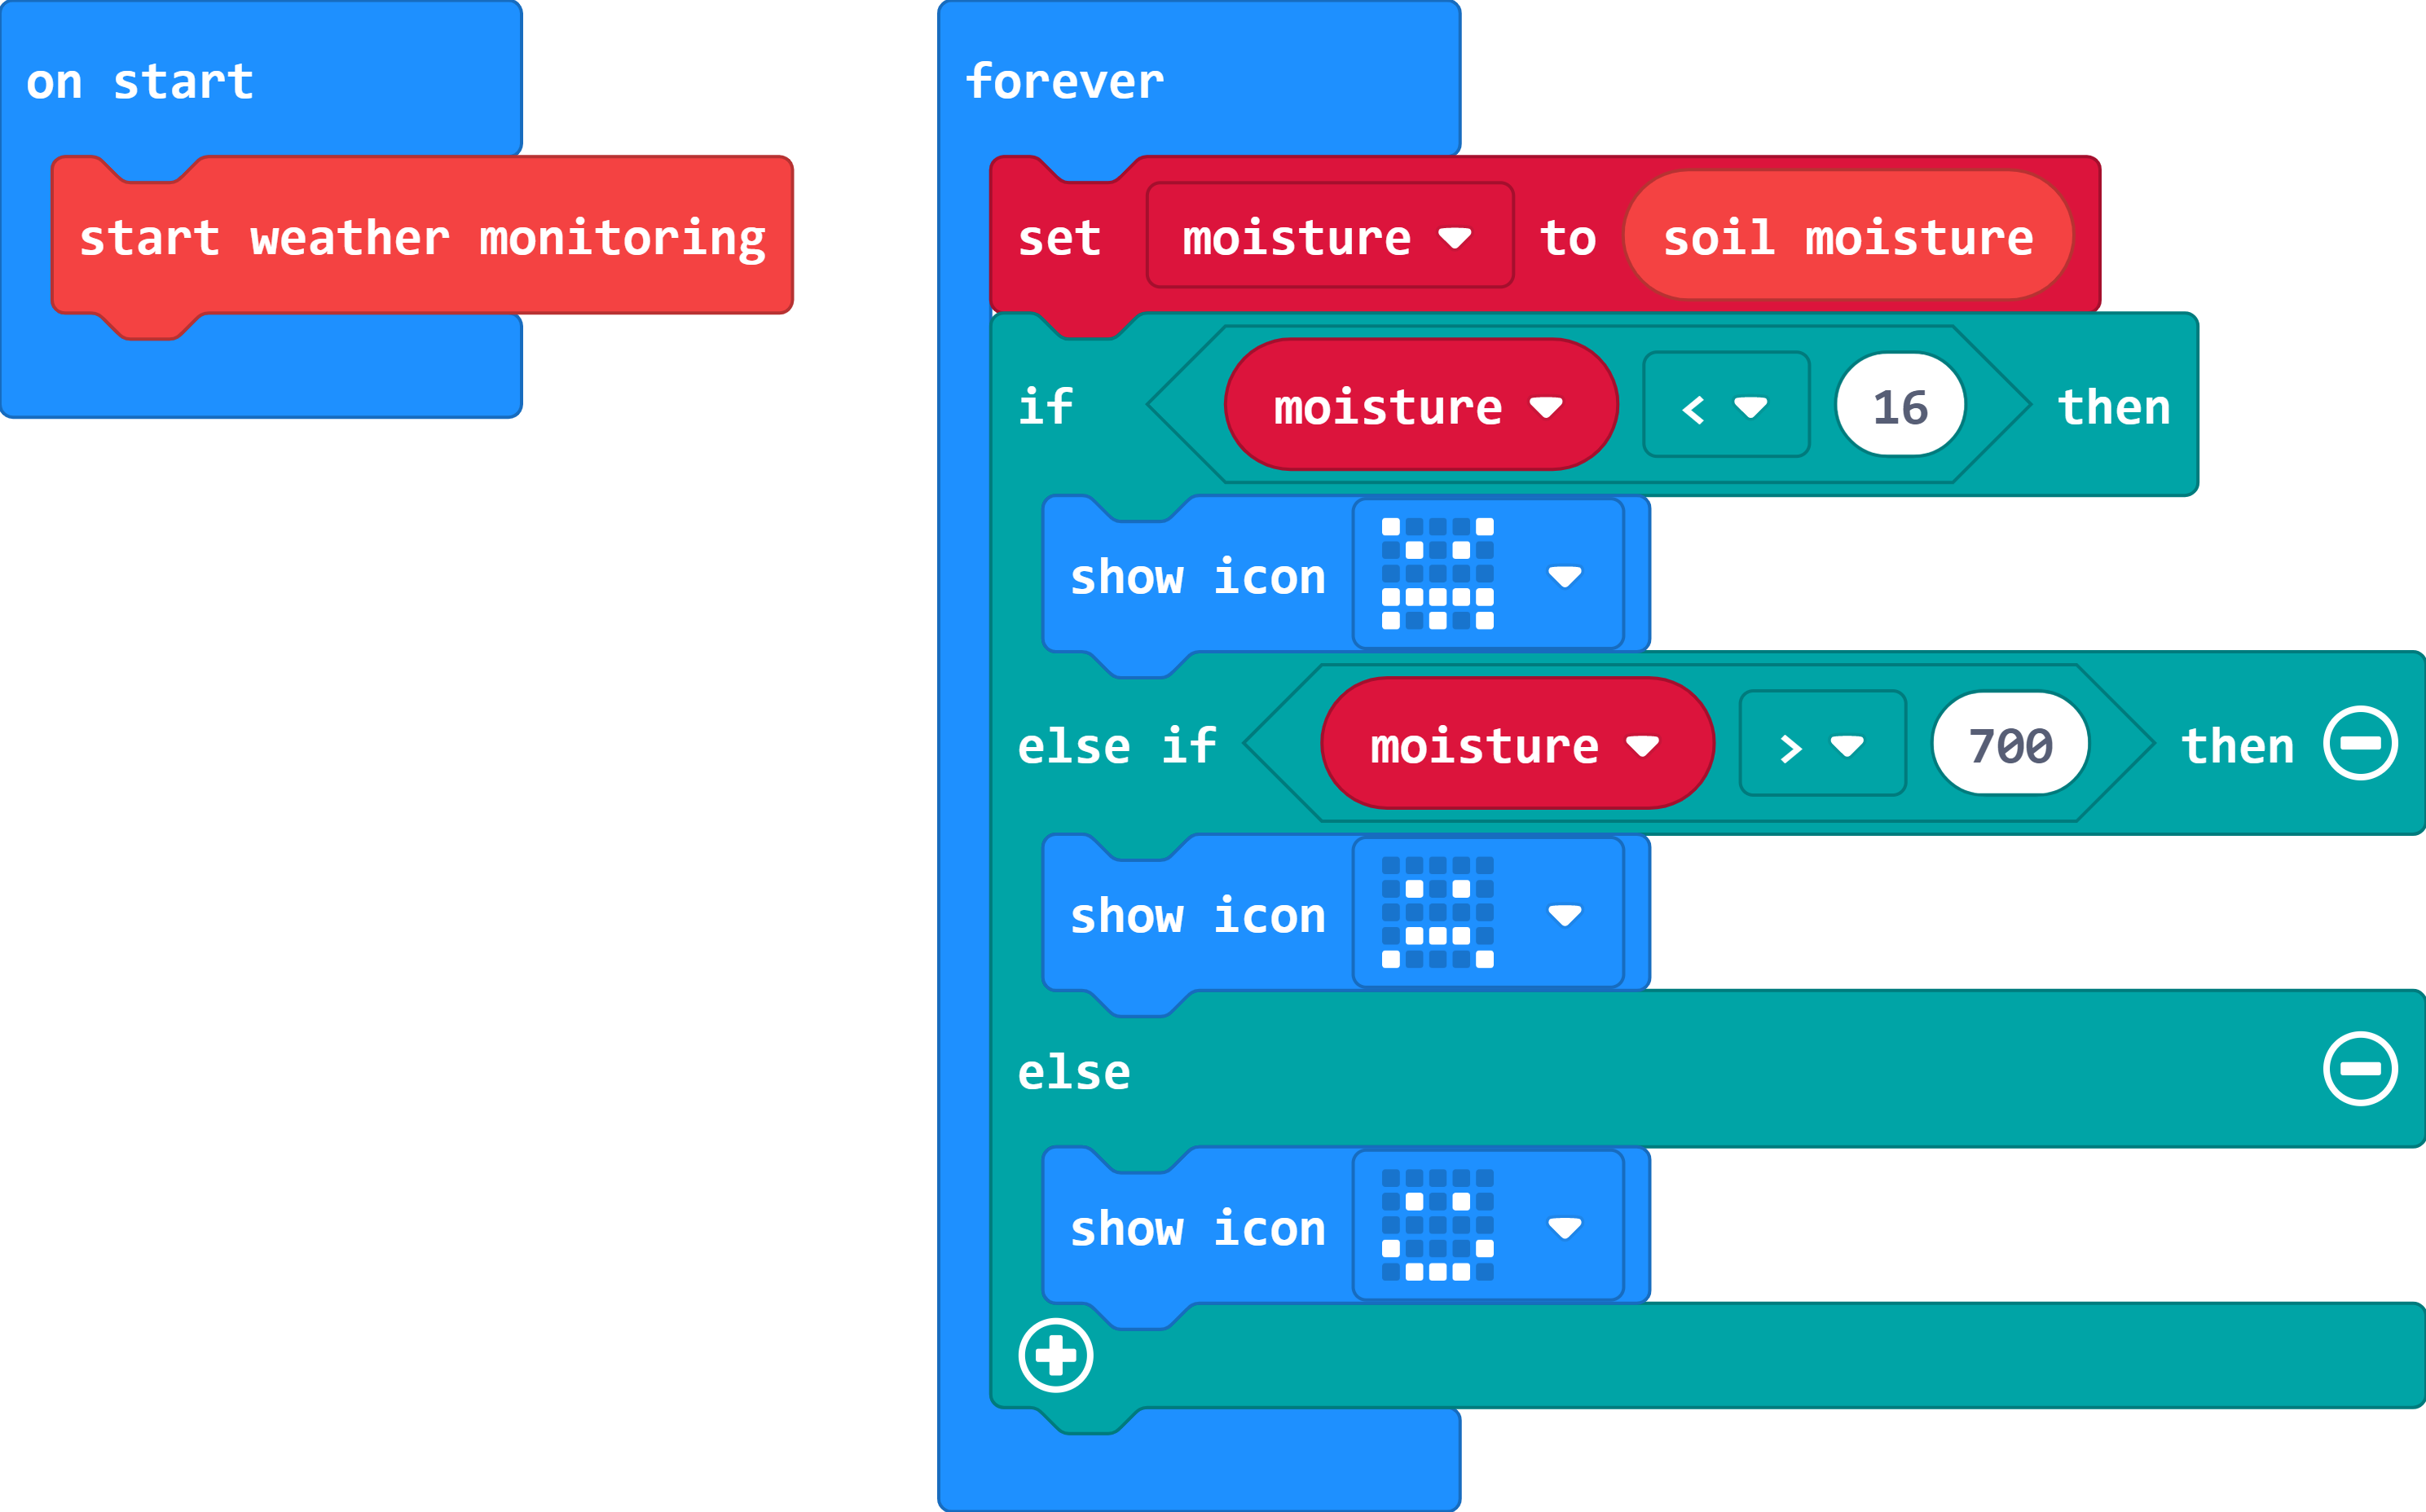
The Soil Moisture block returns an analog value range of 0 - 1023 (a 10 bit number). The lower the number is the less moisture the sensor detects. The "dryness" and "wetness" level depends on your climate, humidity, etc. so we cannot give you a concrete range of what is wet and dry, that is something you will have to fiddle with yourself.
If / Else If / Else
We used an if then block to create some logic that changes based on the soil moisture detected by the sensor. If the moisture value is low the LED array shows an angry face, if just right a smiley face and if too wet and frown.
To add more else / else if options to your if statement click on the small gear and build your state tree using the block interface presented.
Show Icon
The Show Icon block is really useful when you want to display a simple image or icon on the LED array. You can select from a number of premade images from the pull down menu in the block.
What You Should See
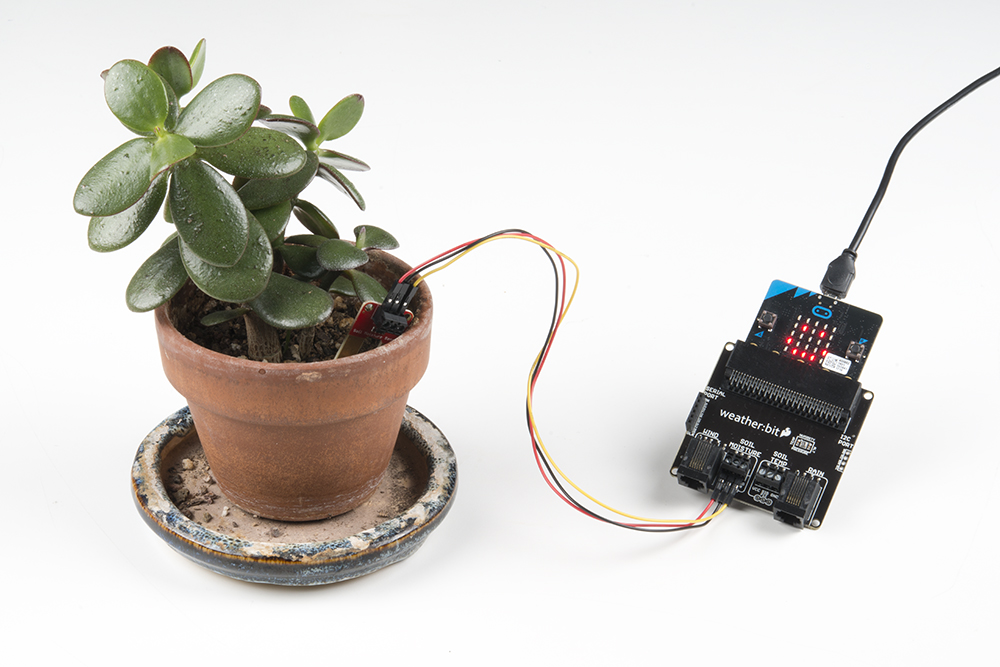
Based on our extensive testing (me pouring water into a pot of soil with the sensor stuck in it), we defined dry, damp and wet states. The image below shows the experiment powered up to test the plant's soil.
When you insert your sensor into a potted plant of your own and run your script, you will see an icon show up on your micro:bit. If you get an angry face, your soil is too dry; a sad face means it is too wet; and finally, a happy face is "moist" and just right. Water as needed to keep your plants "happy."
You may need to adjust the numbers in your code to match the state of preference for your house plants!
Troubleshooting
Odd readings --- Make sure your wiring is correct, if you wire the sensor backwards it will give backwards results.
I never get a "happy" face --- Try playing around with the threshold values in your if statements to find a range that works for your application.
It still doesn't work --- Drop us a line, we would love to help you figure it out!