MicroMod nRF52840 Processor Hookup Guide
 El Duderino, MAKIN-STUFF
Hardware Assembly
Now that we are familiar with the components on the nRF52840 Processor, it's time to assemble it with your chosen MicroMod Carrier Board and connect it to your computer. For this guide, we'll be using the MicroMod Weather Carrier Board.
Inserting the Processor Board
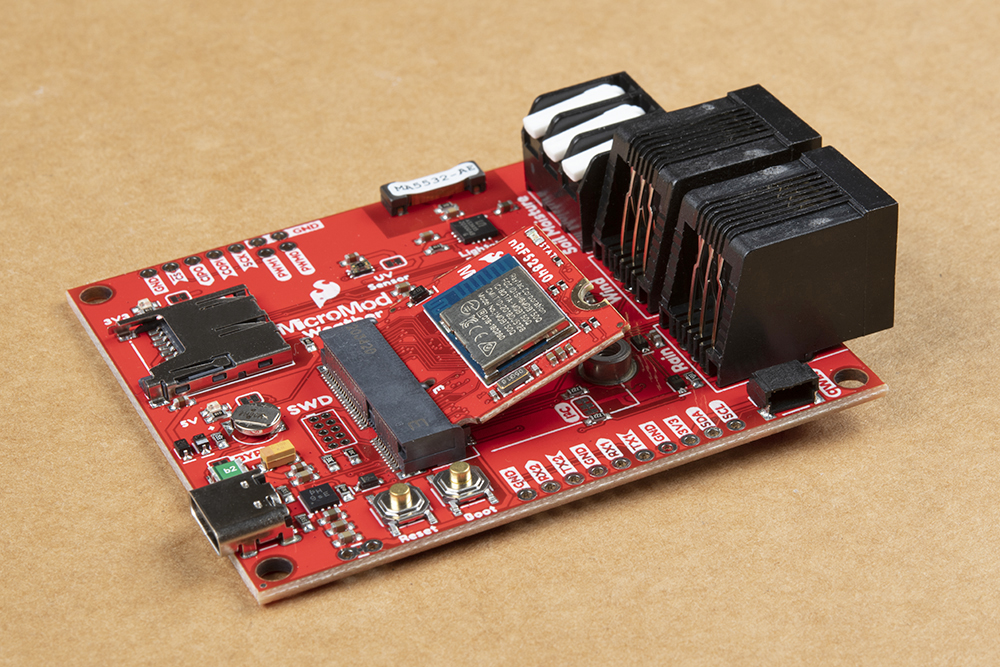
With the M.2 MicroMod connector, connecting your Processor board is a breeze. Simply match up the key on your Processor's beveled edge connector to the key on the M.2 connector. At a 45° angle, insert the Processor board to the M.2 connector. The Processor will stick up at an angle as seen here:
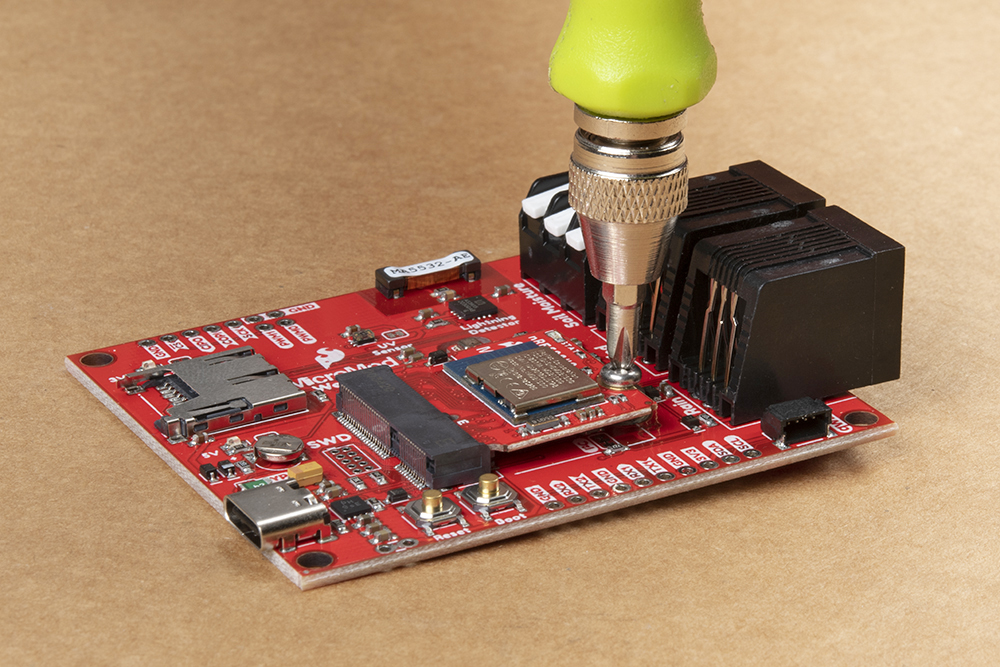
Once the board is in the socket, gently press the Processor board down, grab the set screw and tighten it with a Phillip's head screwdriver:
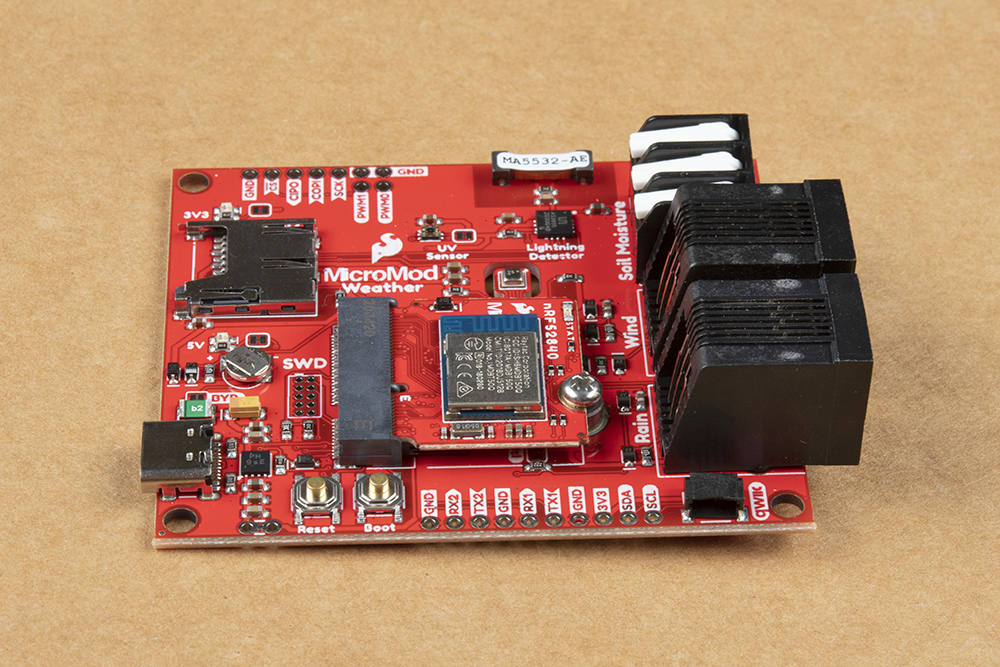
Once the Processor is secure, your assembled MicroMod system should look similar to the image below!
Connecting Everything Up
Depending on which Carrier Board you are using with your nRF52840 Processor, you may want to plug in any other devices (Qwiic breakouts, UART devices, SD cards, I/O devices, etc.) prior to plugging in your Carrier Board to USB. Refer to your Carrier Board's Hookup Guide for specific instructions for Carrier Board peripheral device Hardware Assembly.
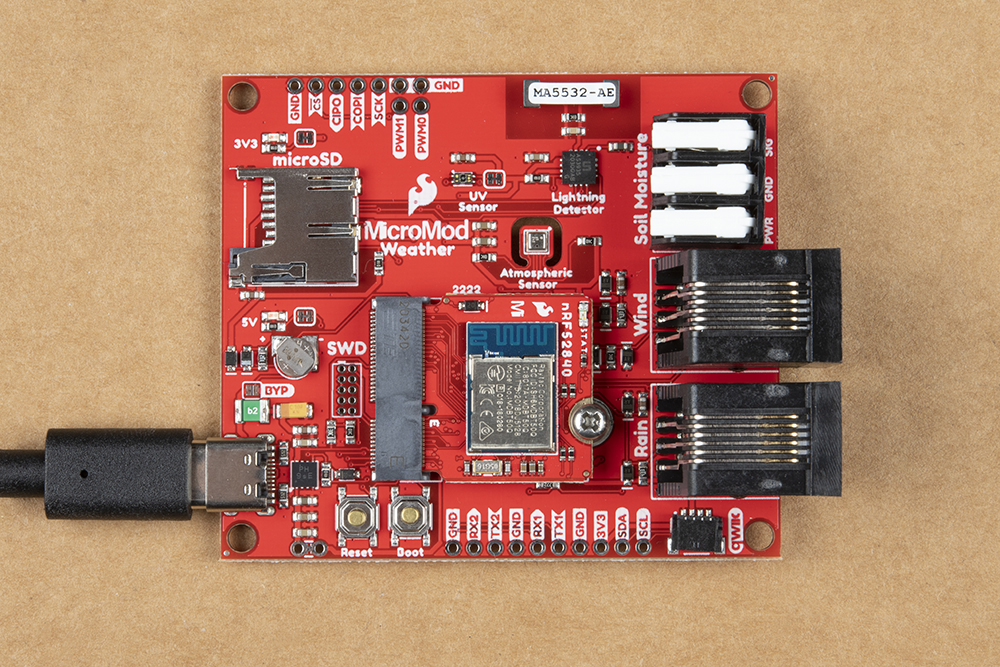
With your nRF52840 Processor inserted and secured and your other devices connected, it's time to connect your MicroMod Carrier Board to your computer using the USB-C connector.
That's it! Now that our MicroMod circuit is assembled, we can move on to setting up the nRF52840 Processor in Arduino to start coding. Read on for detailed instructions on how to add the board to Arduino.