Programming FPGAs: Papilio Pro
This Tutorial is Retired!
This tutorial covers concepts or technologies that are no longer current. It's still here for you to read and enjoy, but may not be as useful as our newest tutorials.
 Toni_K
 Introduction
Written by SparkFun customer Steve Grace, a Design Solutions Verification Engineer
This tutorial will go over the the fundamentals of writing basic Verilog for the Papilio Pro. Verilog is a Hardware Descriptive Language (HDL), and is one of the main languages used to program FPGAs of all flavors.
Required Materials
The following items are utilized in this tutorial:
- Xilinx ISE WebPACK Tools Note: You will want the latest ISE Version (project was made using 14.7) ISE Design Suite
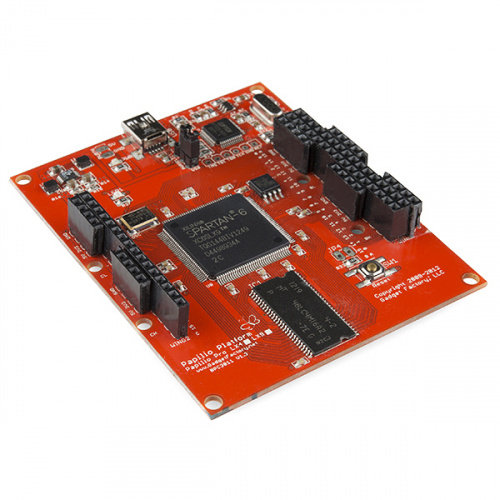
- Papilio Pro
- Sparkfun Cerberus USB Cable
- Papilio Button/LED Wing
- Papilio Program Software
- The Project Source Code from GitHub
Covered in This Tutorial:
Basic Verilog
There are two major HDL styles, Verilog and VHDL. Each have their pros and cons. Since I was trained on Verilog, this is the style I will use.
Here are some of the topics that will be detailed in each section: creating modules, I/O ports, counters, instantiating submodules, parameter definitions, and other basic items.
Code Translation
To truly understand how HDL works on an FPGA, you will have to understand some basics translations from HDL to hardware cells. The hardware that is described will be Look Up Tables(LUTs), flip-flops, registers, carry chains (used in arithmetic), and others.
Basic Simulation using PlanAhead
One of the first aspects of designing hardware for an FPGA is to be able to simulate the design to make sure it works properly and can handle most invalid inputs without causing glitches or other odd behavior.
Topics covered in this section will include types of stimulus, how to execute the code, and reading/understanding waveforms.
Compiling the Code and Programming the Chip
You will learn how to generate the bitstream (the file used to program the FPGA) and the use the Papilio Loader to program the SPI Flash or the FPGA itself.
Suggested Reading
This tutorial is fairly advanced (conceptually and programmatically). Please read up on any of the below concepts that you are not familoar with before continuing:
- Digital Logic
- Boolean Algebra
- Logic Levels
- Binary and Hexadecimal
- Programming basics (due to Verilog being used, C/C++ background/knowledge is highly suggested due to the similarities of syntax)