Programming the Intel® Edison: Beyond the Arduino IDE
 SFUptownMaker
Hello, world!
Now it's time to try the classic "Hello, world!" program (not the classic "blinkenlight" one) in both Eclipse and via the command line.
Eclipse
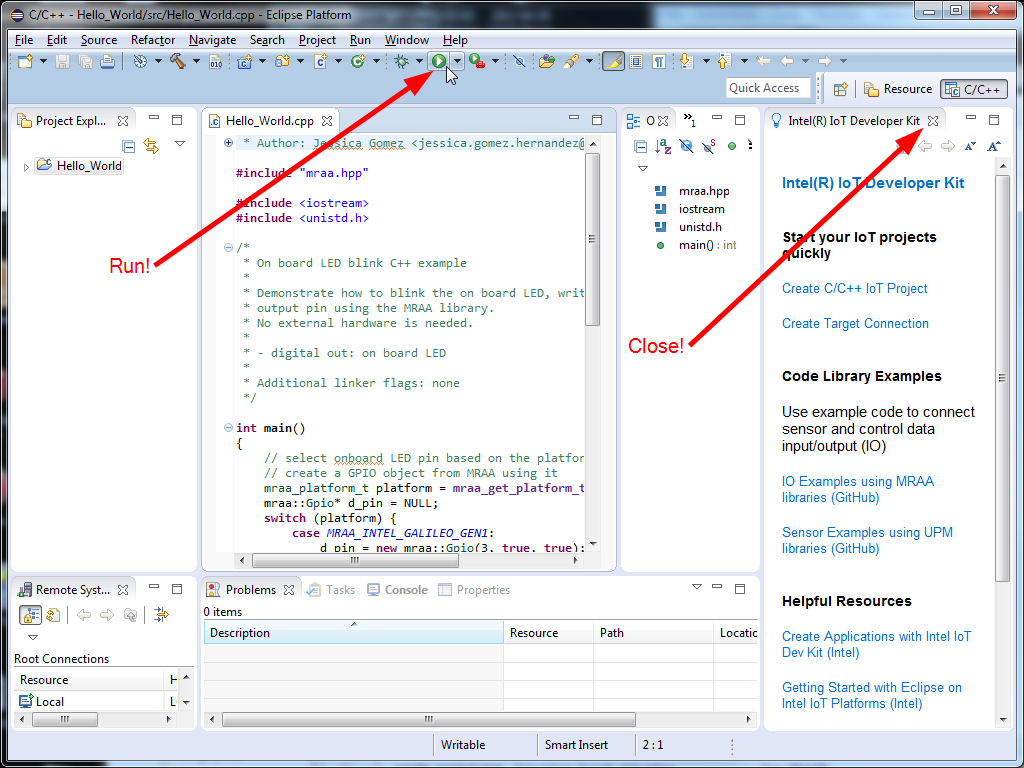
Close that "IoT Developer Kit" frame on the right. It's really just clogging up the works.
Click the "Run" button on the screen that's popped up, and you should be asked to provide login credentials. If not, you're probably not connected and you should go back to the Edison Getting Started Guide and follow the instructions there to get your Edison networked with your development computer. Otherwise, it should build and then deploy on the Edison; you'll know because you'll see some action on the console at the bottom of the screen:
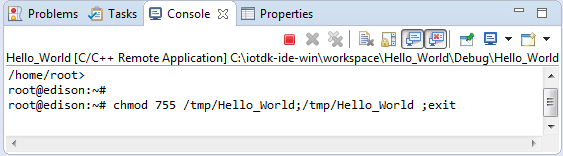
As you can see, this is essentially just a command prompt that you don't have control over. Under the hood, the IDE copied your executable over to the Edison, then launched this shell and ran the program.
If you've got hardware capable of doing it, you've got a blinking LED someplace. Of course, since we're not making the assumption that you have the appropriate hardware, let's change things so we can see something on the console.
Go ahead and delete everything in the main() function, except the return statement. Now, let's add a simple print statement:
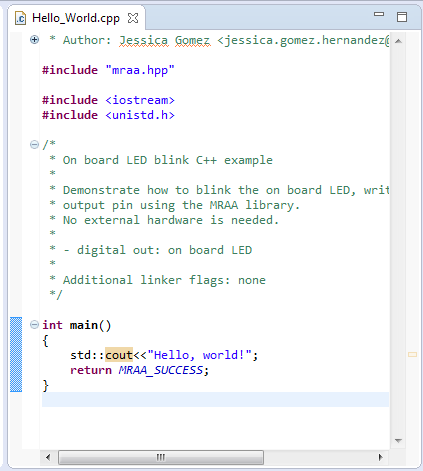
Click that "Run" button again and marvel at the simplicity of--
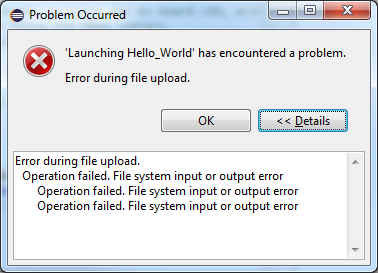
Wait, what?
"Error during file upload." Sounds bad, doesn't it? Oddly enough, the IDE can't (or doesn't) remove or replace the remote binary before trying to copy the new one over; you've got to do that yourself. Fortunately, it's pretty easy to run a terminal window within the IDE so you can do this delete every time you build.
In the upper right corner, click the "Open Perspective" button.
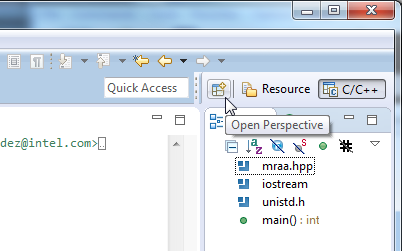
You'll get this dialog box:
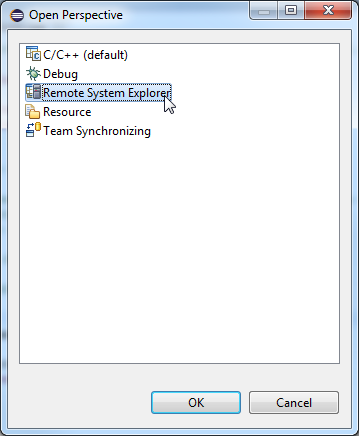
Select "Remote System Explorer" and hit OK.

The "Remote System Explorer" lets you change and view the settings of, well, the remote systems (in this case, the Edison). Right click the "Ssh Terminals" entry and choose "Launch Terminal".
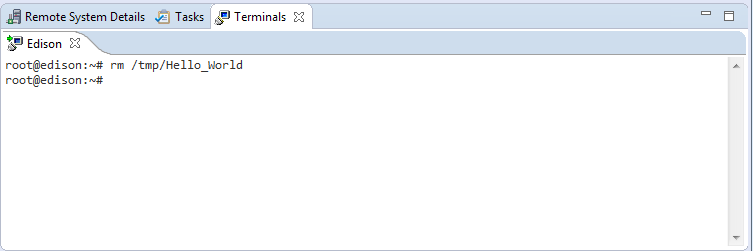
Here's a terminal for you! It's logged in with the credentials you provided earlier (or, if you elected to not retain the login settings, with the credentials you supply upon opening it). Delete the executable with the command shown above. Of course, you'll need to change the name of the file if your project isn't called "Hello_World".
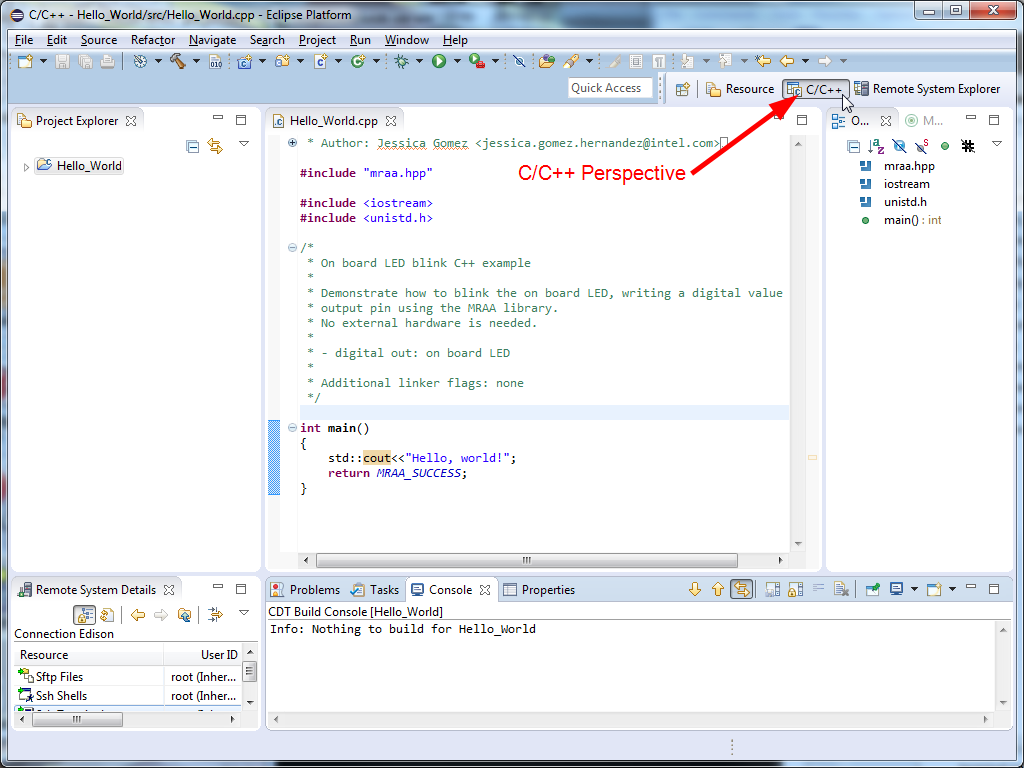
Change the "perspective" (see image above) back to C/C++; if you want to access that terminal again, you can go back to the Remote System Explorer perspective with the button next to the "C/C++" button.
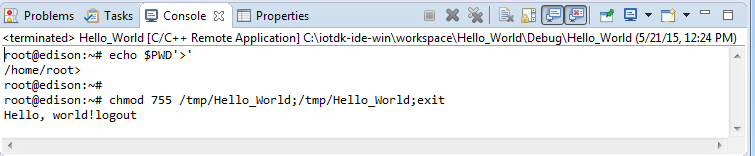
Click that "Run" button again and you'll see the console fill up again. That spurious "logout" at then end of the output is caused by the IDE closing that shell.
Starting your next project
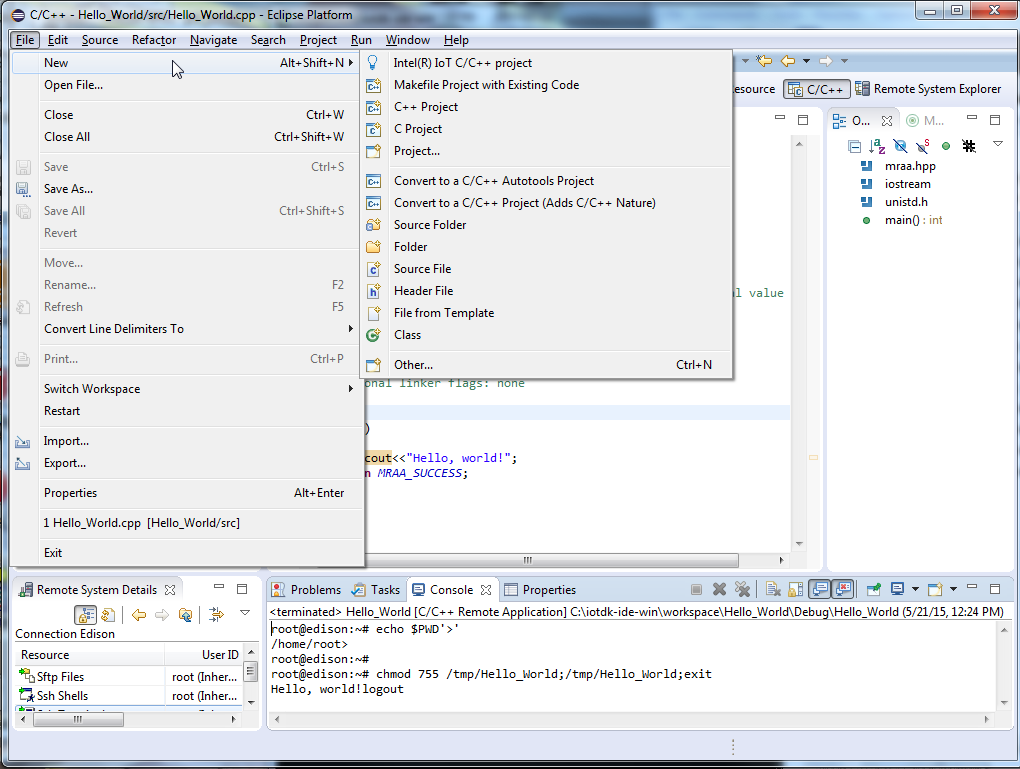
To make your next project, use the "Intel(R) IoT C/C++ project" from the "New" submenu under the "File" menu. Rinse, repeat as needed.
Console
The process for the console is much easier; in fact, in general, when working with smaller programs on the Edison, doing things over the console is the easier path. Larger projects may become unwieldy, and, in that case, Eclipse probably has the upper hand.
The code for the program is the same; in fact, if you already did the Eclipse project above, you can just copy that file over to the Edison using your favorite file copy method.
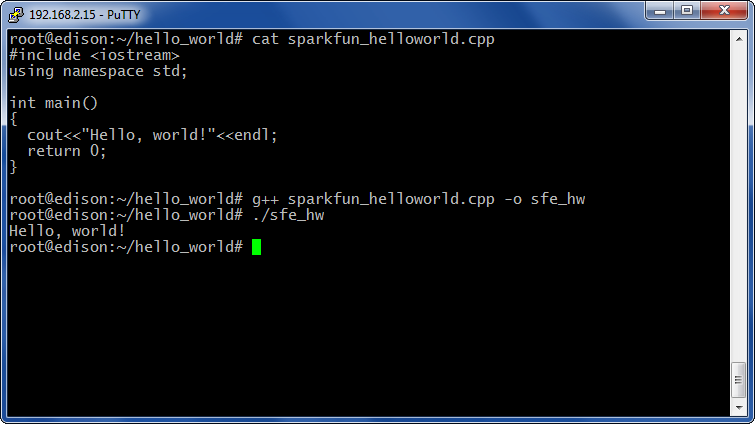
You can see that the contents of the file are the same. On the command line, I invoked g++, and then executed the binary it produced.
For smaller files, that's fine, but what about more complex projects? That's where Cmake comes in. Cmake uses a fairly simple syntax to determine how to build and link multiple files and libraries into one project. It then generates a make file that can be run to do the actual build. I'm not going to delve too deeply into Cmake here; I'll reserve that topic for a later tutorial.