ProtoSnap LilyPad Development Simple Hookup Guide
 jimblom
Sewing the Positives
Now it's time to start sewing conductive traces! I know that the trace from the buzzer to pin 9 is a short, straight one, but we're going to skip that one for now. It has to cross a couple of the LED traces, so we'll do those first. Start with the LED closest to the buzzer, and stitch down the positive terminal with several stitches.
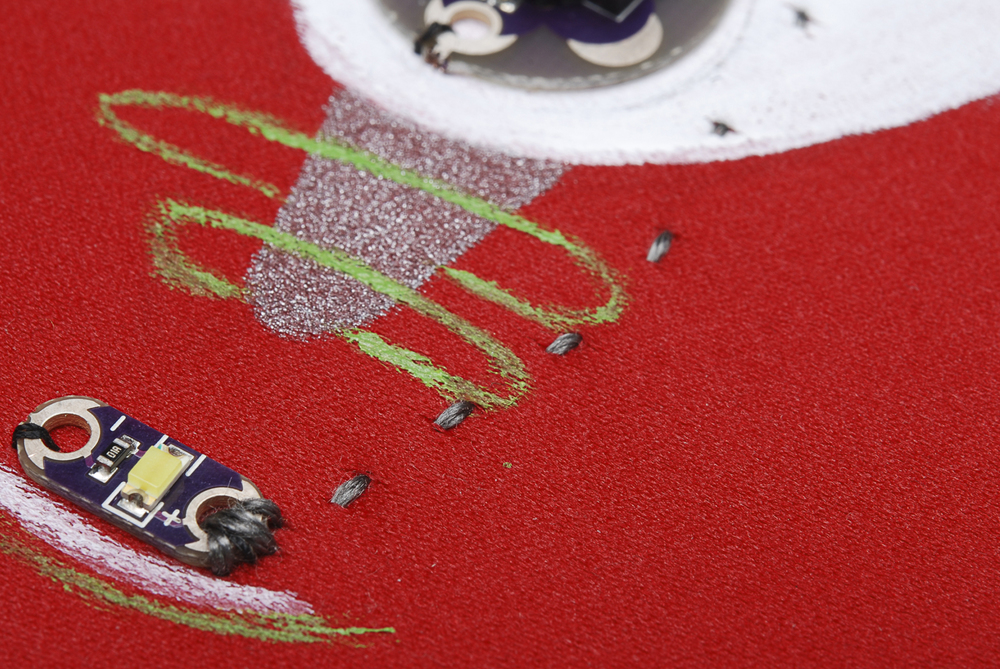
Sew from that positive hole to pin 5 of the Arduino board. You'll want to skirt around the buzzer a little ways, to leave room for the negative trace to leave the buzzer. When you get to pin 5, stitch it down several times before knotting and cutting your thread.

Sew down the positive side of the next LED, connecting it to pin 6.

Make sure you keep some distance between these traces -- you don't want them to touch.

Stitch down the positive side of the third LED and connect it to pin 10.

Stitch down the positive side of the last LED and connect it to pin 11.
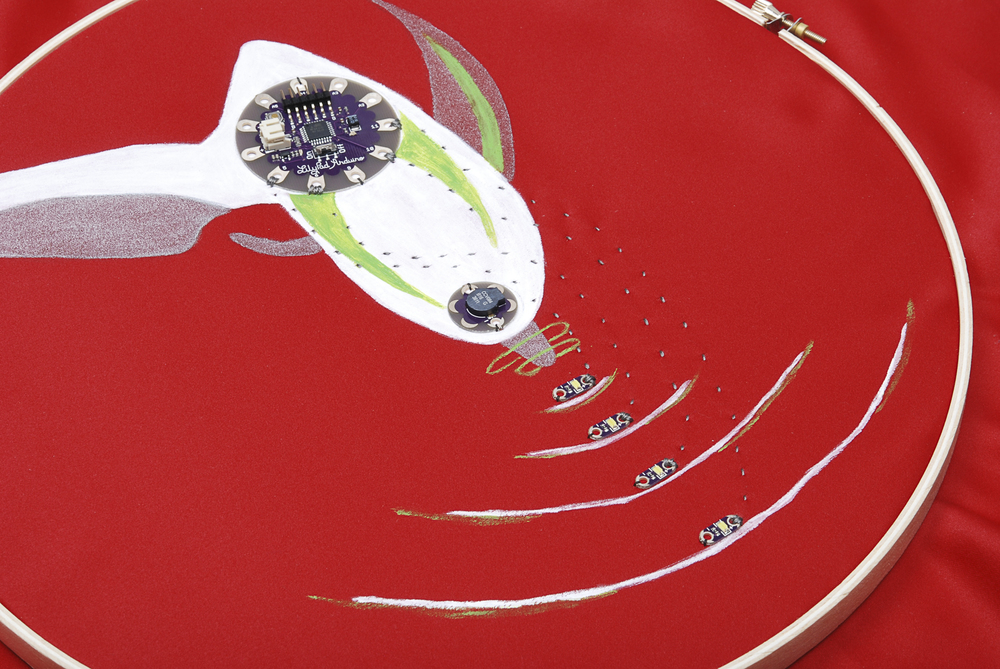
Take a second to double check that your traces aren't touching, both on the front and the back.
