Prototype Wearable LED Dance Harness
 bboyho
Stitching It Together
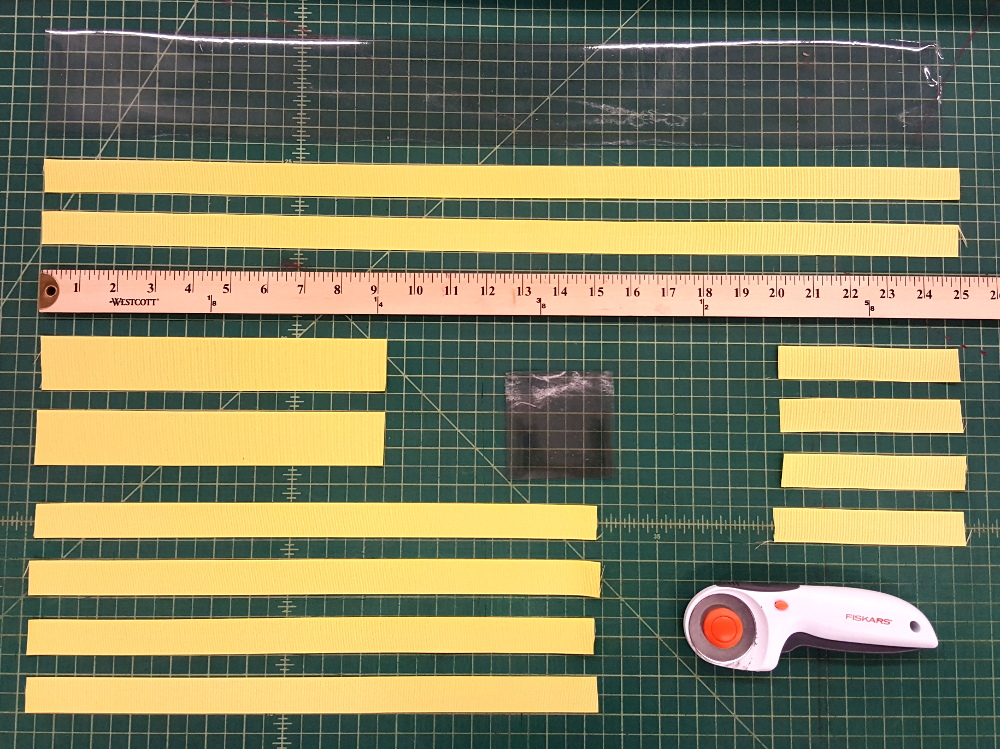
From the image shown below, prepare the fabric based on the user's height by cutting the ribbons and transparent vinyl. Carefully heat the ribbon ends with lighter to prevent the ends from unraveling. Listed below are the average lengths used for a kid.
- 2x Transparent Vinyl - 25"
- 4x Transparent Vinyl - 3"
- 2x 0.5" Ribbon A (for the top) - 25"
- 2x 1.0" Ribbon B (for the back) - 9"
- 4x 0.5" Ribbon C (for the front ribbon ties) - 15"
- 4x 0.5" Ribbon D (for the bottom) - 5"
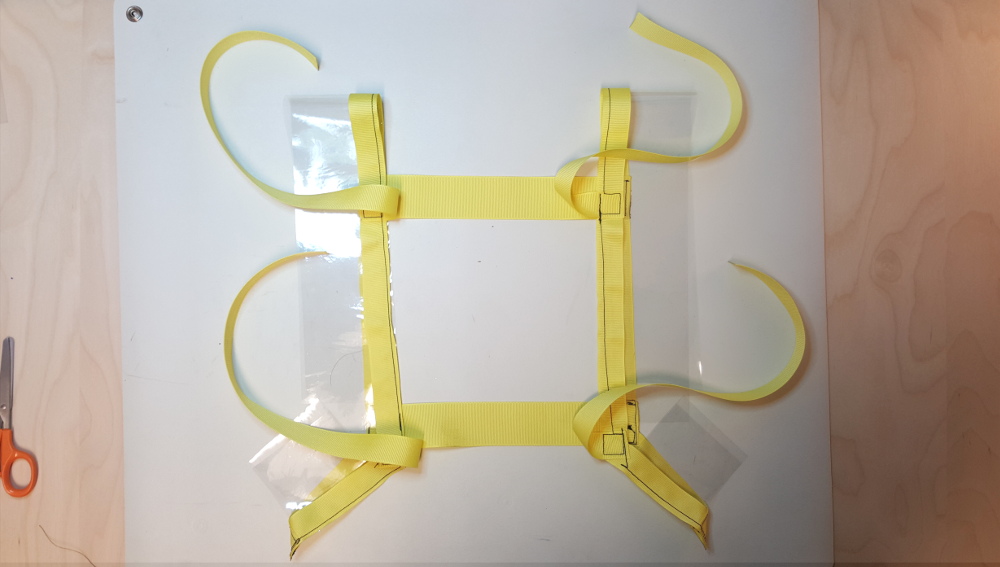
Pin down the bottom of the harness and sew the ends together in a square pattern with a needle and thread.
Pin and sew the bottom of the harness with the longer piece of ribbon. Make sure to sew the end in a triangular or square pattern to secure the ribbon.
Make sure that the ribbon is flat and facing the same direction when sewing the top and bottom together. They should be free from any twists.

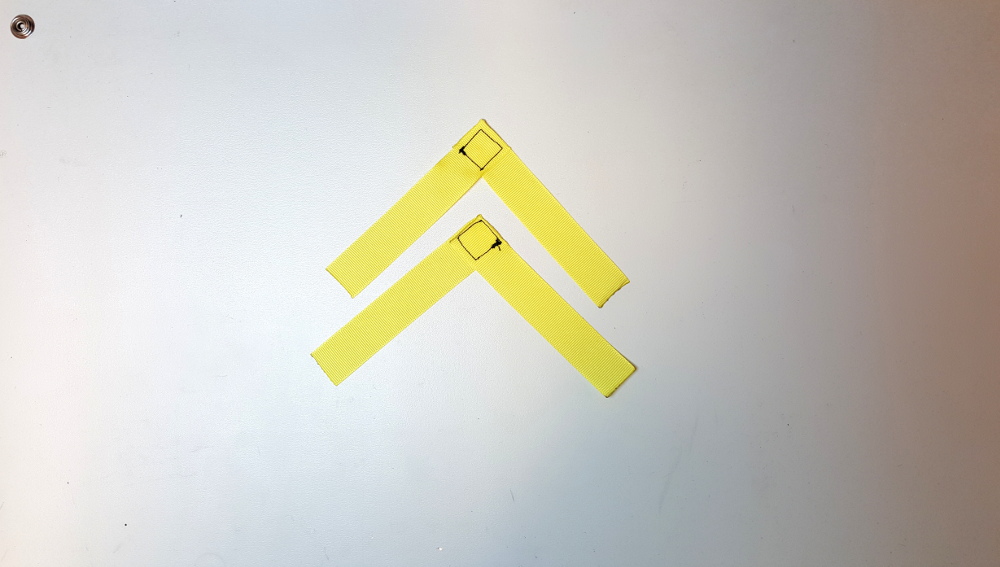
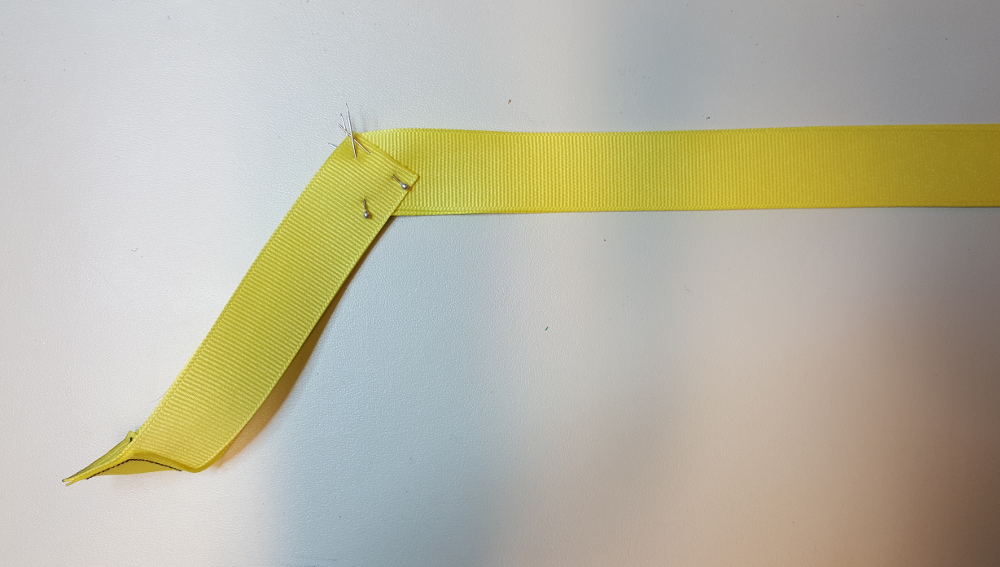
Starting with the right side of the harness, pin and sew the ribbon ties for the sternum and waist. The ribbon tie for the chest was about 10 inches above the waist. The ribbon tie for the waist was added to the bottom of the long strip. Repeat for the left side. Choosing one side of the harness, attatch the back ribbons using the same 10 inch spacing as the ribbon ties.

At this time, sew the opposite side to the harness. Using pins and a sewing machine, sew clear vinyl to the inside of the ribbon to the top and bottom each side. The vinyl should wrap around the LEDs and end behind the LEDs.

The completed harness should look like the image below.