Qwiic Keypad Hookup Guide
Arduino Examples
Example 1: Read Button
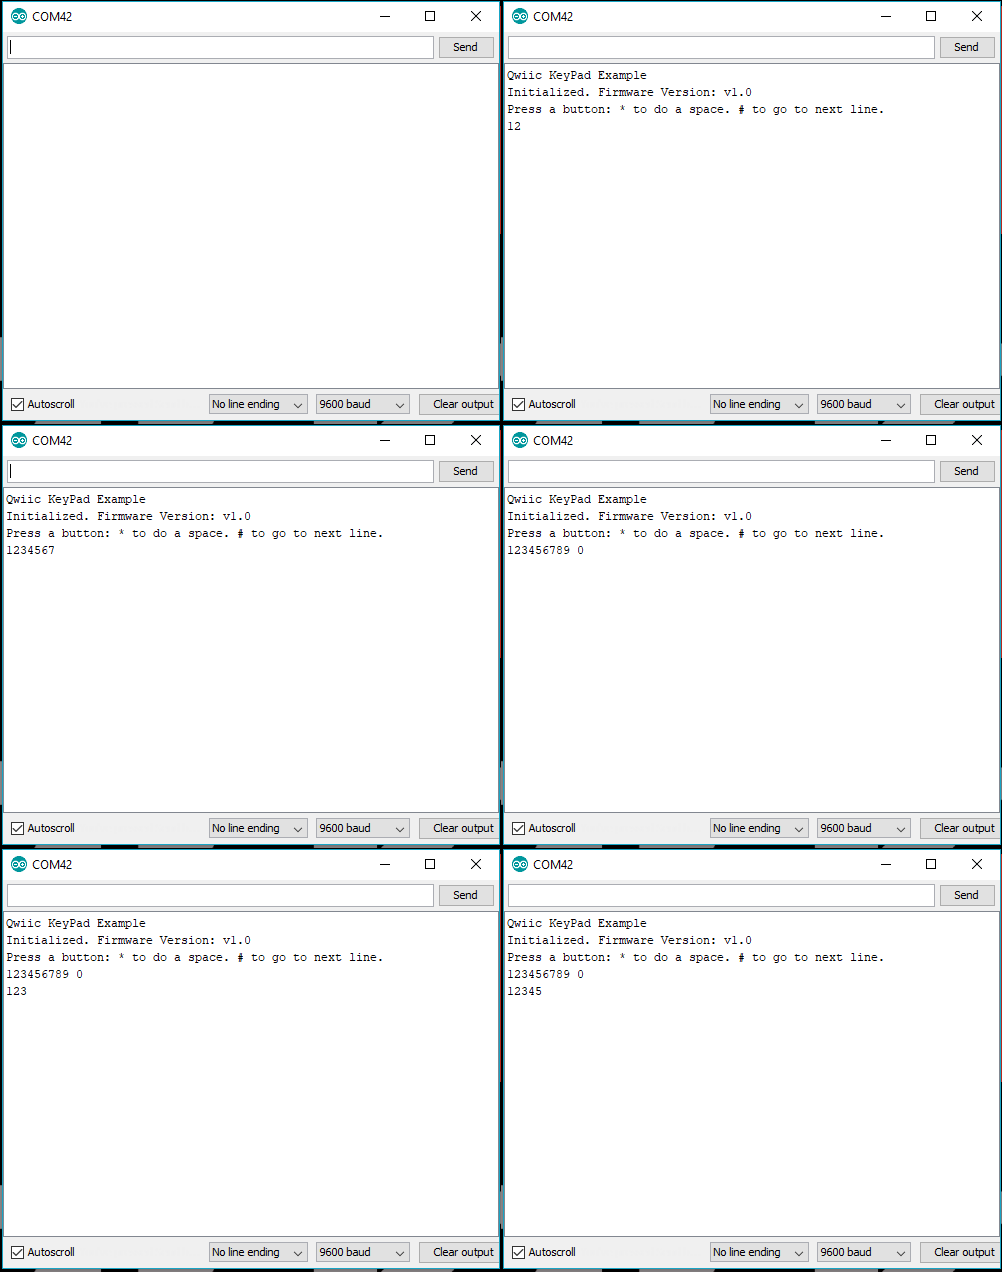
The code for Example1_ReadButton connects to the Qwiic Keypad and prints out the value over the Serial Monitor. Below is a sample readout from the Serial Monitor using sequential button presses of: 1, 2, 3, 4, 5, 6, 7, 8, 9, *, 0, and #.
Example 2: Read with Time
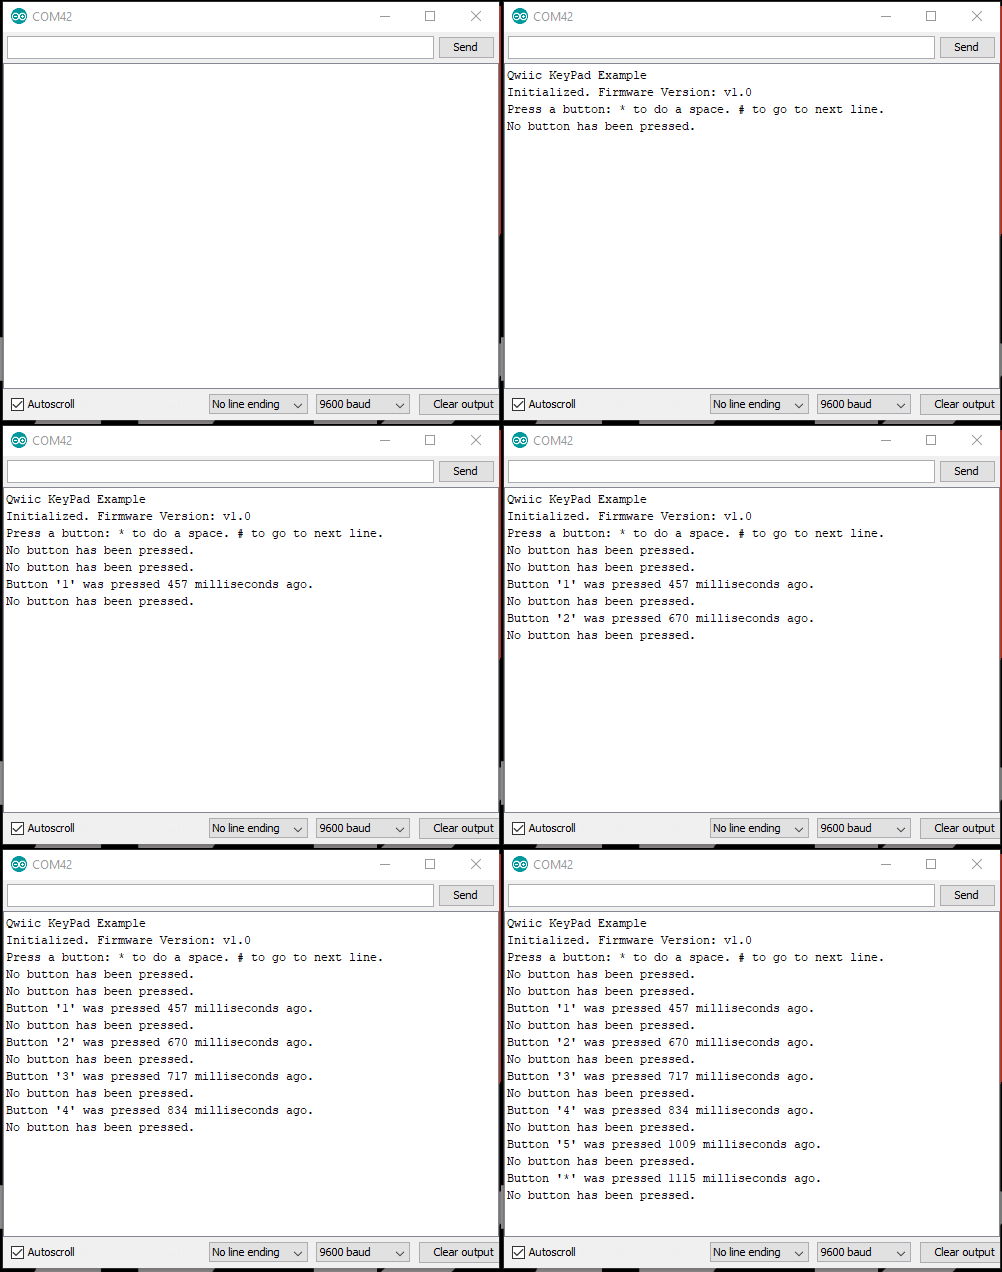
The code for Example2_ReadWithTime operates exactly like the Example1_ReadButton, except the time between since the last button press is printed. Below is a sample readout.
Example 3: Change I2C Address
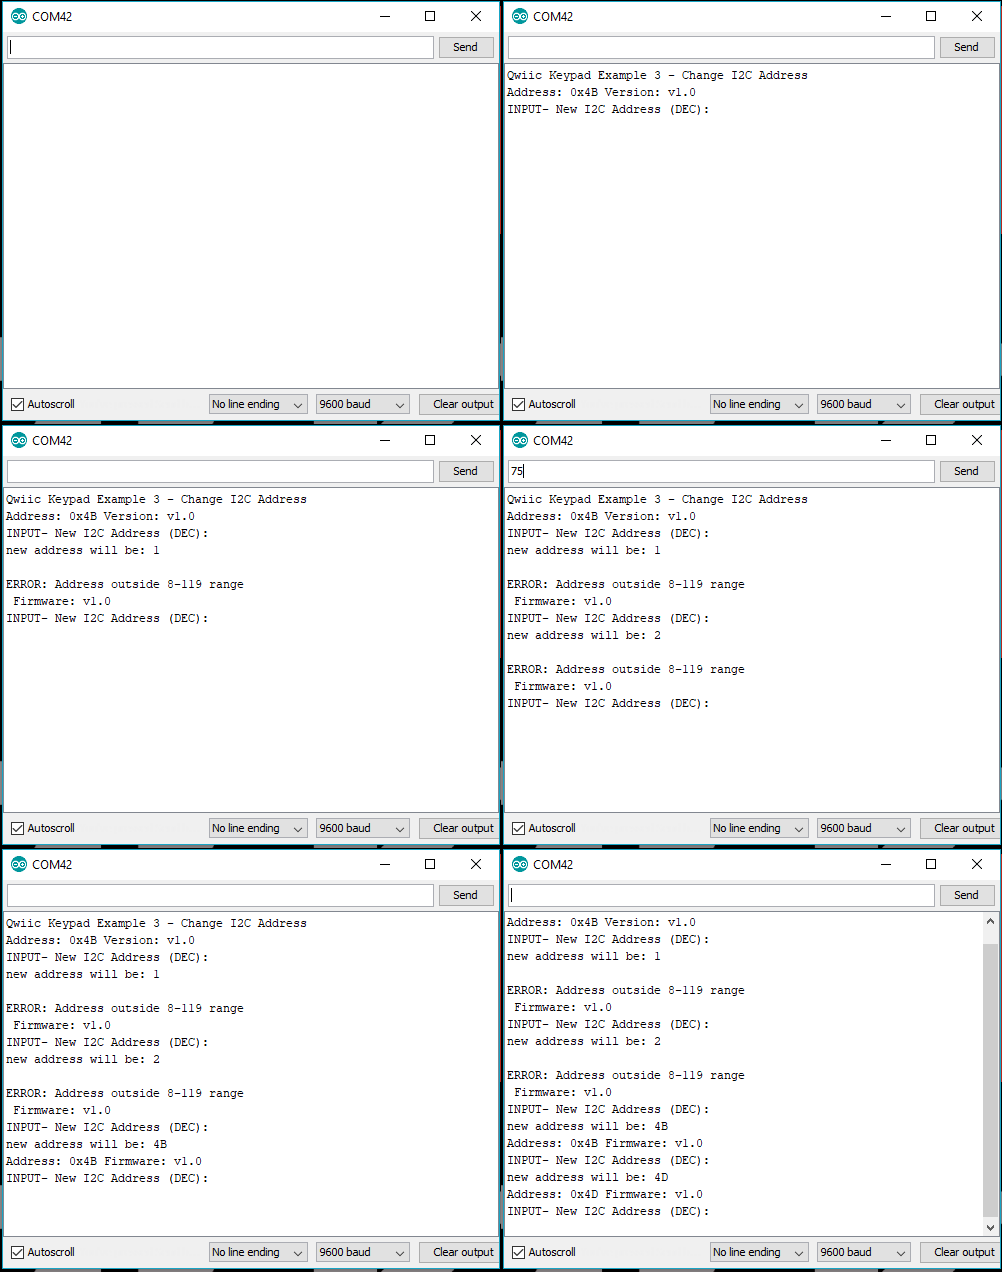
The code for Example3_ChangeI2CAddress connects to the Qwiic Keypad using the default I2C address set in the library and then prints out the I2C address and firmware version over the Serial Monitor. The sketch then, takes an input from the Serial Monitor to change the I2C address using a decimal value (DEC). Once the I2C address is changed, it is stored in the EEPROM of the Qwiic Keypad. After, the sketch connects to the keypad using the new I2C address and reads the registers for the firmware version again. The example then prints out those values over the Serial Monitor again. As shown in the sample readout below, the input value must between 8-119 (DEC) of unreserved I2C addresses.
Example 4: I2C Scanner
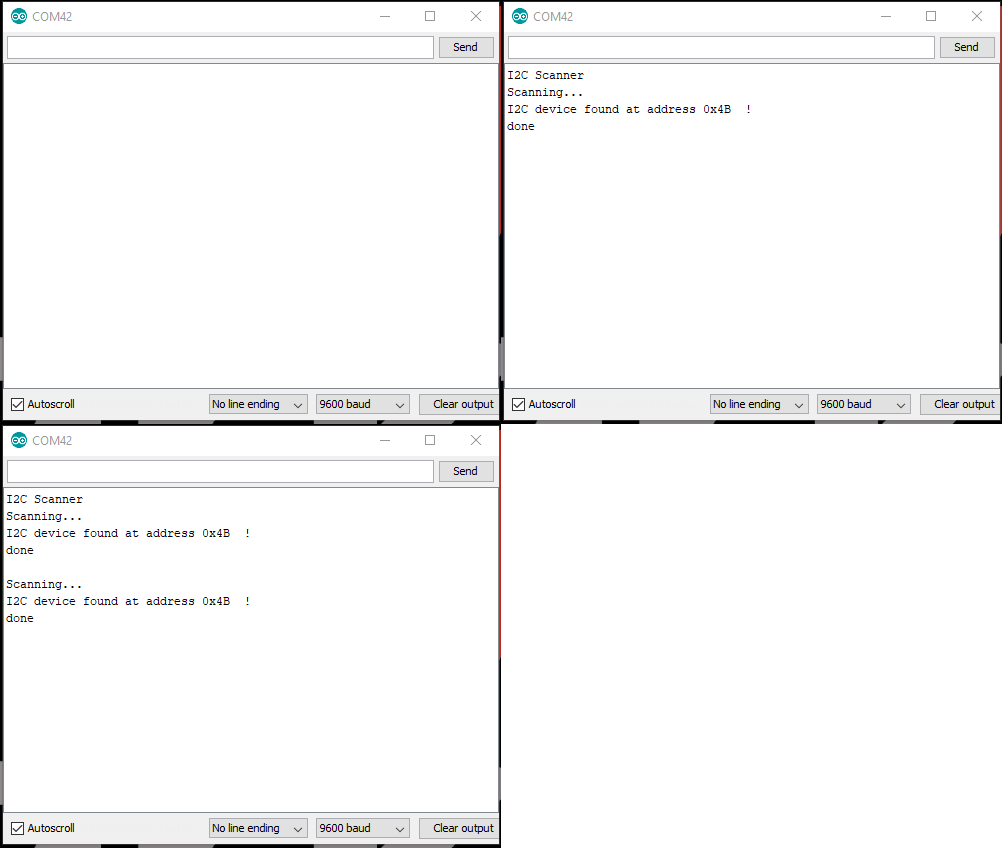
The forth example, Example4_I2CScanner, scans for devices on the I2C bus and reports them on the Serial Monitor. This is useful for users who have forgotten the changed I2C address of their boards.
Example 5: Read with Interrupt Pin
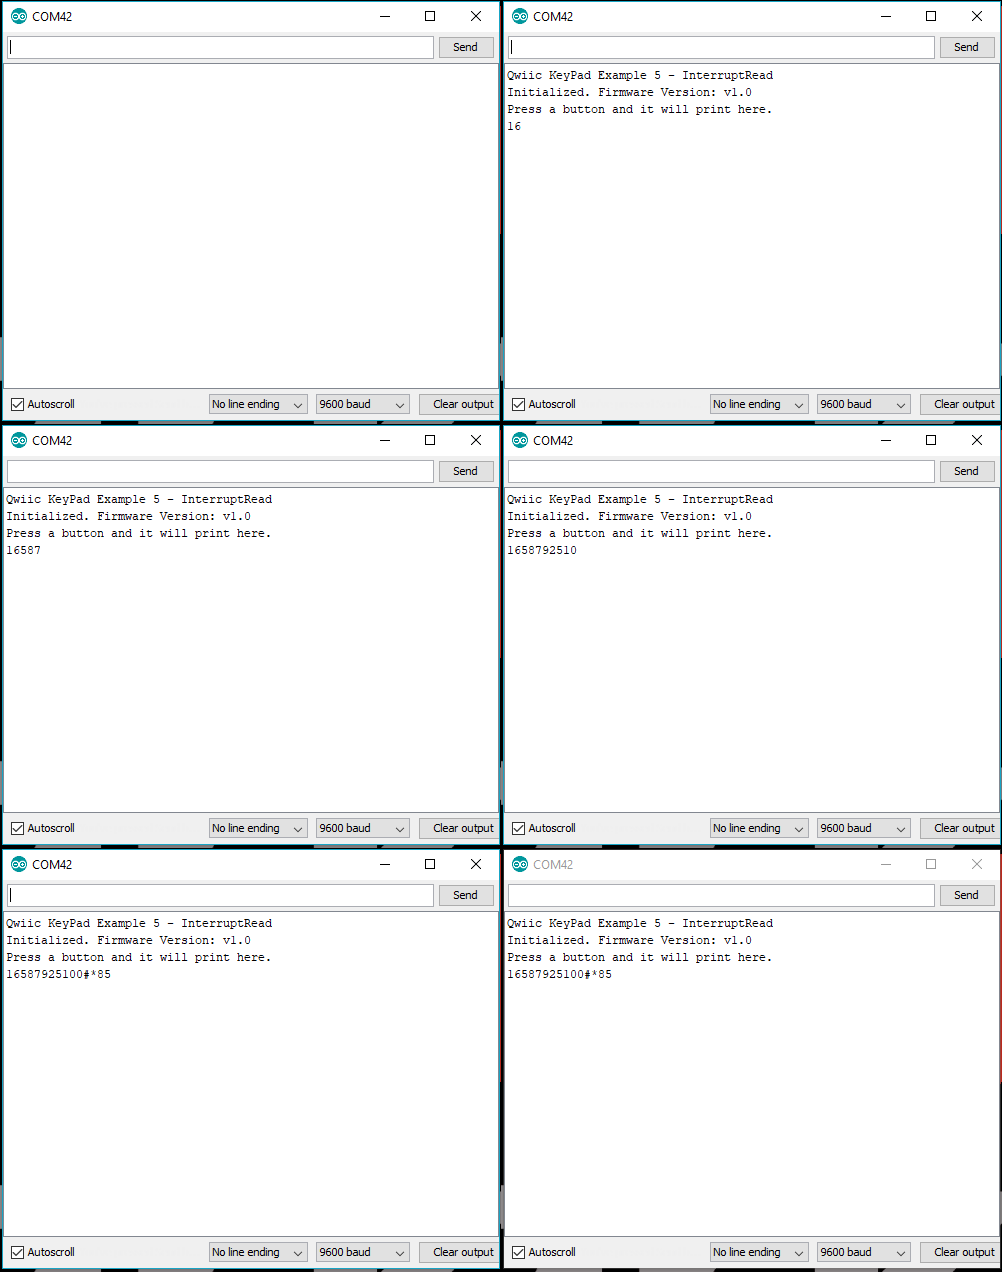
The code for Example5_InterruptRead operates similar to Example1_ReadButton, except that instead of constantly polling the keypad for button presses in software, it responds to a hardware trigger on the interrupt (INT) pin. For more details on interrupts, check out this tutorial on Processor Interrupts with Arduino .
Example 6: Key in Code
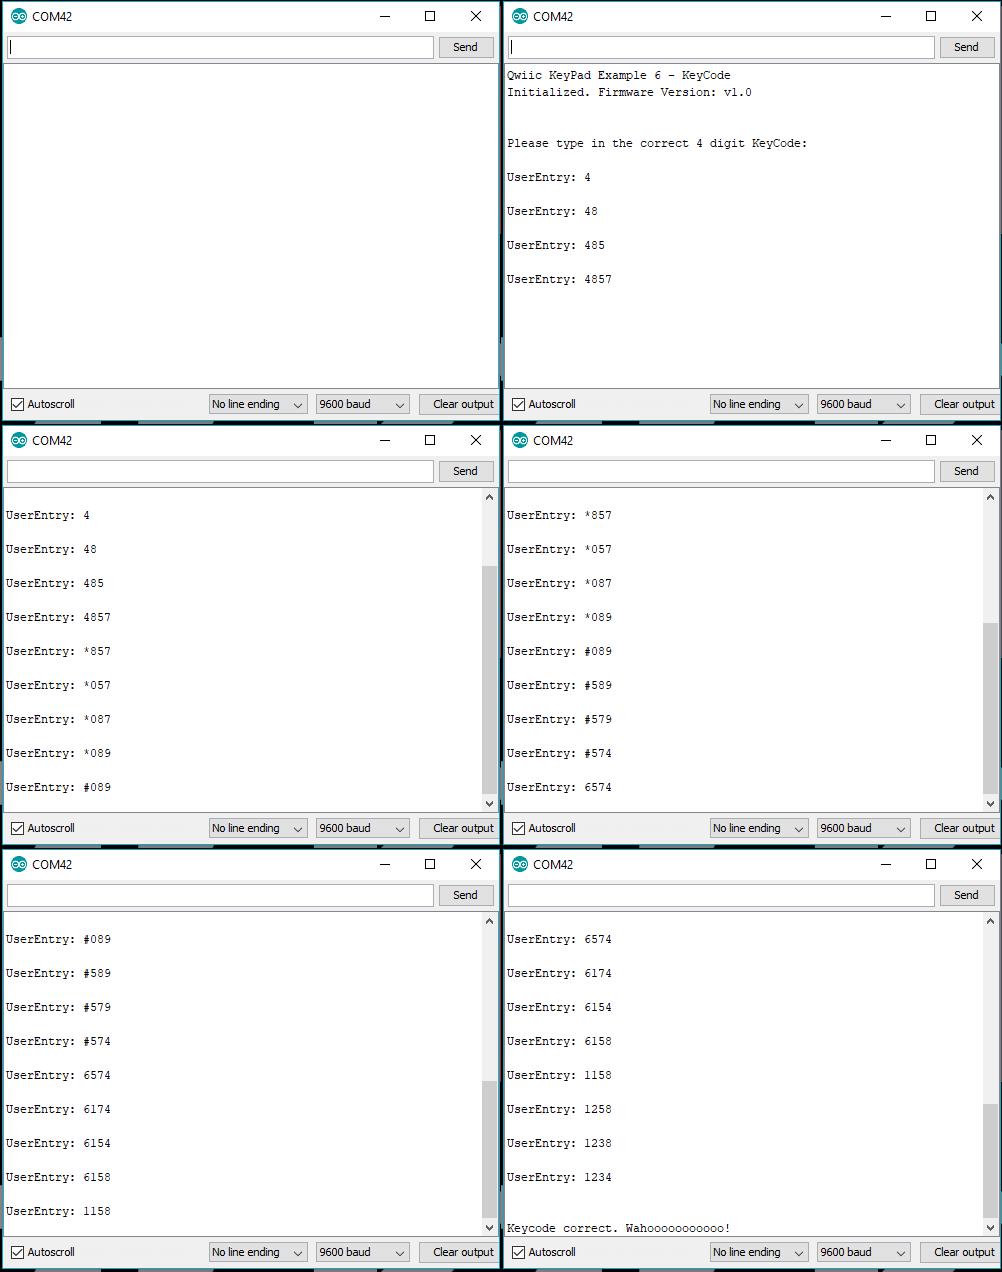
The last example, Example6_Keycode, is a use case example, in which the user must input the correct key code: 1, 2, 3, 4.
