Qwiic Kit for Raspberry Pi Hookup Guide
This Tutorial is Retired!
Note: This tutorial is for the Qwiic Starter Kit for Rasberry Pi V1. For users with the Qwiic Starter Kit for Raspberry Pi V2, make sure to check out the updated tutorial.
View the updated tutorial: Qwiic Kit for Raspberry Pi V2 Hookup Guide
Contributors:
 M-Short,
  bboyho
M-Short, bboyho 
Example Code
We've written some example code to read the sensor data and display a few sensor values to the micro OLED. In your terminal window, type the following to download the demo code from the GitHub repository.
language:bash
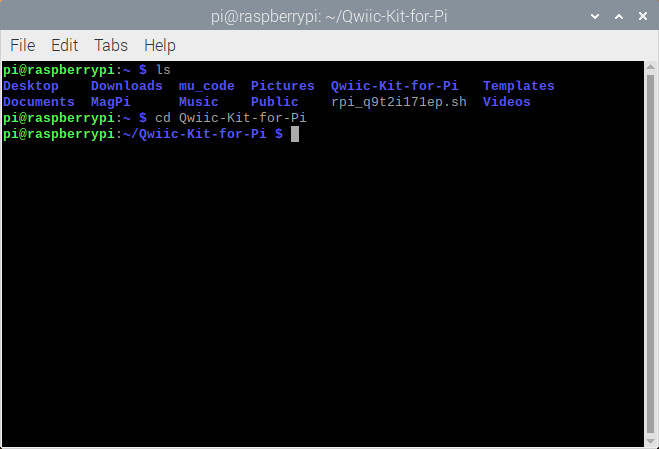
git clone https://github.com/sparkfun/Qwiic-Kit-for-Pi.git
Then navigate to folder by typing the following command in the command line.
language:bash
cd Qwiic-Kit-for-Pi
You can also navigate to the folder /home/pi/Qwiic-Kit-for-Pi to open the example in your favorite Python editor. In this case, we use opened the code in the Thonny editor.
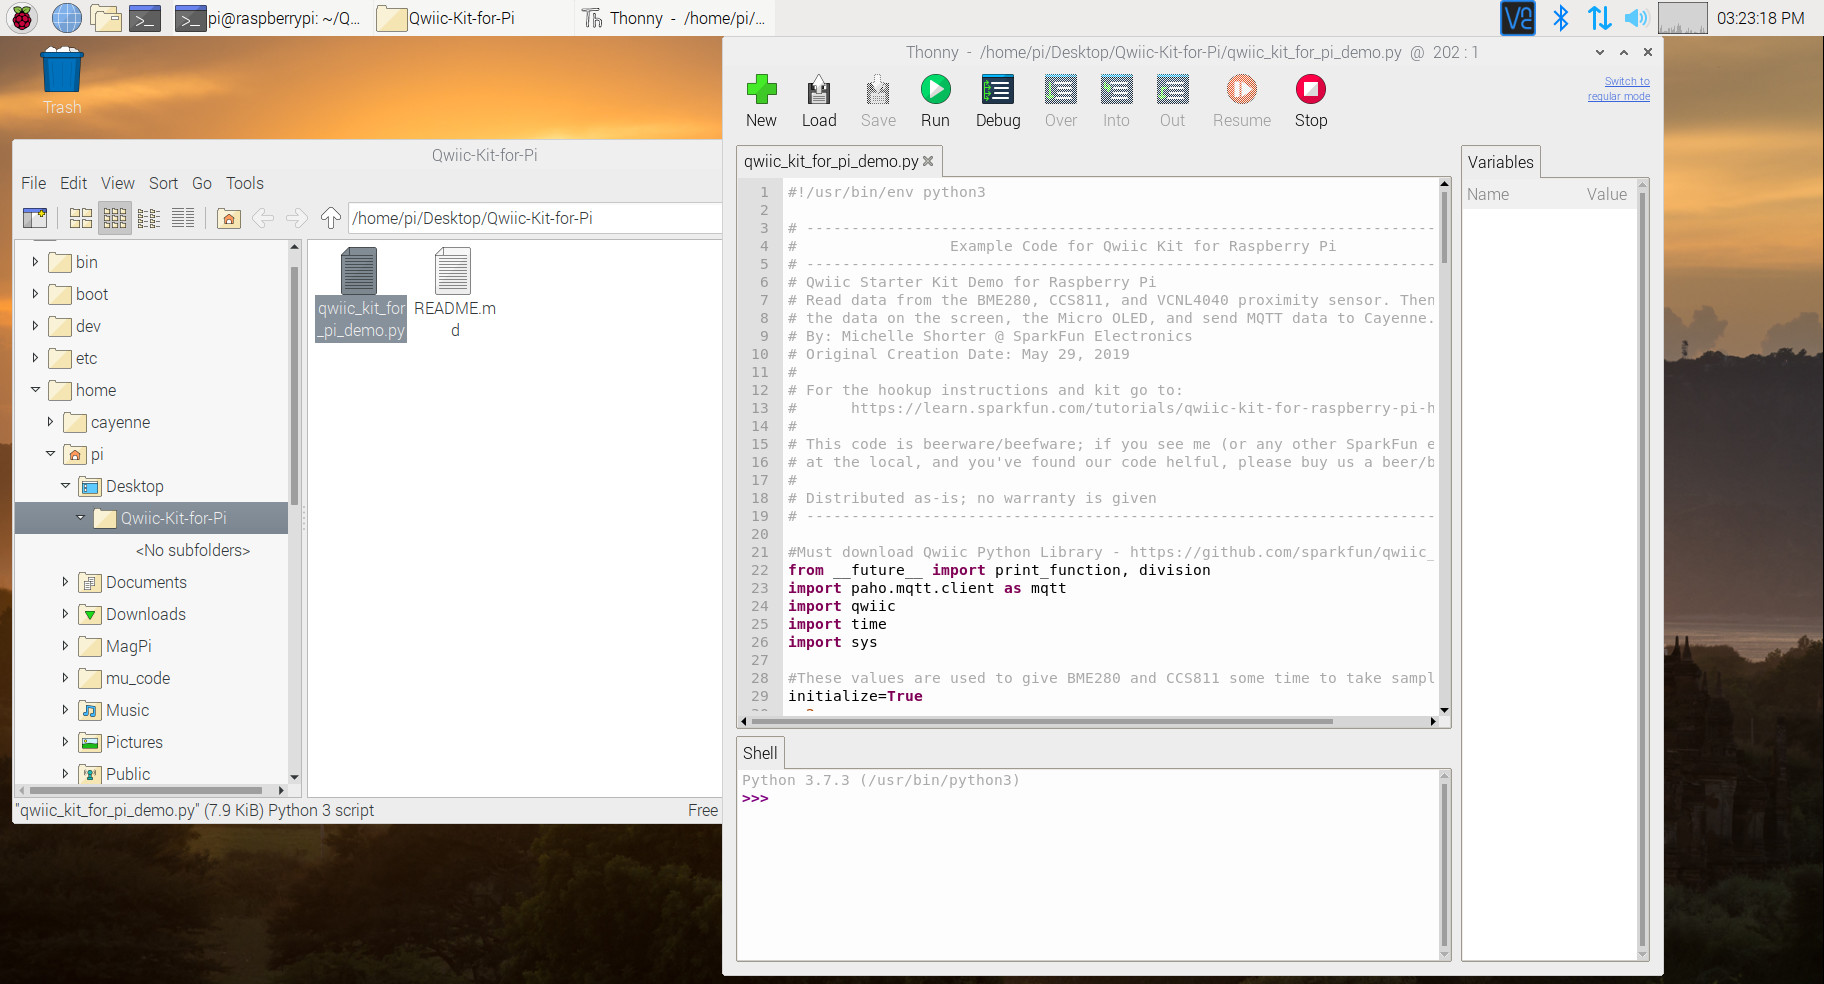
We recommend opening the example code in a Python editor to follow along before running the demo.