Qwiic MUX Hookup Guide
 Englandsaurus
Hardware Assembly
Arduino Example
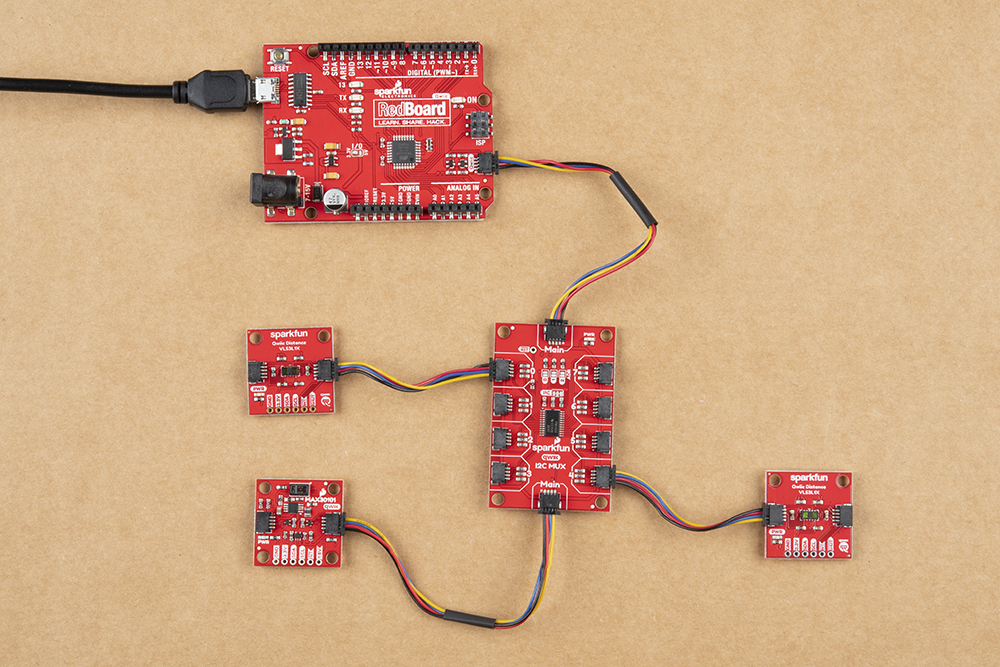
Just plug one end of the Qwiic cable into the Main connector on the Qwiic multiplexer breakout and the other end into Qwiic connector on your Qwiic enabled microcontroller. If it seems like it's too easy to use, but that's why we made it that way! Otherwise, if you chose to use a Qwiic shield/adapter, now would be the time to head on over to that tutorial to assemble the shield.
With the shield assembled, SparkFun's new Qwiic environment means that connecting the mux could not be easier. Just plug one end of the Qwiic cable into the Qwiic multiplexer breakout (Main connector) and the other into the Qwiic Shield; then, you'll be ready to upload a sketch and figure out just how all those address sharing sensors are behaving.
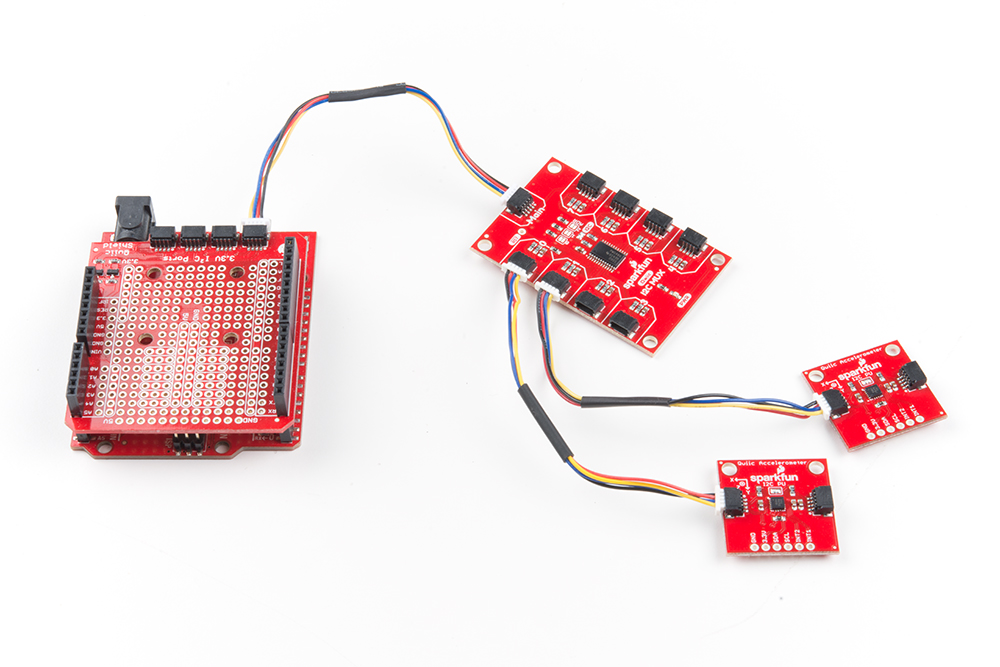
Revision Update: Users can now daisy chain the Qwiic Mux in between other Qwiic boards.
Raspberry Pi Examples
Note: This board and the Python package have not been tested on the newly released Raspberry Pi 4 because we don't carry it in out catalog yet.
Update: This board and the Python package have been verified to work with the Raspberry Pi 4.
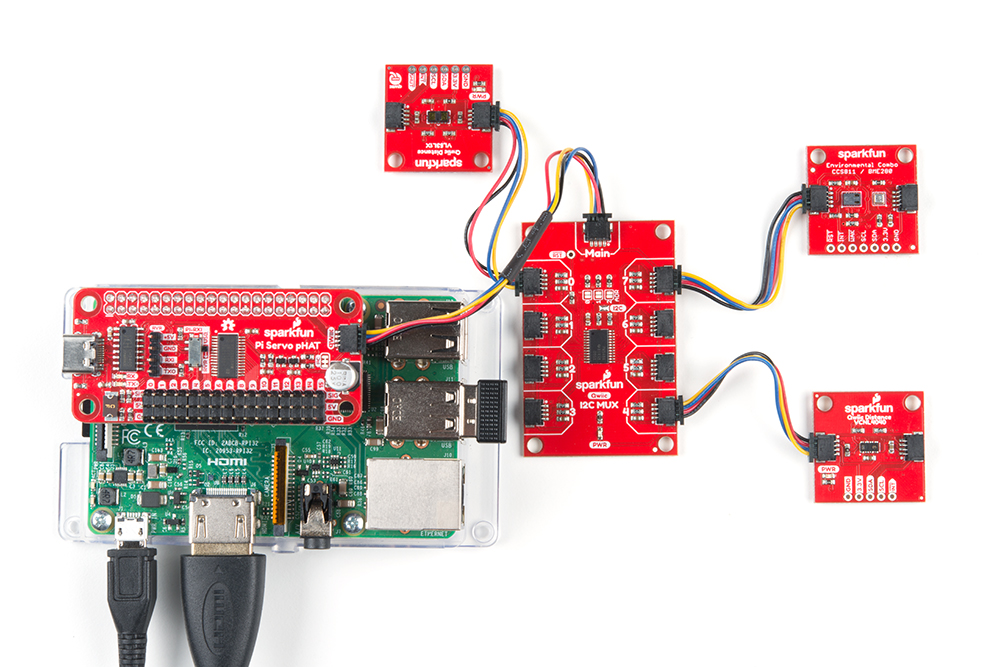
With the Qwiic connector system, assembling the hardware is simple. In addition to the Qwiic Mux, you will need: a Qwiic cables, a SparkFun Qwiic pHAT for Raspberry Pi, and a Raspberry Pi setup with the Raspbian OS, monitor, and standard peripherals. (*If you are unfamiliar with the Qwiic pHAT, you can find the Hookup Guide here.)

Revision Update: Users can now daisy chain the Qwiic Mux in between other Qwiic boards.

Alternatively, you can also use another Qwiic adapter like the Pi Servo pHat instead.
Note: This tutorial assumes you are familiar with using a Raspberry Pi and you have the latest (full... with recommended software) version of Raspbian OS your Raspberry Pi. You can download the latest version of the Raspbian OS from the Raspberry Pi Foundation website. As of Feb. 13th 2019, we recommend the Raspbian Stretch with desktop and recommended software option.
If this is your first time using a Raspberry Pi, please head over to the Raspberry Pi Foundation website to use their quickstart guides. We have listed a few of them here: