Qwiic Real Time Clock Module (RV-1805) Hookup Guide
 Englandsaurus
Hardware Assembly
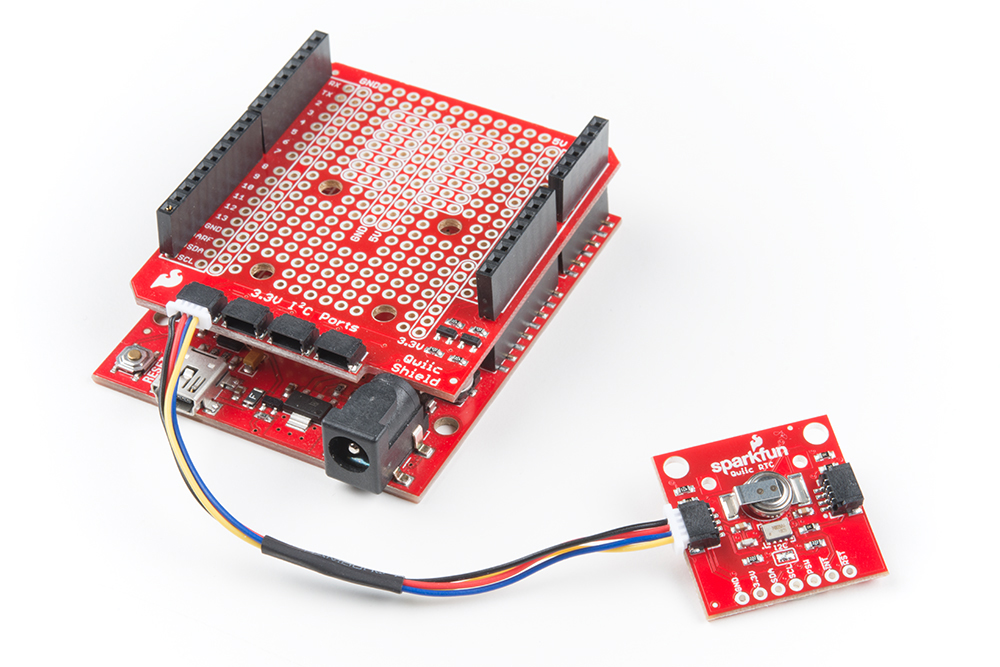
If you haven't yet assembled your Qwiic Shield, now would be the time to head on over to that tutorial.
With the shield assembled, Sparkfun's new Qwiic environment means that connecting the sensor could not be easier. Just plug one end of the Qwiic cable into the RTC breakout, the other into the Qwiic Shield of your choice. You'll be ready to upload a sketch and start keeping track of the time. It seems like it's too easy too use, but that's why we made it that way!
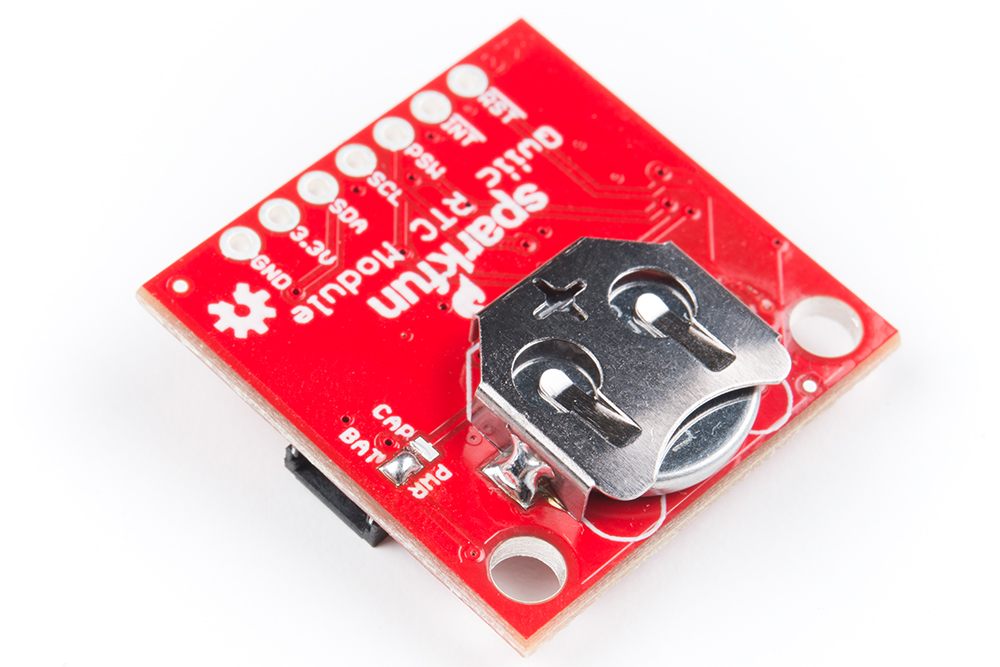
External Coin Cell Battery
Now if you've decided that you'd like to power the RTC from a battery instead of a supercapacitor, you'll need to cut the trace jumper on the back of the board to disconnect power from the supercapacitor. Add solder to the other side of the jumper to connect power to the battery. Once you've done this, add a little bit of solder on the circular pad for contact, solder the battery holder legs to the board, insert the battery, and you're good to go!