Qwiic SHIM Kit for Raspberry Pi Hookup Guide
 bboyho
Hardware Assembly
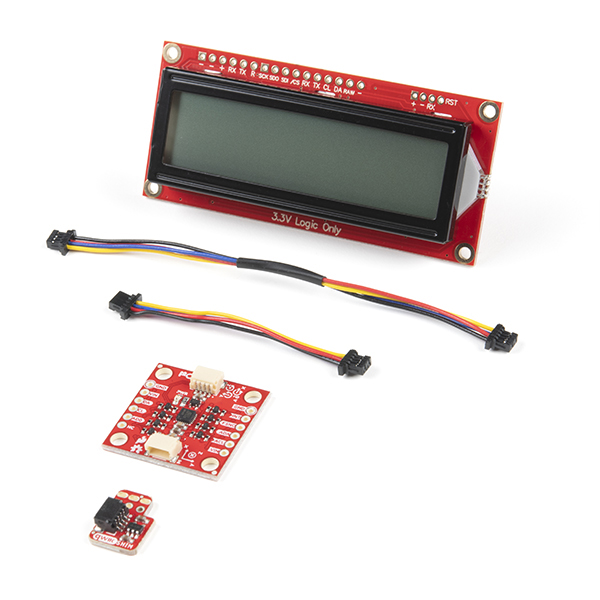
The hardware that is included in this kit is a 16x2 SerLCD with RGB backlight, 9DoF IMU (ICM-20948), Qwiic SHIM, and Qwiic cables. The Qwiic connector color may vary. This should not affect the overall functionality of the boards.
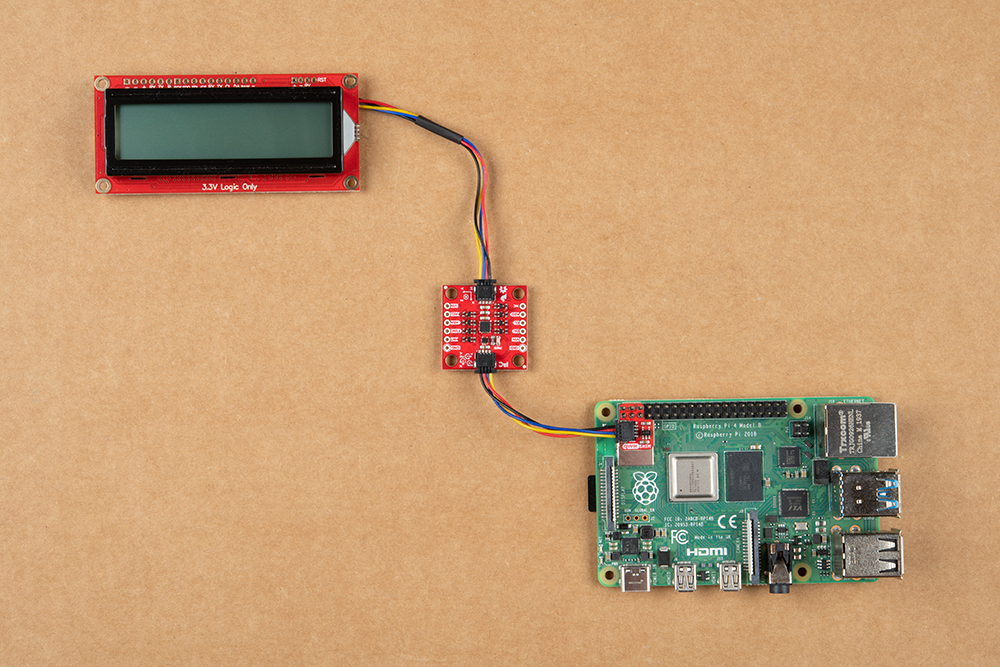
Connecting Qwiic devices to the Raspberry Pi makes it even easier than ever with the Qwiic SHIM. Slide the Qwiic SHIM into the Raspberry Pi's header so that the square PTH pad is aligned with pin 1.

At this point, connect the Qwiic cable between the boards. Insert the shorter Qwiic cable between the Qwiic SHIM and 9DoF's Qwiic connectors. Then insert the longer Qwiic cable between the 9DoF and Qwiic SHIM. The length of the cable between the boards does not really matter so you could insert the cables any way that you would like as well.
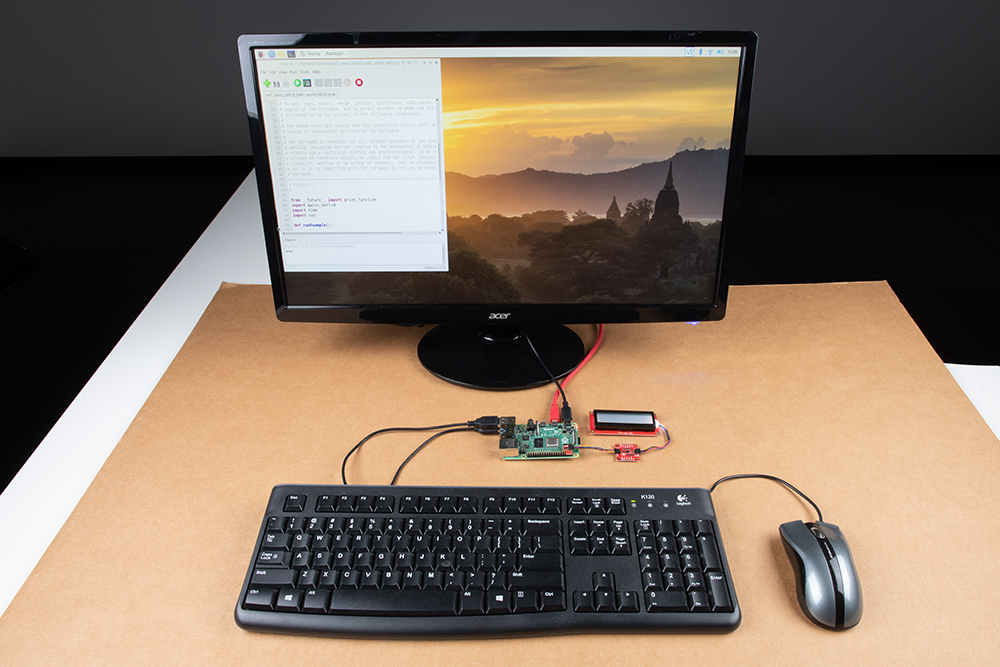
Then connect all the necessary peripherals to your Raspberry Pi. In this case, we connected a keyboard, mouse, HDMI monitor, and a power supply.