Recreating Classic Electronics Kits
 Nick Poole
Draw A Layout
Before we can place any parts, we'll need to decide on the layout of the board. You can draw the layout by hand but I happened to have a laser cutter handy. You can have yours laser-cut at a local hackerspace or through a service like Ponoko, as well!
Here's the drawing that I made for my board layout:
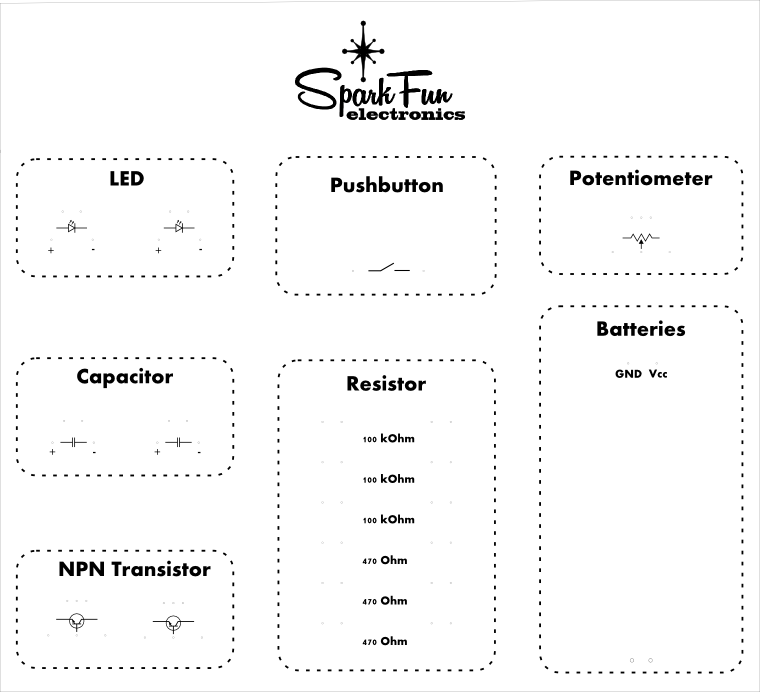
The layout isn't particularly important but there are a few things to keep in mind. Generally speaking, you'll want to combine like parts and label them as a group. Also, try to keep in mind that this thing is going to be a ratsnest when you're using it, so make your labels big and legible! Finally, leave plenty of room between springs, as you insert wires, the springs will bend to one side and you wouldn't want that to cause accidental connections.
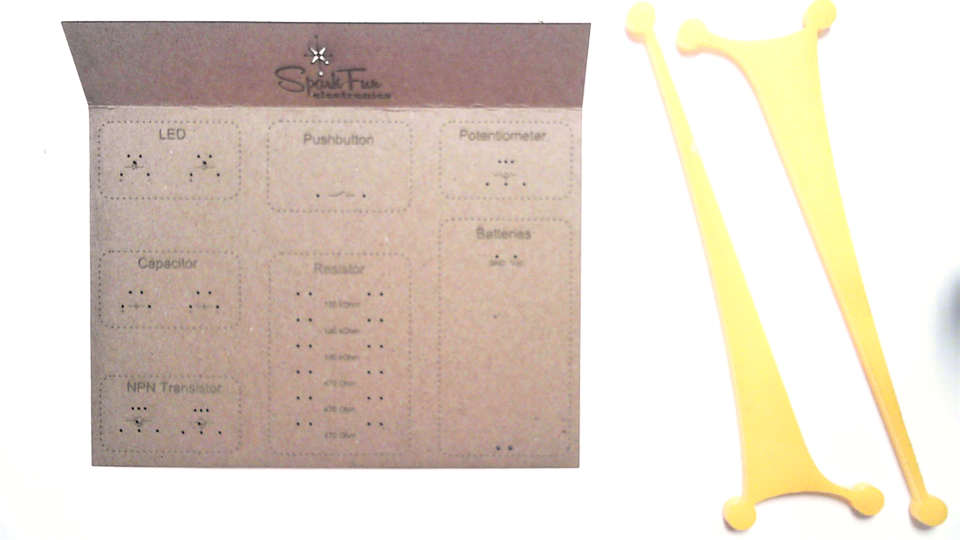
After feeding my creation to the laser cutter I made a couple of legs. I used acrylic but the material isn't important, it's the shape that matters. You just need the experiment board to be basically flat but raked slightly toward the user, there's traditionally a more upright portion toward the back of the board as well. This helps the cardboard maintain rigidity. The more creases you put in it, the better off you are.
I cut a small hole where each of my springs will go, but you can easily punch those out using a ball-point pen as well.
Now that we have a structure, it's time to start populating it...