RedBot Assembly Guide Rev 02
This Tutorial is Retired!
This tutorial covers concepts or technologies that are no longer current. It's still here for you to read and enjoy, but may not be as useful as our newest tutorials.
 HelloTechie,
  SFUptownMaker
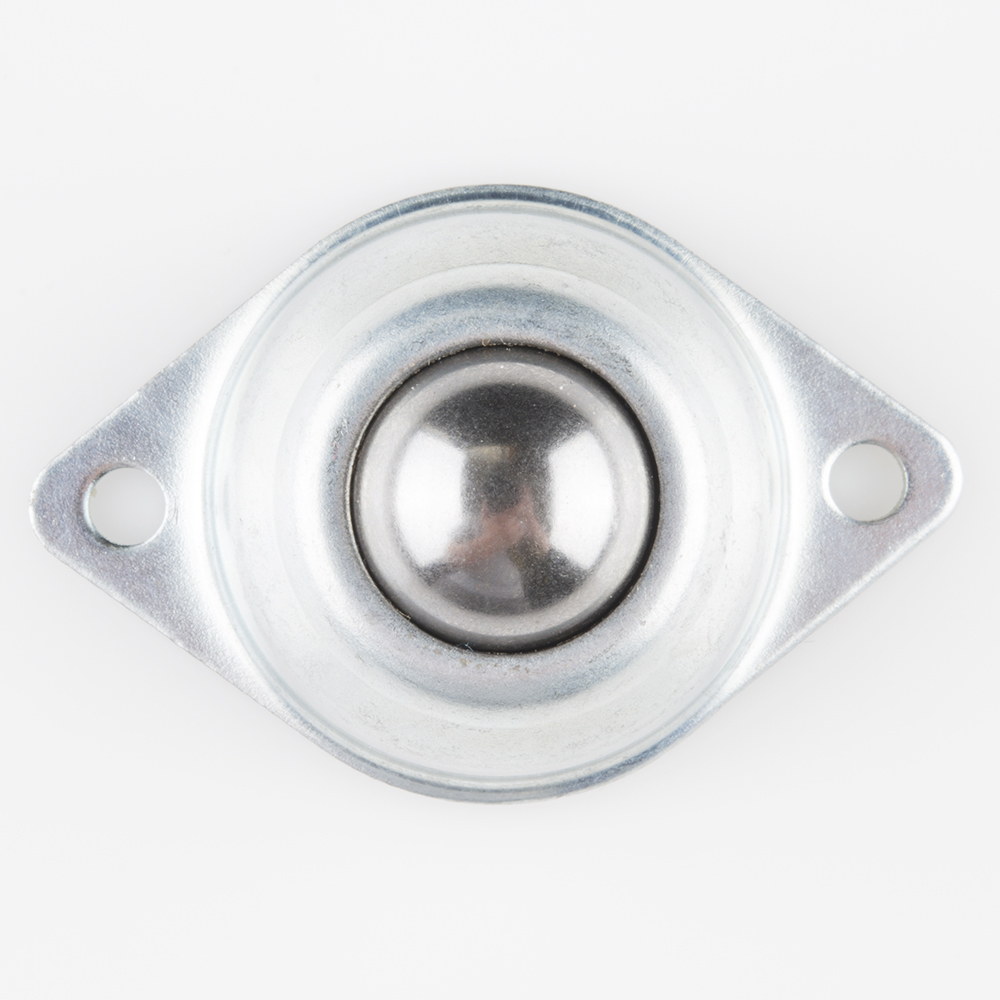
Ball Caster
In this section, you will be adding the metal ball caster to the bottom side of your bottom chassis piece.
Locate the Following:
| 4x 4-40 x 1/4" Phillips Screw | 1x Metal Ball Caster | 2x 4-40 x 1" Metal Standoff |
 |
 |
 |
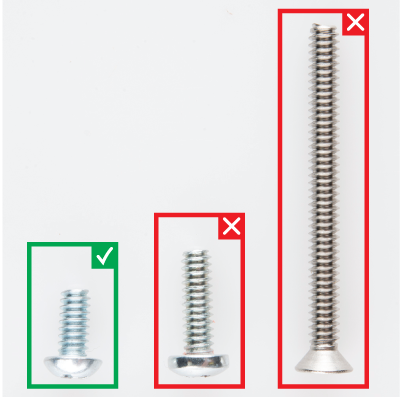
Please note: ** Pay close attention to which screws you are using. There are two different screws in the RedBot Kit. (30x** of the 4-40 x 1/4" Phillips screws and 4x of the 4-40 x 1 1/4" flat head screws).
Adding the RedBot Sensor - Mechanical Bumper? You will have 3x of the 4-40 x ⅜" Phillips screws.
There are also different standoffs in the RedBot Kit and add-ons. The RedBot Kit comes with 7x 4-40 x 1" metal standoffs, 4x 4-40 x ⅜" metal standoffs, and 3x 4-40 x 1 1/2" metal hex standoffs.
Adding the RedBot Sensor - Mechanical Bumper? You will have 3x of the 4-40 x 3/4" nylon standoffs.
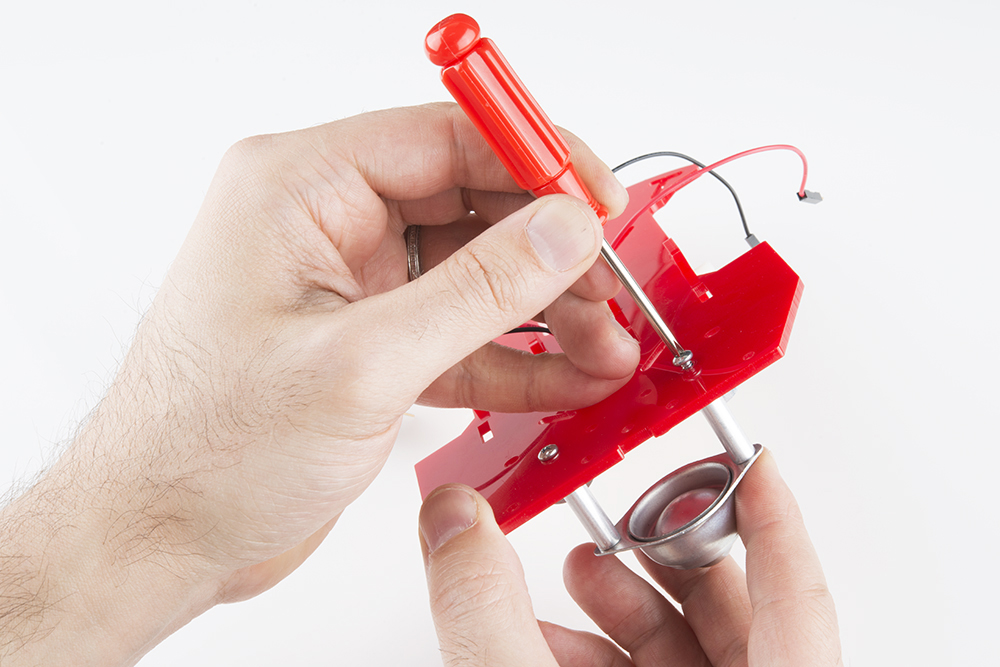
Adding the Metal Ball Caster
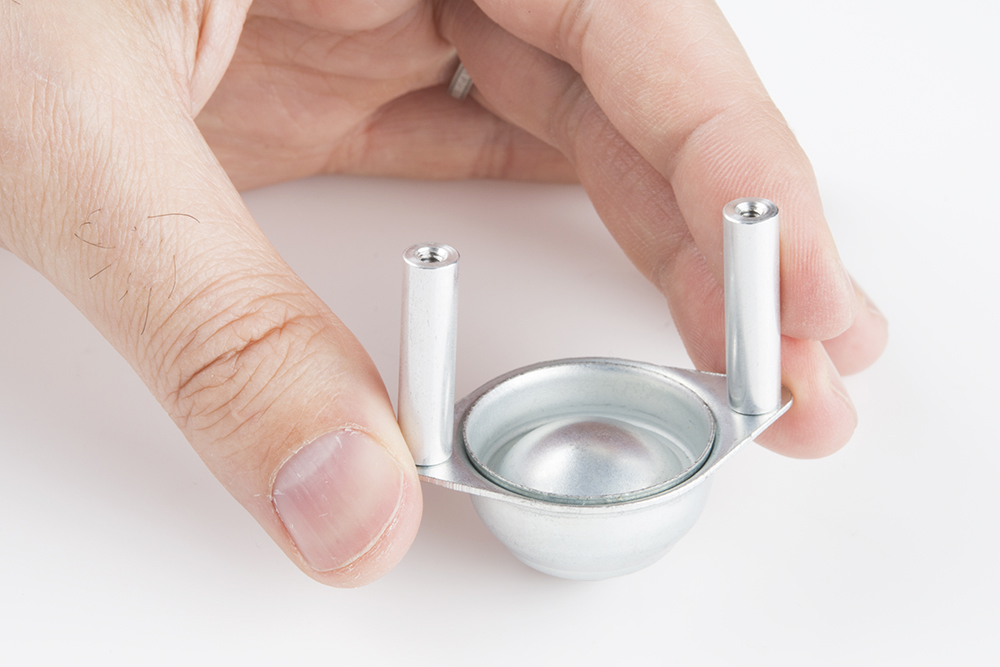
Place a 4-40 x 1/4" Phillips screw through one of the ball caster's holes. The screw's head should be on the same side as the ball caster's metal ball. Then, screw in one of the 4-40 x 1" metal standoffs to the metal ball caster.

Using a 4-40 x 1/4" Phillips screw, screw on the second 4-40 x 1" metal standoff on the other side of the ball caster.
Locate the two positions on the chassis piece where you will be screwing down the metal ball caster.
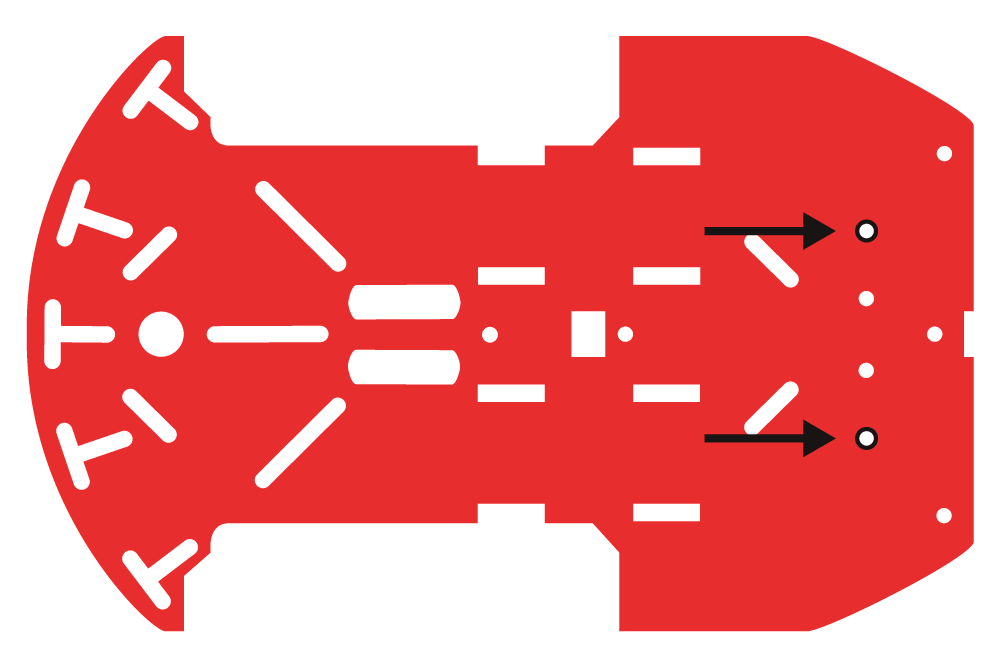
Now, you can use two 4-40 x 1/4" Phillips screws to tighten down the metal ball caster to the bottom side of the chassis piece. The metal ball caster should be on the same chassis side as the motors.