RedStick Hookup Guide
 MTaylor
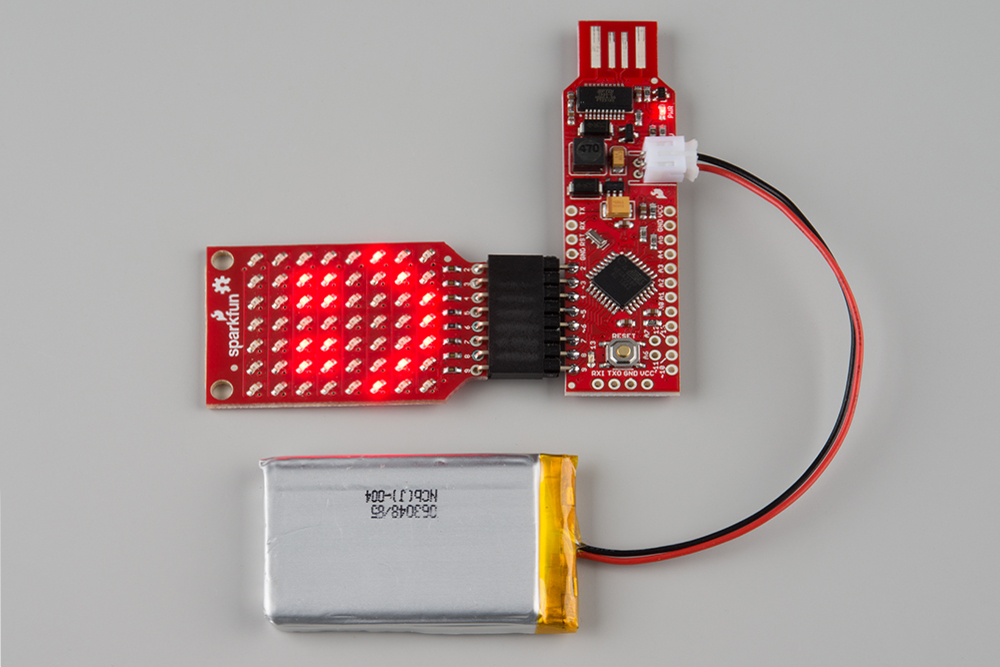
Example: Using the 8x7 LED Array
If you would like to use an 8x7 LED Array with the RedStick as with the BadgerStick, you can! The libraries have been updated to use F_CPU to set scroll speeds for 4, 8, and 16MHz boards.
Install the Arduino library
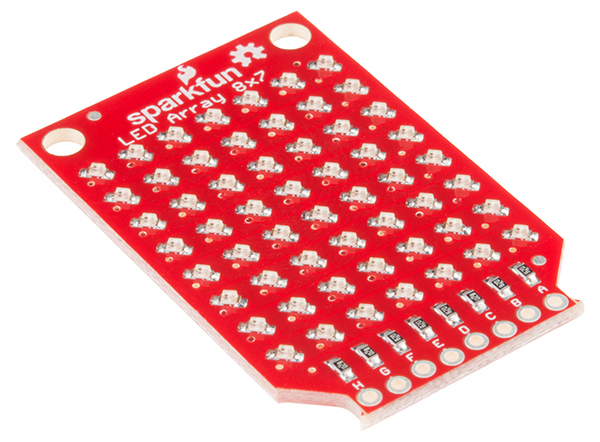
The 8x7 LED array has its own library. It is available as a github repository called SparkFun_LED_Array_8x7_Arduino_Library. It is not part of the library manager and will need to be manually installed (Drop it in your /libraries folder).
For more information, view this guide to installing Arduino libraries
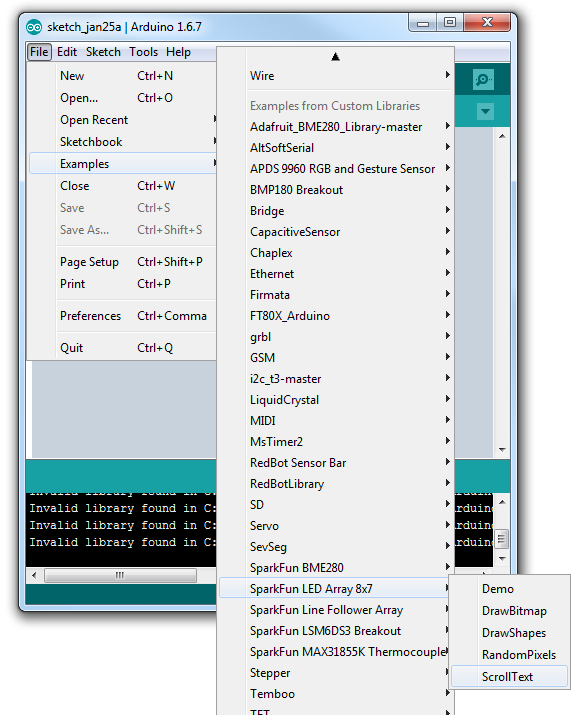
Run the example sketch
Under examples, select the 8x7 library, then the example sketch "ScrollText". This sketch displays scrolling text on the 8x7 LED array, but the library can also be used to draw individual pixels, shapes, and bitmaps.
Compile and run the sketch. The example text Hello. :) and Let's scroll! should scroll across the array. From this point the text can be changed, or the other features of the library can be used. Check out the BadgerHack 'Make a Game' section for example code that uses the 8x7 API.