Retired - Electric Imp Breakout Hookup Guide
This Tutorial is Retired!
An electric imp hug! Provides an overview of the imp card and breakout. Both hardware and firmware subjects are covered.
View the updated tutorial: Retired - Electric Imp Breakout Hookup Guide v2
 jimblom
BlinkUp
Blink Codes
The imp has an internal red/green LED, which is used to tell the world what state it's currently in. If you've just plugged the imp in, and haven't told it how to get on your WiFi network, it should be blinking orange (red/green simultaneously). Here are the rest of the codes to look out for:
| Color | Speed | imp State |
|---|---|---|
| Orange | 1 Hz | No WiFi settings |
| Green | Single Pulse | Successfully received configuration via Blinkup. |
| Red | Triple-pulse | Failed to receive configuration via Blinkup. |
| Red | 1 Hz | Attempting to connect to WiFi. |
| Red, Orange, Off | 1 Hz | Getting IP address (via DHCP). |
| Orange, Red, Off | 1 Hz | Got IP address, connecting to server. |
| Green | 0.5 Hz | Connected to cloud (turns off after 60 seconds). |
| Red | 2 Hz | Connection lost, attempting to reconnect. |
| None | Normal operation |
Let's make that LED blink green! Time to send a BlinkUp.
BlinkUp
To get your imp connected to your WiFi network as well as the online imp servers, you need to go through the process electric imp calls commissioning. There's a great write-up on the commissioning process over on electric imp's wiki page. Here's the gist of it, as well as a few tips.
Before you begin, you'll need to make an Electric Imp account, by visiting the planner page.
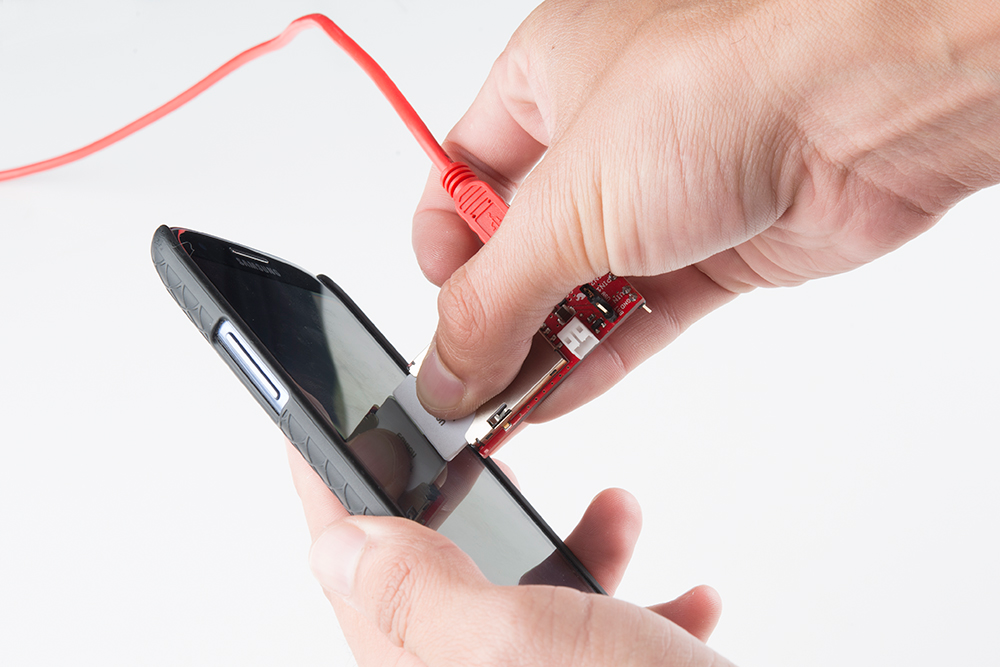
Updating the imp with your WiFi credentials is a unique process. The imp card has a built-in light-sensor, looking out of the little window on the short, flat edge of the imp. The light-sensor can be used to process small amounts of precisely modulated data in the form of a blinking light.

To generate this blinking light, you need the electric imp app installed on your smartphone (iOS or android). Go download that app if you haven't already!
Follow the directions in the app, and prepare to update the imp with your WiFi network. Then, when your settings all look correct hit the Send BlinkUp button. Then quickly place the screen of the phone as close to the imp's light sensor as possible.
If all goes well, there should be a very short green blip of the LED, followed by a few blinks of red and orange. When the imp starts blinking green once a second, you know you've got your imp commissioned yay!
Troubleshooting
If you're imp isn't yet in the blinky green phase, use the LED blink codes to find out where it's failing. Here are some recommended steps, depending on the failure point:
- Connecting to the server (orange, red, off) - Make sure there's no firewall blocking the imp's way to the Internet (and make sure your WiFi network has an Internet connection in the first place).
- Getting IP address via DHCP (red, orange, off) - Double check your WiFi password.
- Attempting WiFI connection (red) - Double check your WiFi network name (SSID).
If all of the above are set correctly, try sending the BlinkUp one more time. We've found that it helps to close out all other app, or even try resetting your phone if it continues to fail.
You can also try turning off the room lights for a moment. Pinching the imp, just above and below the light-sensor window can help as well.