SAMD21 Mini/Dev Breakout Hookup Guide
 jimblom
 Hardware Setup
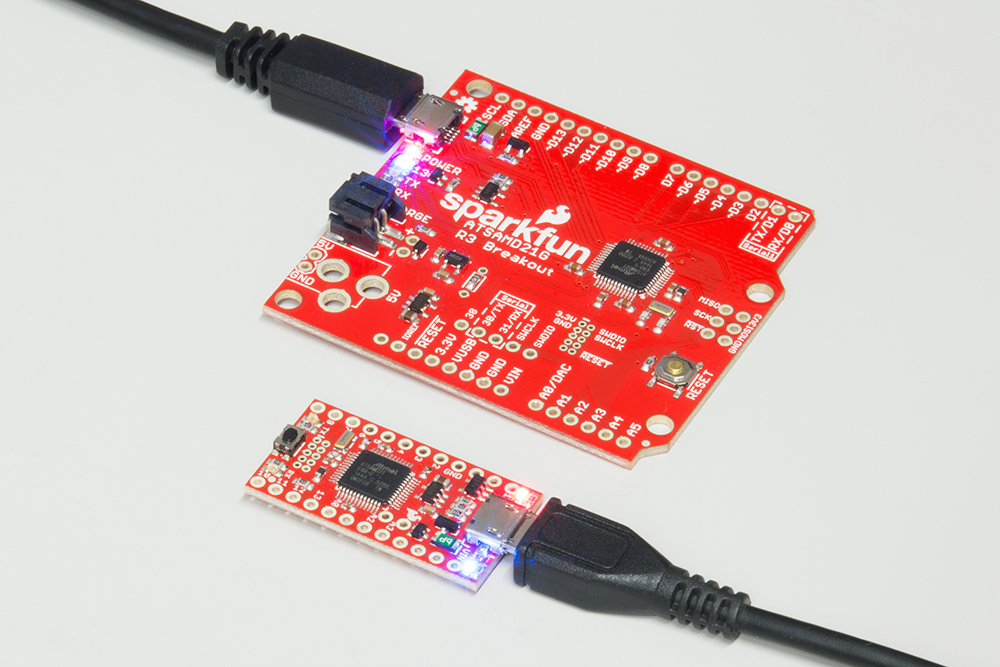
To power the SAMD21 Breakout board, just plug it into a USB port on your computer. The red power LED indicator should immediately turn on, followed shortly-thereafter by a blinking blue LED on pin 13.
Soldering Tips
You can set the SAMD21 Boards up -- and start programming them -- without connecting anything besides a USB cable, but you're not going to get far without soldering something to them. That something can be headers (male, female, right-angle or more) or just plain-old wire.


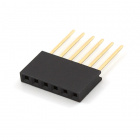
If you're using a Mini Breakout, a pair of 12-pin male headers work well to keep the board breadboard-friendly. A 2-pin female header can be soldered to the inner I2C pins -- though you may have to trim the bottom side of the shroud to avoid the ATSAMD21's pins.
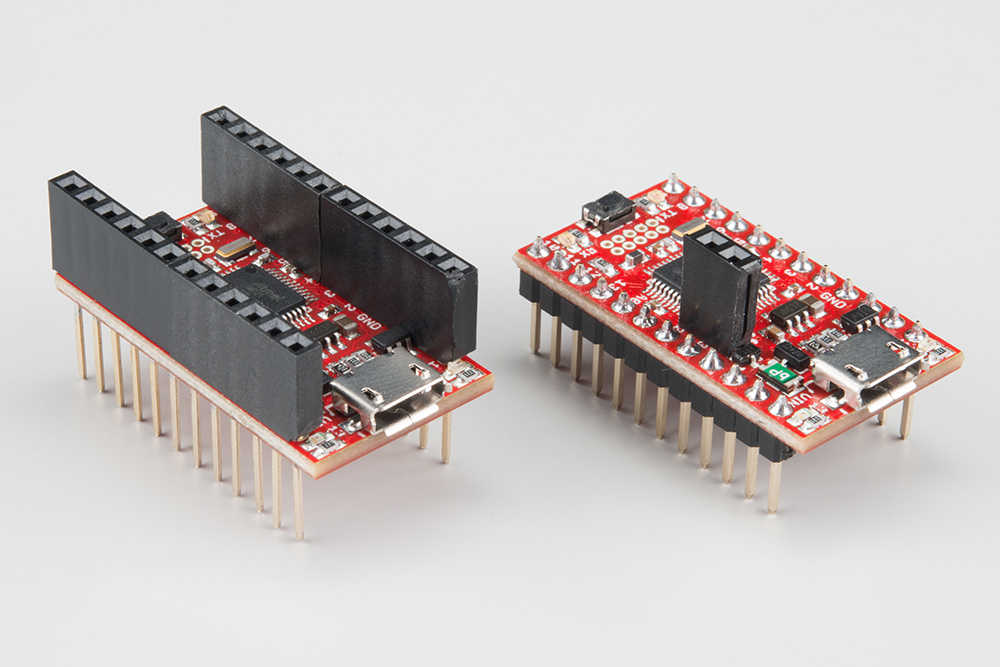
Two pairs of 6-pin stackable headers can also maintain breadboard-compatibility while allowing your to jumper straight out of the board. To use these headers, you'll have to shave a bit of the bottom edge of the shroud to avoid bumping up against the outer LEDs.
If you're using the Dev Breakout, you can keep it Arduino-shield-compatible by soldering a handful of female headers into the 6-, 8-, and 10-pin headers. Then solder some 3-pin male headers into the SPI port.
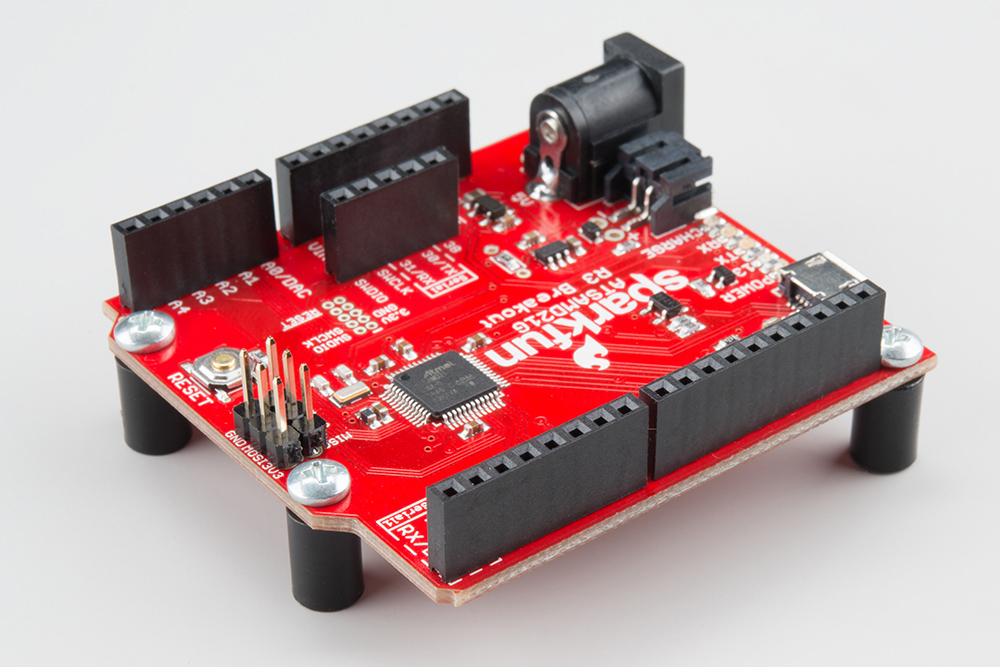
Finish it off by adding a PTH Barrel Jack and a set of standoffs and 1/4" 4-40 screws.