Setting up a Raspberry Pi 3 as an Access Point
 Shawn Hymel
 Introduction
The Raspberry Pi 3 comes with a built-in wireless adapter, which makes it easy to configure it as a WiFi hotspot to share Internet or host your own internal web site. The first part of this guide will show you how to set up the Pi to broadcast its SSID, accept WiFi connections, and hand out IP addresses (using DHCP). The next section shows you how to enable a pass-through Ethernet connection should you want to share your Internet connection.
Before You Get Started!
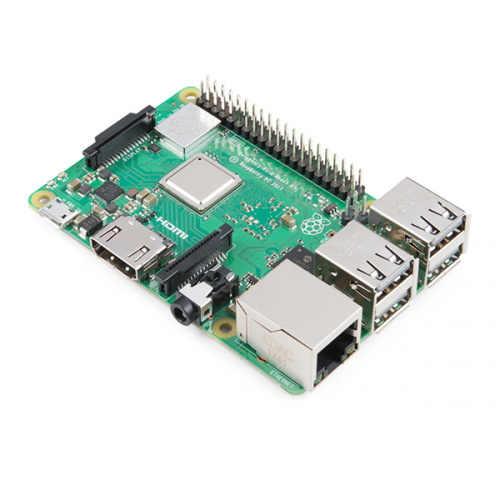
You will want a Raspberry PI 3 or Raspberry Pi Zero W along with any hookup accessories you might need (for example, a power adapter and micro SD card).
You will want to load an operating system (OS) onto the SD card and be able to log into the Pi and open a terminal.
If you need help installing an OS onto the Raspberry Pi, these tutorials can be helpful:
- The getting an OS part of the Raspberry Pi 3 Starter Kit guide walks you through a few options to installing NOOBS on the Pi.
- Getting Started with the Raspberry Pi Zero Wireless tutorial is a good place to start if you have a Pi Zero W.
- The Headless Raspberry Pi Setup guide is useful if you are looking to configure your Pi without a monitor, keyboard, or mouse (e.g. log in through serial or SSH).
Suggested Reading
If you aren't familiar with the following concepts, we recommend checking out these tutorials before continuing.