SIK Experiment Guide for the Arduino 101/Genuino 101 Board
 D___Run___
 Experiment 17: Using an LCD
Introduction
In this experiment, you will learn how to use an LCD. An LCD (Liquid Crystal Display) is a simple screen that can display commands, bits of information, or readings from your sensor -- all depending on how you program your board. In this circuit, you’ll learn the basics of incorporating an LCD into your project.
Parts Needed
You will need the following parts:
- 1x Breadboard
- 1x Arduino 101 or Genuino 101 board
- 1x Potentiometer
- 1x 3.3V LCD
- 16x Jumper Wires
Didn't Get the SIK?
If you are conducting this experiment and didn't get the SIK, we suggest using these parts:


You will also need either an Arduino 101 OR Genuino 101 board.


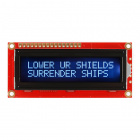
Introducing the LCD screen

The 101 SIK includes a Liquid Crystal Display (LCD) screen. This screen is similar to one that you may find in your microwave, on your dashboard in your car, or if you are old enough to remember, a Speak and Spell. LCD screens are a great way to display data or information from your 101 board without having to have it connected to your laptop.
This LCD screen has a total of 32 possible character spaces arranged in a grid consisting of two rows of 16 characters. The LCD is controlled through a library that makes using it with the 101 board much easier. The wiring looks a little overwhelming, but it is a worthwhile challenge.
**Pro Tip: When wiring the LCD screen, start from one side of the LCD pins and work in toward the center. Once you reach an unpopulated pin, switch to the other side and repeat the process. This method will help prevent accidentally missing a pin or incorrectly wiring it up. **
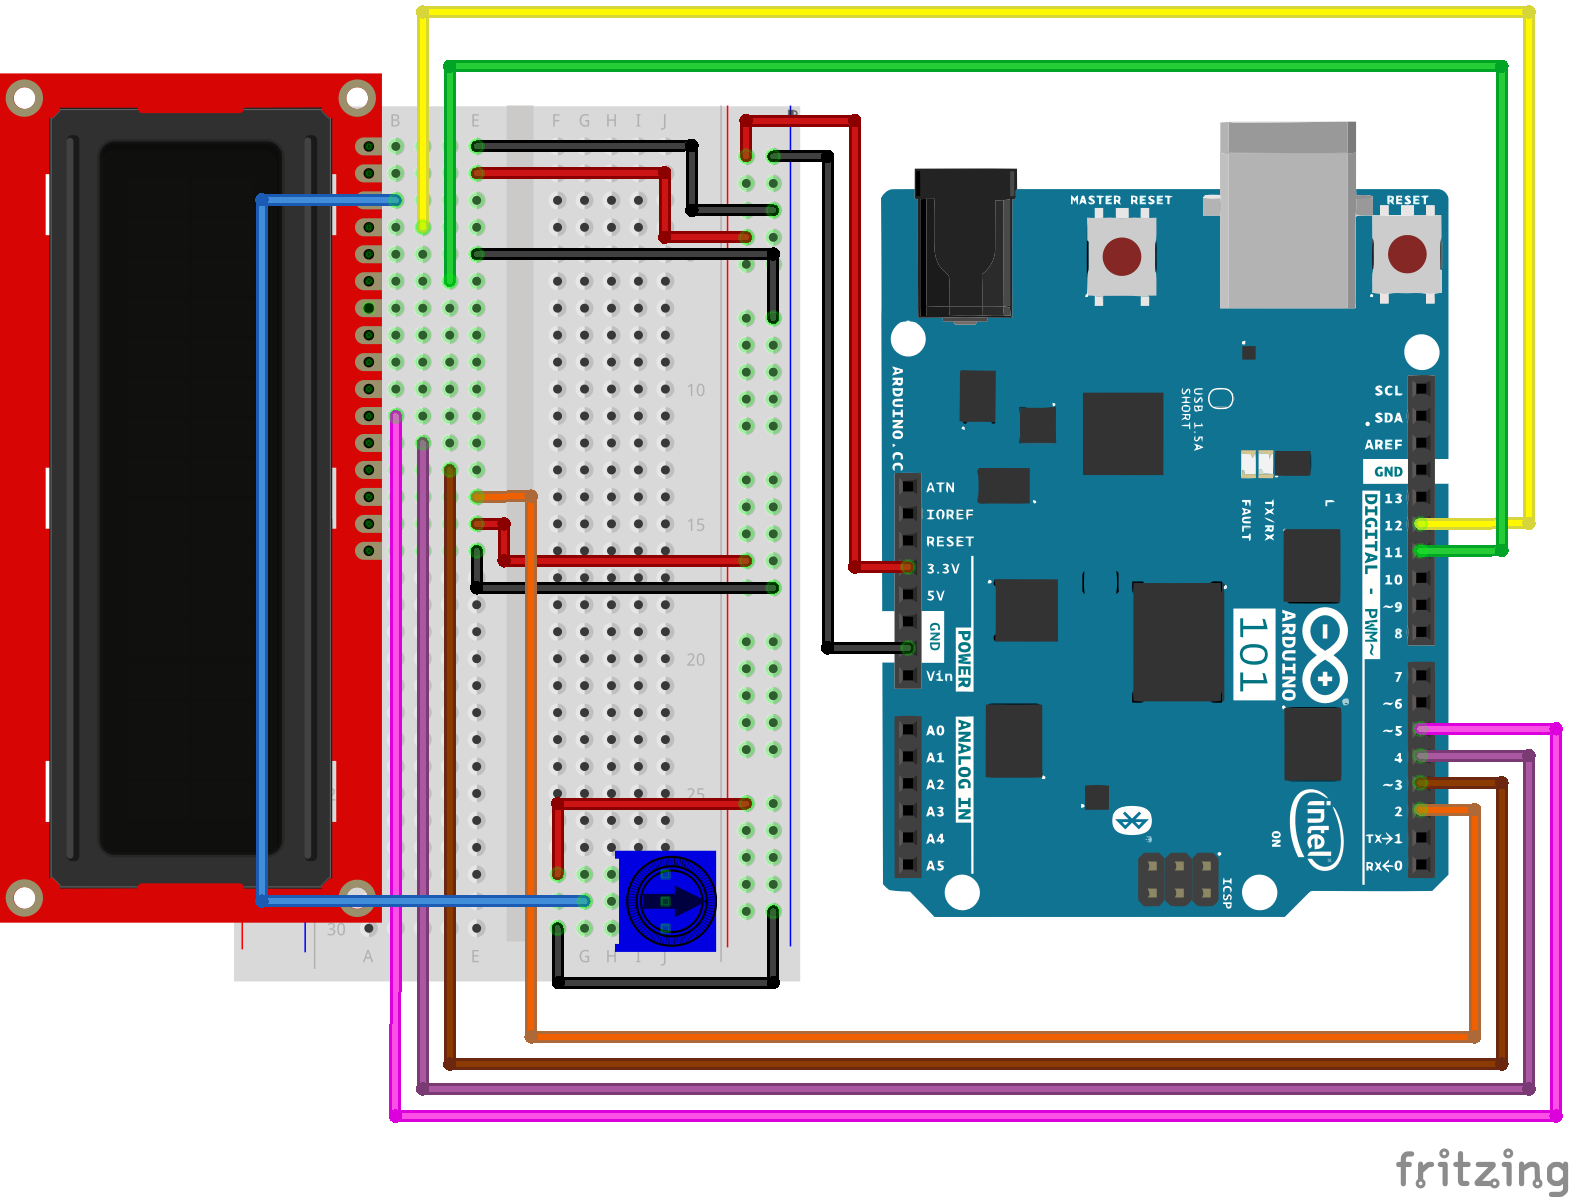
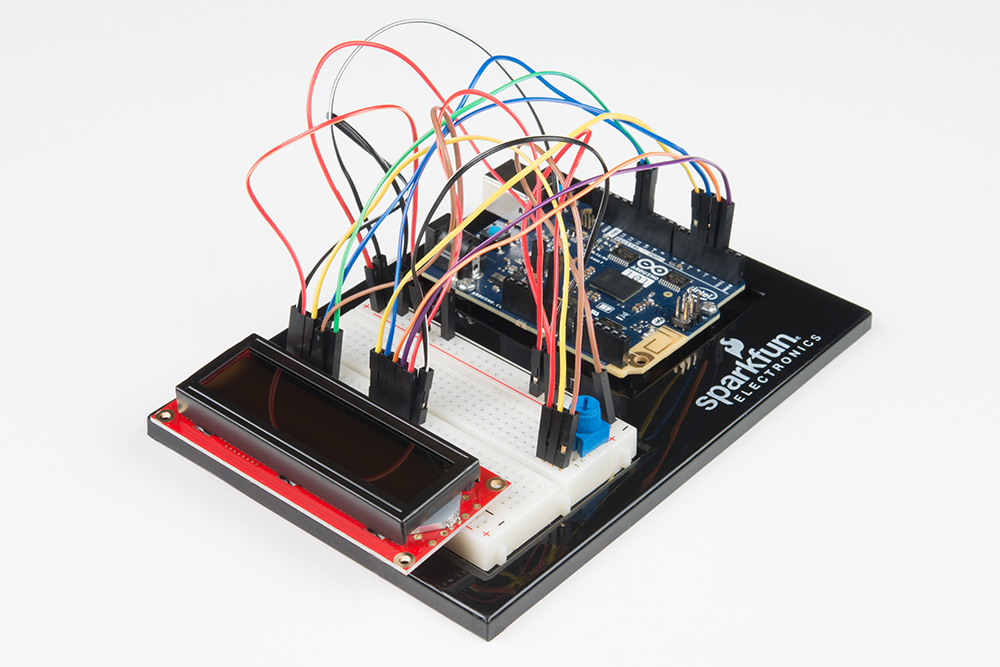
Hardware Hookup
Ready to start hooking everything up? Check out the wiring diagram below to see how everything is connected.
| Polarized Components | Pay special attention to the component’s markings indicating how to place it on the breadboard. Polarized components can only be connected to a circuit in one direction. |
Wiring Diagram for the Experiment
Open the Sketch
Open the Arduino IDE software on your computer. Coding in the Arduino language will control your circuit. Open the code for Circuit 17 by accessing the “101 SIK Guide Code” you downloaded and placed into your “Examples” folder earlier.
To open the code go to: File > Examples > 101 SIK Guide Code > Circuit_17
You can also copy and paste the following code into the Arduino IDE. Hit upload, and see what happens!
language:cpp
/*
SparkFun Inventor's Kit
Example sketch 17

LIQUID CRYSTAL DISPLAY (LCD)

  This sketch will show you how to connect an LCD to your Arduino
  and display any data you wish.

This sketch was written by SparkFun Electronics,
with lots of help from the Arduino community.
This code is completely free for any use.
Visit https://www.sparkfun.com/products/12060 for SIK information.
Visit http://www.arduino.cc to learn more about Arduino.
*/

// Load the LiquidCrystal library, which will give us
// commands to interface to the LCD:

#include <LiquidCrystal.h>

// Initialize the library with the pins we're using.
// (Note that you can use different pins if needed.)
// See http://arduino.cc/en/Reference/LiquidCrystal
// for more information:

LiquidCrystal lcd(12,11,5,4,3,2);

void setup()
{
  // The LiquidCrystal library can be used with many different
  // LCD sizes. We're using one that's 2 lines of 16 characters,
  // so we'll inform the library of that:

  lcd.begin(16, 2);

  // Data sent to the display will stay there until it's
  // overwritten or power is removed. This can be a problem
  // when you upload a new sketch to the Arduino but old data
  // remains on the display. Let's clear the LCD using the
  // clear() command from the LiquidCrystal library:

  lcd.clear();

  // Now we'll display a message on the LCD!

  // Just as with the Arduino IDE, there's a cursor that
  // determines where the data you type will appear. By default,
  // this cursor is invisible, though you can make it visible
  // with other library commands if you wish.

  // When the display powers up, the invisible cursor starts
  // on the top row and first column.

  lcd.print("hello, world!");

  // Adjusting the contrast (IMPORTANT!)

  // When you run the sketch for the first time, there's a
  // very good chance you won't see anything on the LCD display.
  // This is because the contrast likely won't be set correctly.
  // Don't worry, it's easy to set, and once you set it you won't
  // need to change it again.

  // Run the sketch, then turn the potentiometer until you can
  // clearly see the "hello, world!" text. If you still can't
  // see anything, check all of your connections, and ensure that
  // the sketch was successfully uploaded to the Arduino.
}

void loop()
{
  // You can move the invisible cursor to any location on the
  // LCD before sending data. Counting starts from 0, so the top
  // line is line 0 and the bottom line is line 1. Columns range
  // from 0 on the left side, to 15 on the right.

  // In additon to the "hello, world!" printed above, let's
  // display a running count of the seconds since the Arduino
  // was last reset. Note that the data you send to the display
  // will stay there unless you erase it by overwriting it or
  // sending an lcd.clear() command.

  // Here we'll set the invisible cursor to the first column
  // (column 0) of the second line (line 1):

  lcd.setCursor(0,1);

  // Now we'll print the number of seconds (millis() / 1000)
  // since the Arduino last reset:

  lcd.print(millis()/1000);

  // TIP: Since the numeric data we're sending is always growing
  // in length, new values will always overwrite the previous ones.
  // However, if you want to display varying or decreasing numbers
  // like a countdown, you'll find that the display will leave
  // "orphan" characters when the new value is shorter than the
  // old one.

  // To prevent this, you'll need to erase the old number before
  // writing the new one. You can do this by overwriting the
  // last number with spaces. If you erase the old number and
  // immediately write the new one, the momentary erase won't
  // be noticeable. Here's a typical sequence of code:

  // lcd.setCursor(0,1);   // Set the cursor to the position
  // lcd.print("       "); // Erase the largest possible number
  // lcd.setCursor(0,1);   // Reset the cursor to the original position
  // lcd.print(millis()/1000); // Print our value

  // NEXT STEPS:

  // Now you know the basics of hooking up an LCD to the Arduino,
  // and sending text and numeric data to the display!

  // The LCD library has many commands for turning the
  // cursor on and off, scrolling the screen, etc. See:
  // http://arduino.cc/en/Reference/LiquidCrystal
  // for more information.

  // Arduino also comes with a number of built-in examples
  // showing off the features of the LiquidCrystal library.
  // These are locted in the file/examples/LiquidCrystal menu.

  // Have fun, and let us know what you create!
  // Your friends at SparkFun.
}
Code to Note
#include <LiquidCrystal.h>
This bit of code tells your Arduino IDE to include the library for a simple LCD display. Without it, none of the commands will work, so make sure you include it!
lcd.print(“hello, world!”);
This is the first time you’ll fire something up on your screen. You may need to adjust the contrast to make it visible. Twist the potentiometer until you can clearly see the text.
lcd.clear();
Yep, you guessed it. This method is used to clear whatever data is printed to the LCD.
lcd.setCursor(0,1);
If you look closely you will notice that each character has a little box around it and these boxes are in a 2x16 grid. The first number in this method is the column (zero based counting ... gotta get used to that!), and the second number is the row. So this value of 0,1 is the first column, second row.
What You Should See
Initially, you should see the words “hello, world!” pop up on your LCD. Remember you can adjust the contrast using the potentiometer if you can’t make out the words clearly. If you have any issues, make sure your code is correct and double-check your connections. See also the Troubleshooting section below.
Troubleshooting
The Screen is Blank or Completely Lit
Fiddle with the contrast by twisting the potentiometer. If it’s incorrectly adjusted, you won’t be able to read the text.
Not Working at All
Double check the code, specifically that you include the LCD library.
Screen is Flickering
Double check your connections to your breadboard and 101 board.