Simblee Concepts
This Tutorial is Retired!
This tutorial covers concepts or technologies that are no longer current. It's still here for you to read and enjoy, but may not be as useful as our newest tutorials.
 SFUptownMaker
 Control an LED
This example shows you how to control an LED on (or attached to) a Simblee board from your smart device. We'll be using an LED connected to pin 2; this is provided for you on the SparkFun Simblee Breakout Board. If you're using the SparkFun LilyPad Simblee Board, there is an LED attached to pin 13, so you can change the led variable in the code to reflect that. For the RFDigital Simblee Breakout, you'll need to connect an LED to a pin of your choice and change the code accordingly.
This example shows not only how to structure the code, but also how to use the "switch" and "button" objects, and how to add an event trigger to an object that doesn't normally have it.
Here's the complete listing of the code; it can be downloaded from the GitHub repository directly or from Github as a zip file.
language:c
/****************************************************************************
 * LED_Control LED Control from smart phone Mike Hord @ SparkFun Electronics 26
 * Jan 2016 https://github.com/sparkfun/Simblee_Tutorials
 *
 * This example demonstrates the use of the SimbleeForMobile library to control
 * a pin on a Simblee module from a phone app. We'll show both a button and a
 * switch in this example.
 *
 * Resources: Please install the Simblee support files before attempting to use
 * this sketch; see
 * https://learn.sparkfun.com/tutorials/simblee-concepts#setting-up-arduino for
 * details.
 *
 * Development environment specifics: Arduino.cc IDE v1.6.7
 *
 * This code is beerware; if you see me (or any other SparkFun employee) at the
 * local, and you've found our code helpful, please buy us a round!
 * ****************************************************************************/

// To use the SimbleeForMobile library, you must include this file at the top
// of your sketch. **DO NOT** include the SimbleeBLE.h file, as it will cause
// the library to silently break.
#include <SimbleeForMobile.h>

const int led = 2; // The Simblee BOB (WRL-13632) has an LED on pin 2.
int ledState = LOW;

// Every draw command returns a uint8_t result which is the object id that was
// created. If you wish to change the object later, you'll need this value,
// and if you want to catch an event created by an object, you'll need it
// there, too. Make sure you create these id variables outside of any function,
// as you'll need to refer to them in many other functions.

uint8_t btnID;
uint8_t switchID;

void setup()
{
  pinMode(led, OUTPUT);
  digitalWrite(led, ledState);

  // advertisementData shows up in the app as a line under deviceName. Note
  // that the length of these two fields combined must be less than 16
  // characters!
  SimbleeForMobile.advertisementData = "Blink";
  SimbleeForMobile.deviceName = "WRL-13632";

  // txPowerLevel can be any multiple of 4 between -20 and +4, inclusive. The
  // default value is +4; at -20 range is only a few feet.
  SimbleeForMobile.txPowerLevel = -4;

  // This must be called *after* you've set up the variables above, as those
  // variables are only written during this function and changing them later
  // won't actually propagate the settings to the device.
  SimbleeForMobile.begin();
}

void loop()
{
  // This function must be called regularly to process UI events.
  SimbleeForMobile.process();
}

// ui() is a SimbleeForMobile specific function which handles the specification
// of the GUI on the mobile device the Simblee connects to.
void ui()
{
  // color_t is a special type which contains red, green, blue, and alpha
  // (transparency) information packed into a 32-bit value. The functions rgb()
  // and rgba() can be used to create a packed value.
  color_t darkgray = rgb(85,85,85);

  // These variable names are long...let's shorten them. They allow us to make
  // an interface that scales and scoots appropriately regardless of the screen
  // orientation or resolution.
  uint16_t wid = SimbleeForMobile.screenWidth;
  uint16_t hgt = SimbleeForMobile.screenHeight;

  // The beginScreen() function both sets the background color and serves as a
  // notification that the host should try to cache the UI functions which come
  // between this call and the subsequent endScreen() call.
  SimbleeForMobile.beginScreen(darkgray);

  // Create a button slightly more than halfway down the screen, 100 pixels
  // wide, in the middle of the screen. The last two parameters are optional;
  // see the tutorial for more information about choices for them. The BOX_TYPE
  // button has a bounding box which is roughly 38 pixels high by whatever the
  // third parameter defines as the width.
  btnID = SimbleeForMobile.drawButton(
                              (wid/2) - 75,          // x location
                              (hgt/2) - 22,          // y location
                              150,                   // width of button
                              "Reverse LED",         // text shown on button
                              WHITE,                 // color of button
                              BOX_TYPE);             // type of button

  // Buttons, by default, produce only EVENT_PRESS type events. We want to also
  // do something when the user releases the button, so we need to invoke the
  // setEvents() function. Note that, even though EVENT_PRESS is default, we
  // need to include it in setEvents() to avoid accidentally disabling it.
  SimbleeForMobile.setEvents(btnID, EVENT_PRESS | EVENT_RELEASE);

  // Create a switch above the button. Note the lack of a title option; if you
  // want to label a switch, you'll need to create a textBox object separately.
  // A switch's bounding box is roughly 50 by 30 pixels.
  switchID = SimbleeForMobile.drawSwitch(
                              (wid/2) - 25,          // x location
                              (hgt/2)+22,            // y location
                              BLUE);                 // color (optional)
  SimbleeForMobile.endScreen();
}

// This function is called whenever a UI event occurs. Events are fairly easy
// to predict; for instance, touching a button produces a "PRESS_EVENT" event.
// UI elements have default event generation settings that match their expected
// behavior, so you'll only rarely have to change them.
void ui_event(event_t &event)
{
  // We created the btnID and switchID variables as globals, set them in the
  // ui() function, and we'll use them here.


  if (event.id == btnID)
  {
    if (event.type == EVENT_PRESS)
    {
      if (ledState == HIGH) digitalWrite(led, LOW);
      else digitalWrite(led, HIGH);
    }
    if (event.type == EVENT_RELEASE)
    {
      if (ledState == HIGH) digitalWrite(led, HIGH);
      else digitalWrite(led, LOW);
    }
  }

  // If the event was a switch press, we want to toggle the ledState variable
  // and then write it to the pin.
  if (event.id == switchID)
  {
    if (ledState == HIGH) ledState = LOW;
    else ledState = HIGH;
    digitalWrite(led, ledState);
  }
}
Once the code is loaded, you should see this in the Simblee app:
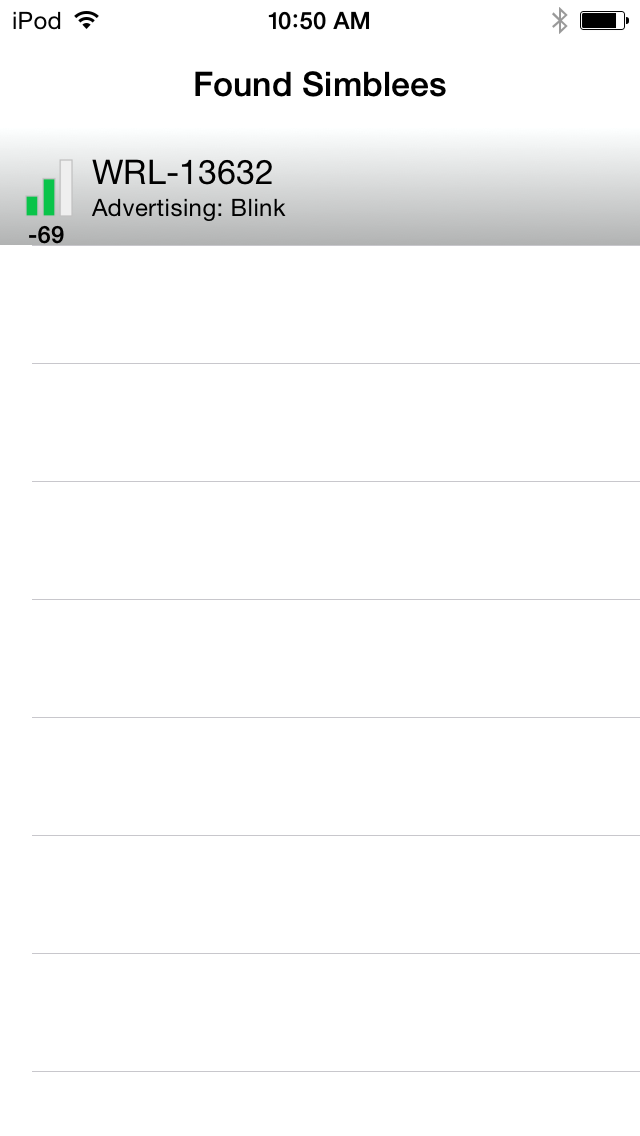
Touching the listing for the Simblee we just programmed will bring up the application interface we just specified by programming the module with the code above:
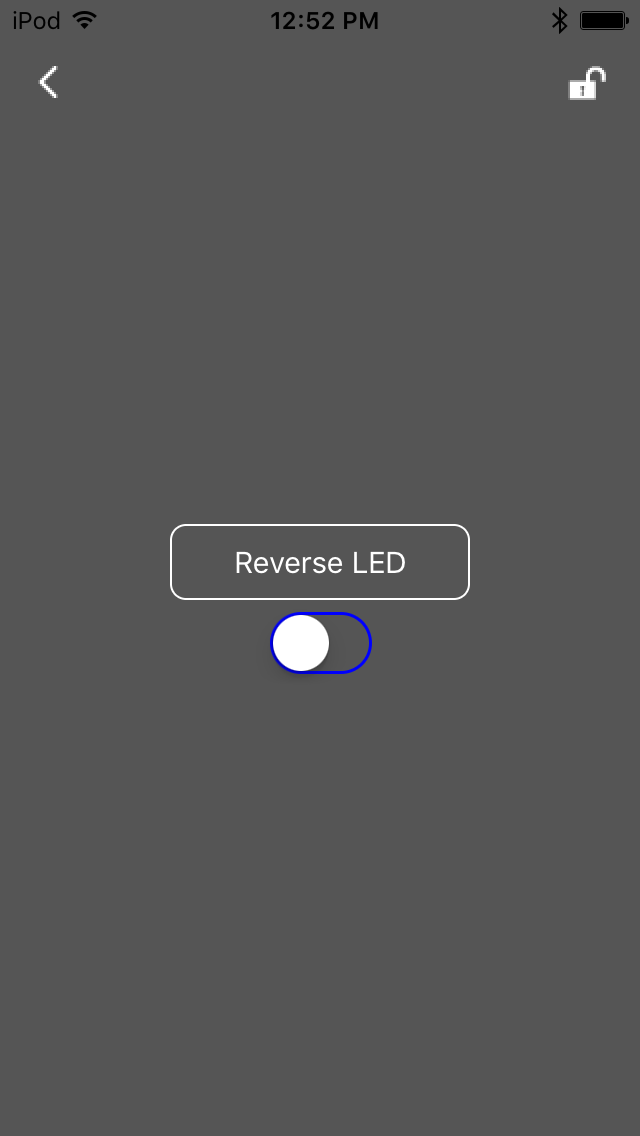
As you can see from playing with it a bit, toggling the switch on the app turns the LED on and off, and pushing the button reverses the current state of the LED until it's released.
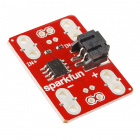
Output Control w/ Transistors
If you decide to drive multiple LEDs, try using a transistor as a switch.
For controlling loads with the pins, try looking at some of these transistors:
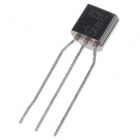