Simon Splosion Wireless
 bri_huang
Simon Says - Go Wireless (Part II)
Now you have the headers soldered, the modifications made, and the new firmware on both of your Simons. Just a few more steps and you can start wirelessly battling Simon Says!
Configuring the XBees
The factory settings of the XBees will work for this tutorial as is. However, if you want to configure your XBees you will need to get an XBee USB Exporer. You can change the settings of the XBee with either AT Commands from a terminal window or using a program like XCTU.
If you change the settings just make sure that you have two XBees that are directly paired with each other.
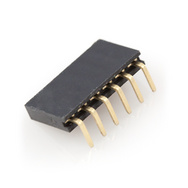
Soldering headers to the XBee Explorer
The XBee Explorer comes unpopulated with header pins. So, we'll need to solder right angle female headers to this board.
 +
+ 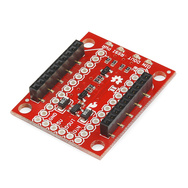
Solder the 6 pin right angle headers to the holes on the edge of the XBee Explorer. There should be exactly six pins there.
Let's Play!
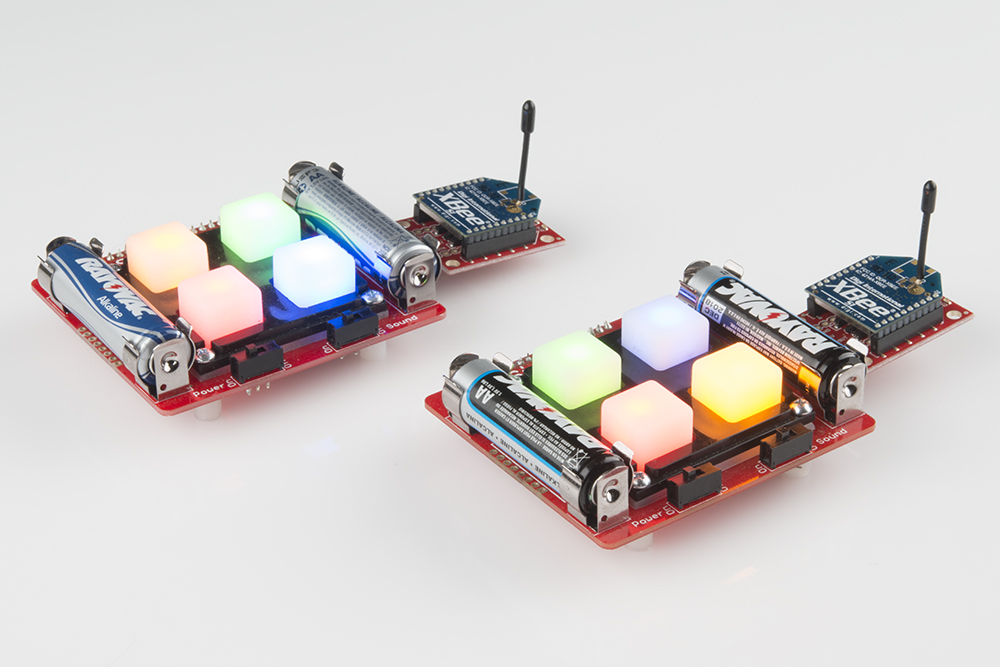
Plug the XBees into the FTDI header pins you soldered in earlier. Your two Simons should look like this:
How to play
Turn on both Simons. Each unit will power on and play an "attract" sequence of blinking LEDs. This will continue until one player presses a button. That player's unit will then go dark and wait for a first button in the sequence to be pressed. So, here's how to play:
- Player 1 – Hit any button to start.
- Player 1 – Hit first button to begin a pattern.
- Player 2 – Wait and watch the pattern to light up. Press the button that lights up, and add another button to the sequence.
- Player 1 - Repeat
This sequence will repeat over and over until one player makes a mistake. This unit will play the "You lost!" tune while the other unit will play the "Winner!" tune.
Want to modify or change the code? Well - you've got it. If you want the original program back, upload the Simon_Says.ino file.