Sound Page Guide
 Shawn Hymel
Hacking Your Kit
Have you had enough of just two silhouettes making sound? Well, read on! We will briefly cover how you can hack the kit to get more out of it.
More Sound!
If you find that the small speaker is too small, too flimsy, or just not loud enough, you can provide your own speakers! The 1/8" audio jack at the top of the LilyPad MP3 board can accept any standard headphones or speaker audio plug.

Adding a Third Silhouette
As it so happens, the LilyPad MP3 board will support a third silhouette. This tutorial was kept simple with only 2 silhouettes, but you can add a third. The problem is that you have to connect the third silhouette with conductive paint traces to T5 and across a resistor to T2. You can either punch a hole through the paper and go behind the other traces, or you can go around the second silhouette, as in the picture below.
NOTE: You will need a third 1 MΩ resistor.

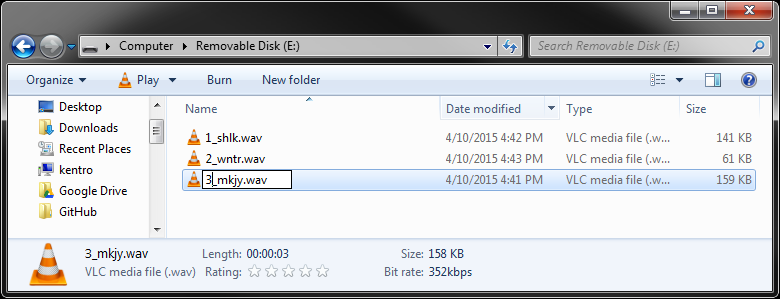
Additionally, you will need to copy a third sound clip to the SD card and rename the file so that a "3" is the first character.
Making New Sounds
So, you want to make your own sounds, eh? Well, here's how it's done.
First, find, make, or record some sound. It can be in any format, but for this example, we will download a WAV file.
Download and install Audacity. If you want to learn how to use Audacity, check out these tutorials.
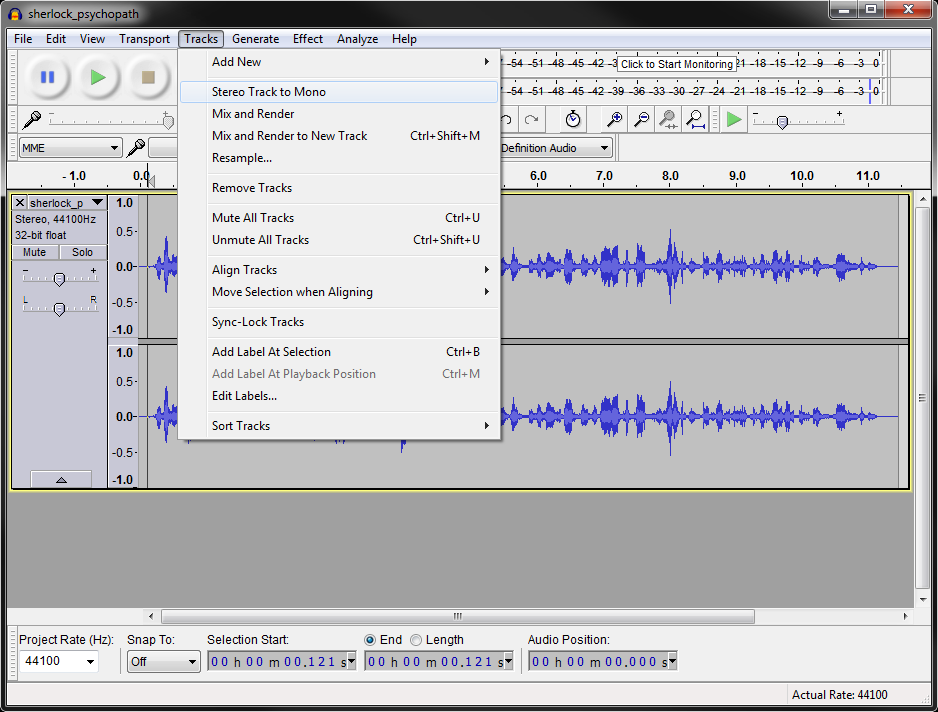
We advice making the audio mono, especially if you are using 1 speaker. This can be found under Tracks → Stereo Track to Mono.
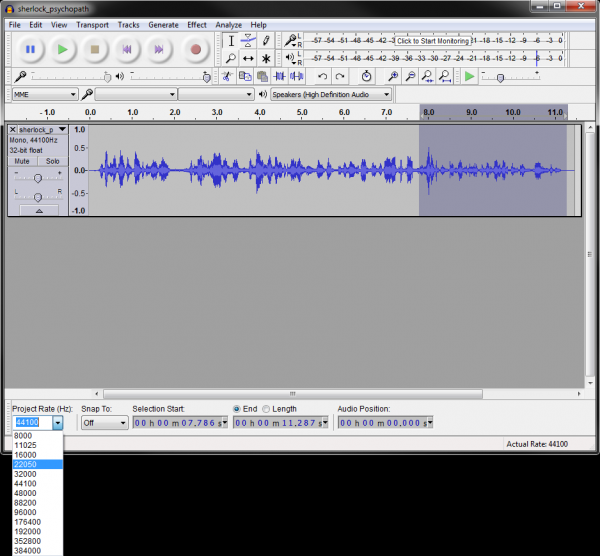
If you want to keep the file size small, you can choose a different sampling rate. In the bottom left corner of the Audacity window, select a new sampling rate from "Project Rate". As long as the sampling rate is equal to or less than 48000 Hz, the clip should work with the LilyPad MP3.
You can also use Audacity to adjust the volume, add filtering, or crop any piece of the audio clip you want.
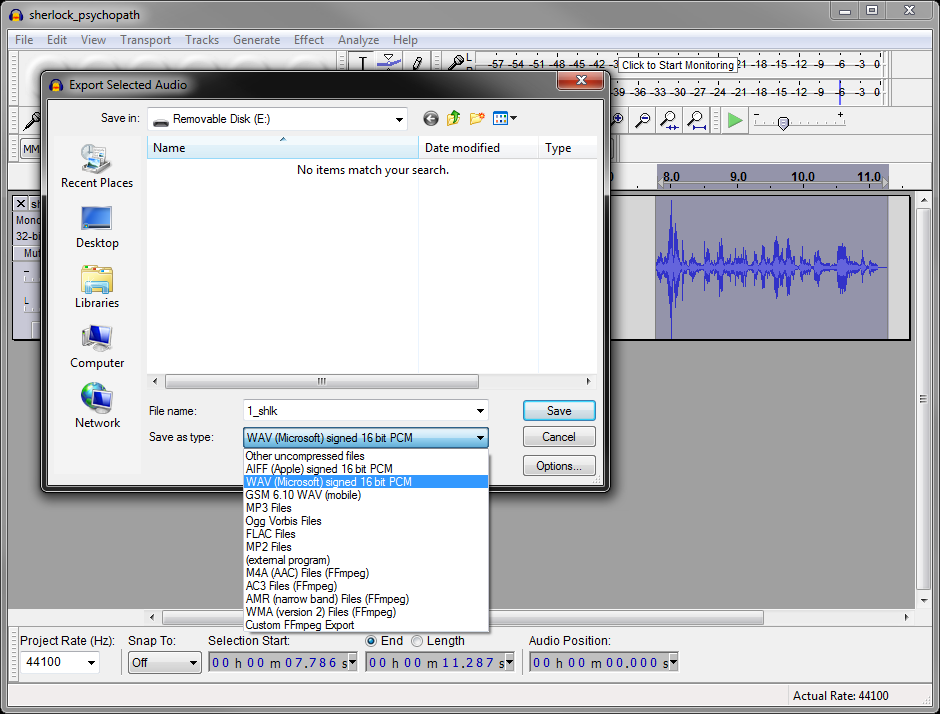
Once you are finished, select File → Export Audio or Export Selected Audio. In the Export window, select "WAV (Microsoft) Signed 16 bit PCM". The LilyPad MP3 board will play a variety of file formats. Read more about the supported formats here. Make sure that the new file name begins with a number (1-3, corresponding to the number of the silhouette) and is 6 characters or less.
Once you click "Save," you might be presented with another window asking for file information. Feel free to fill it out or just click "OK" to save the file. Copy the file to your micro SD card, and plug it into your LilyPad MP3 board. Your custom sound is ready to be played!
Customizing the Code
You will need a 5V FTDI Breakout Board to reprogram the LilyPad MP3 board.
Download and install the Arduino IDE. Read this tutorial to learn how to do that.
Download the Sound Page Kit source code.
Unzip the file, install the 3 libraries that are in Sound_Page_Kit/Libraries (CapacitiveSensor, SdFat, and SFEMP3Shield). Read this tutorial to learn how to install Arduino libraries.
The code that shipped with the Sound Page Kit can be found in Sound_Page_Kit/Firmware/Sound_Page_Kit/Sound_Page_Kit.ino. Open the Sound_Page_Kit.ino file in the Arduino IDE and hack away!
If you would like to learn more about the LilyPad MP3 board, read this tutorial.
NOTE: You must unplug the FTDI board from the LilyPad MP3 board in order to use the T4 and T5 pads.