SparkFun Inventor's Kit for Edison Experiment Guide
 Shawn Hymel
Installing the Intel® XDK IoT Edition
The Intel® XDK is Intel's integrated development environment (IDE) for creating, testing, and deploying mobile apps. We will be using the XDK IoT Edition, which was specifically designed to help users develop Node.js and HTML5 applications for the Intel® Edison and Intel® Galileo.

Download the Installer
The easiest way to install the XDK is to use the Intel® Edison Integrated Installer. This contains the XDK, drivers, and Flashing Tool (to update the Edison Firmware). Follow the link below and download the Installer for your operating system:
Windows
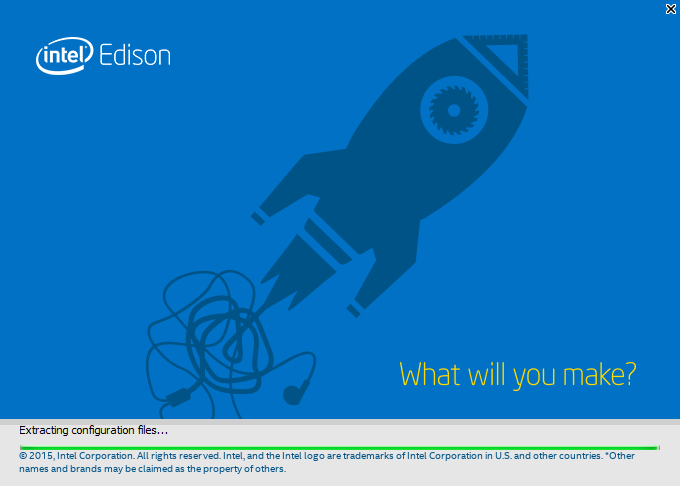
Run the Installer that you just downloaded. You will see a splash screen as it unzips and prepares to install.
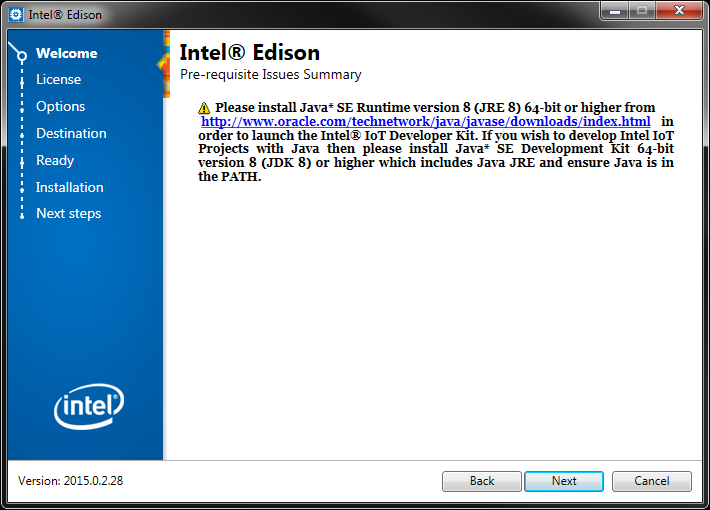
Once you get the "Welcome to Intel® Edison" screen, click Next. You might get a screen telling you to install "Java SE Runtime." Just ignore it, as we will not be developing in Java (JavaScript is not the same as Java!).
Click Next to continue the installation process. The ubiquitous License Agreement will pop up. Feel free to read it (or not).
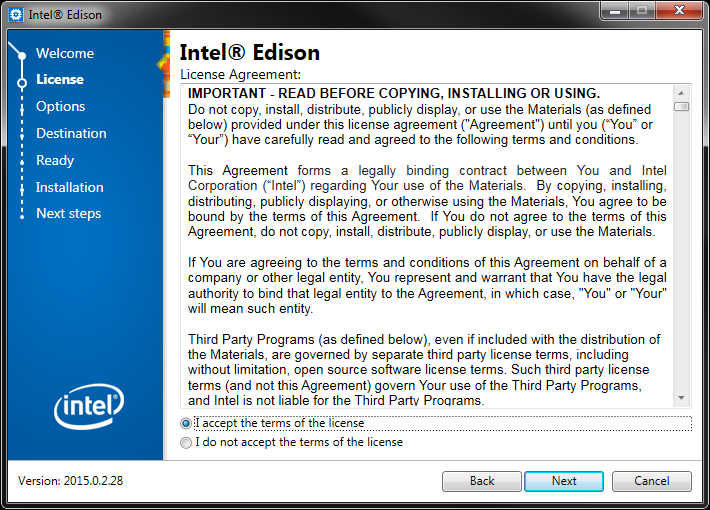
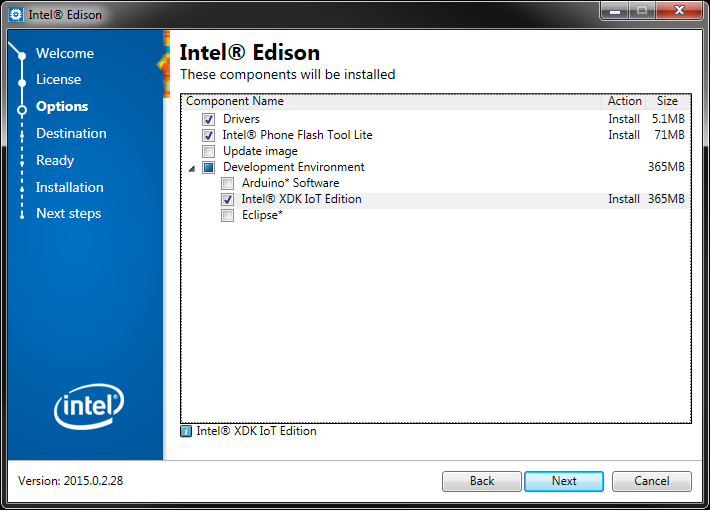
Select I accept the terms of the license and click Next. You will then be presented with options to install. Deselect Update Image (we will do that separately in the next section), deselect Arduino Software, and select Intel® XDK IoT Edition.
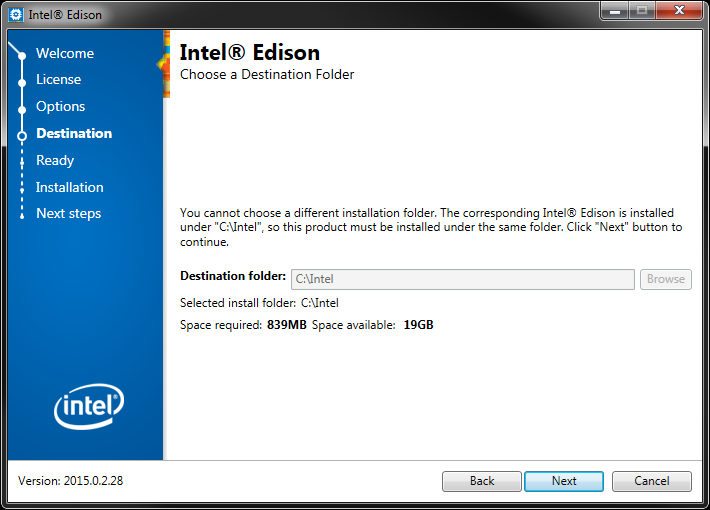
Click Next. On the next screen, make sure that you have enough space to install the programs. Leave the installation directory as default.
Click Next, verify that the installation summary looks correct, and click Next again. Wait a few minutes while the installation completes.
Once the installation process is done, you will see a "Complete" window.
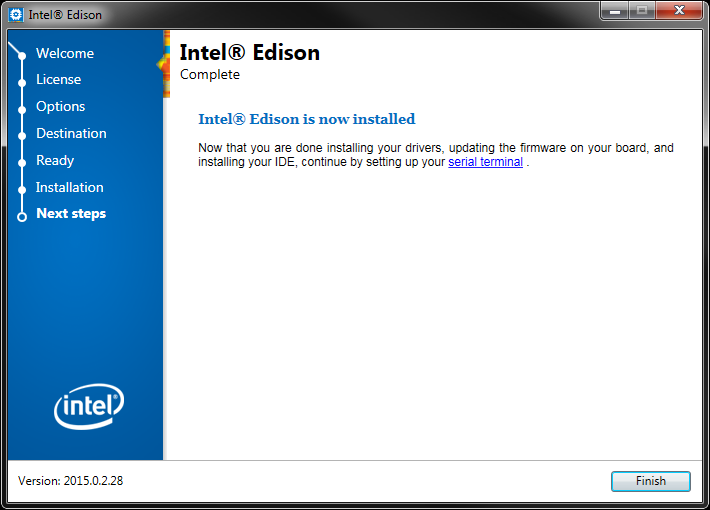
Click Finish. If the Intel® Phone Flash Tool Lite opened during the process, you can leave it open if you wish (we will use it in the next section).
The installer or drivers may ask you to restart your computer.
OS X
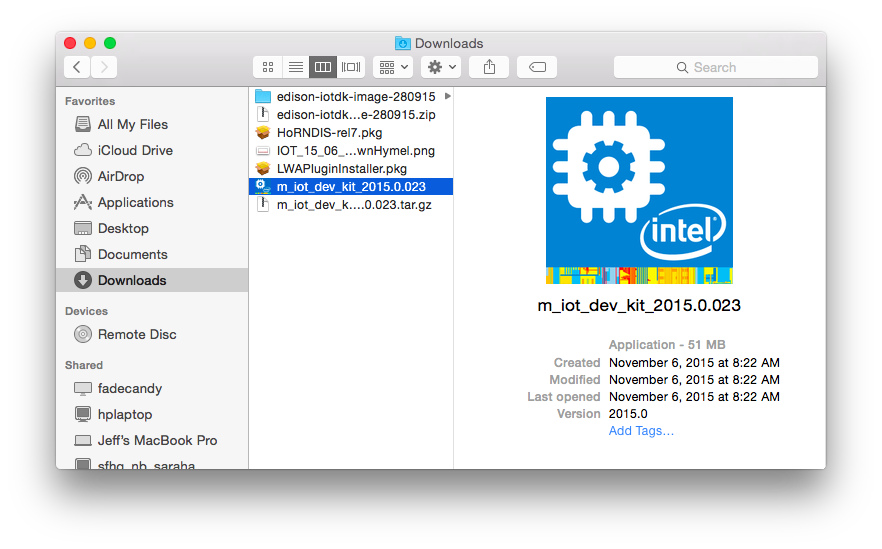
The OS X Installer link will download a .tar.gz file. Double-click on that file to extract it. Double-click on the extracted file to run the installer.
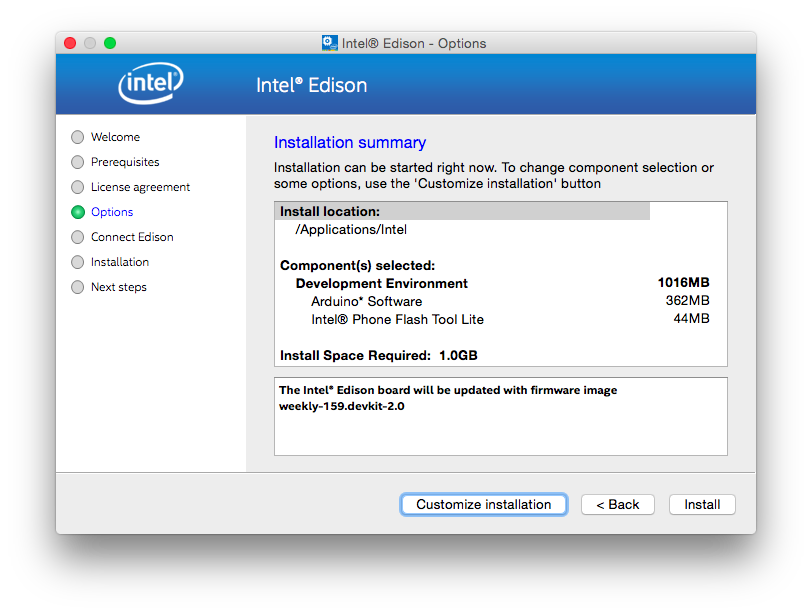
Follow the prompts, clicking Next to advance to the next screen. Accept the End User License Agreement when prompted. On the Installation summary screen, click Customize Installation.
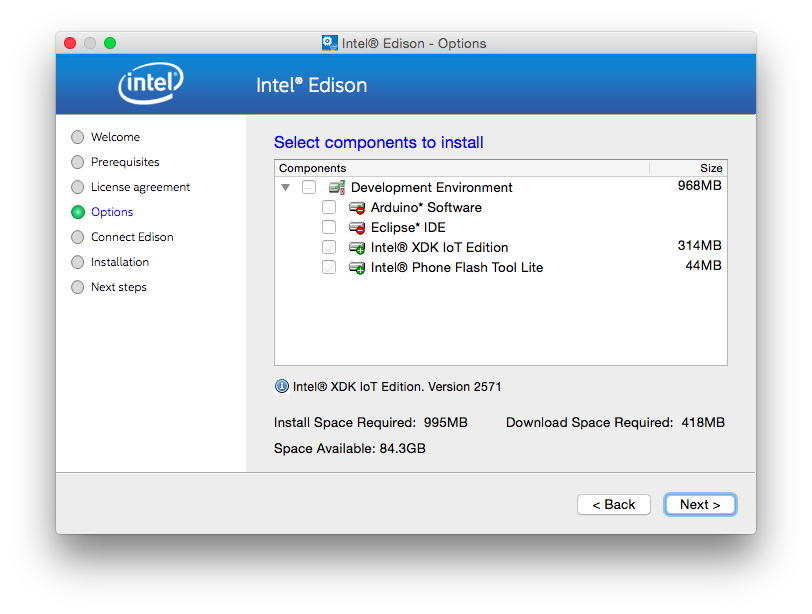
Keep the destination folder (/Applications) at the default and click Next. You will be presented with the option to select the components to install. Deselect Arduino Software, and select Intel® XDK IoT Edition.
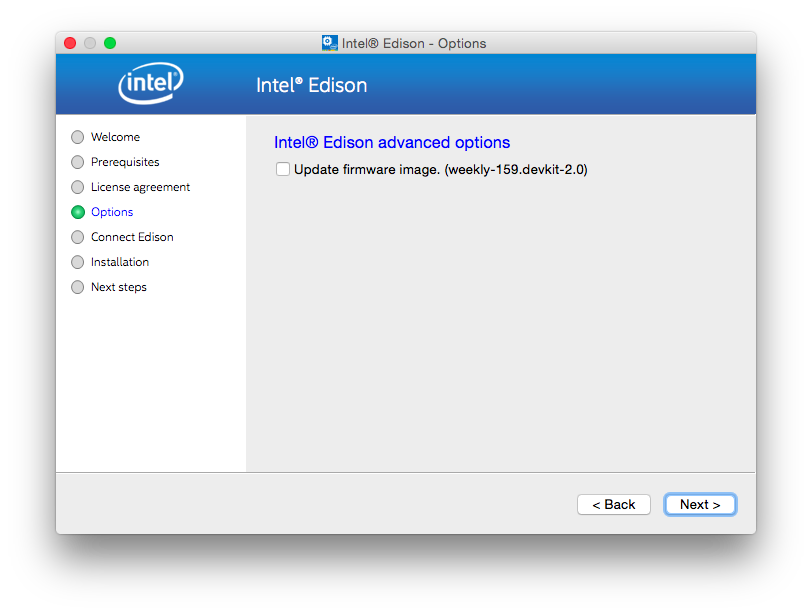
Click Next and deselect Update firmware image (we will do that manually in the next section).
Click Next and then Install. Wait while the installer downloads. You will then be prompted to install the Phone Flash Tool Lite.
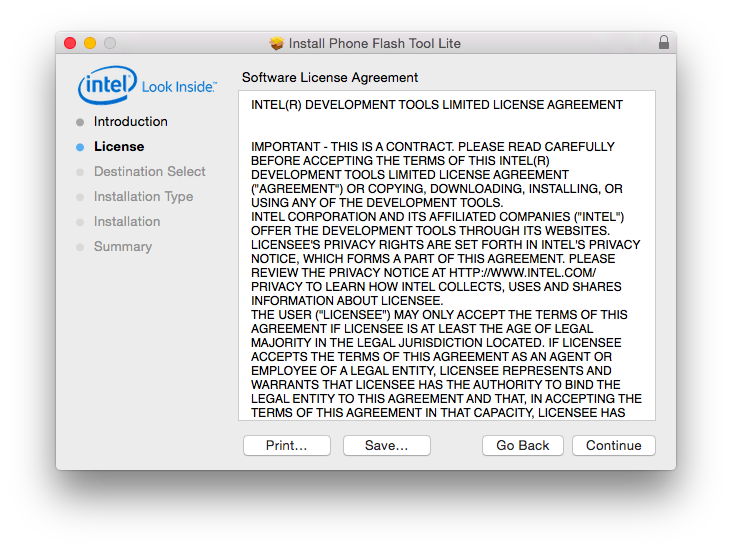
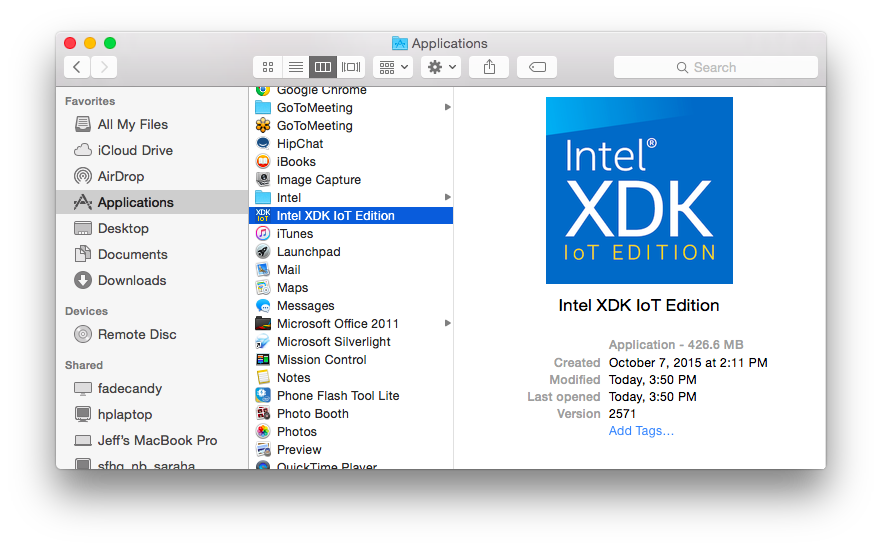
Click Continue and follow the prompts. Once the XDK has finished installing, the XDK can be found under Applications.
Linux
Download the installer, double-click on the file to extract it, and navigate into the directory that it creates.
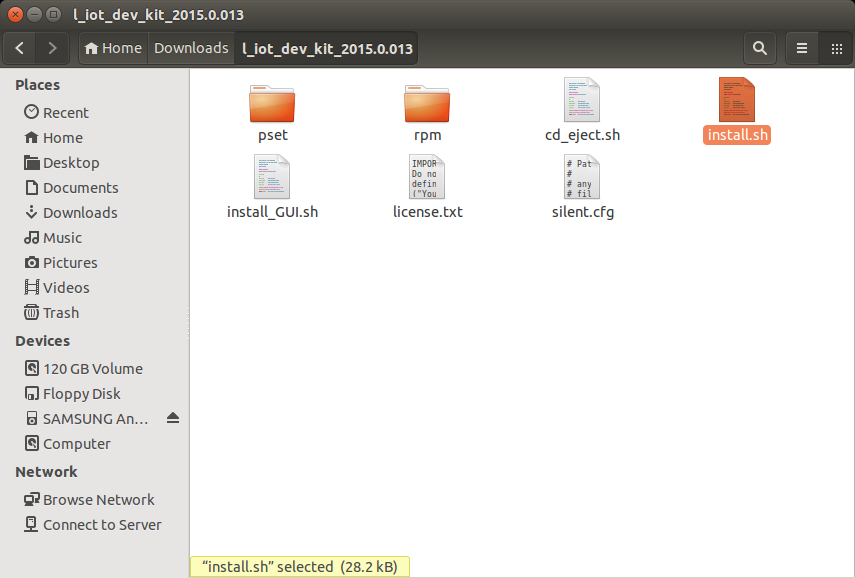
Double-click on the install.sh script (select Run if prompted) to begin the installer.
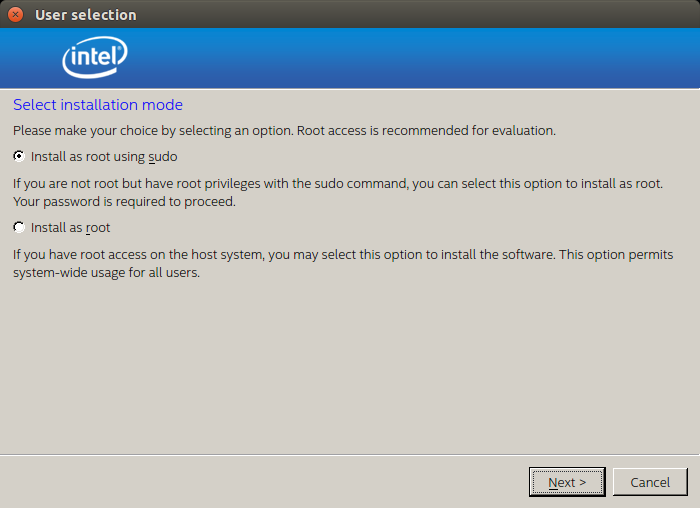
If you want the XDK to be available to all users, select Install as root. Otherwise, select Install as root using sudo. Accept the terms of the End User License Agreement, and accept all defaults until you are presented with a summary screen.
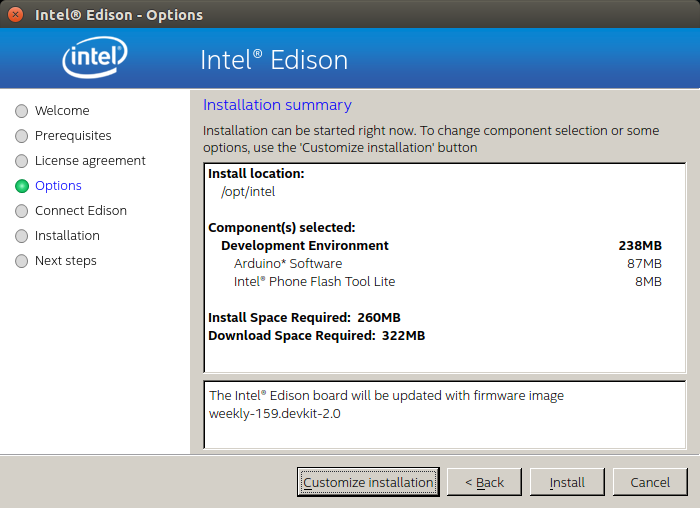
Click Customize installation, and accept the default installation directory on the next screen. You will be presented with some installation options.
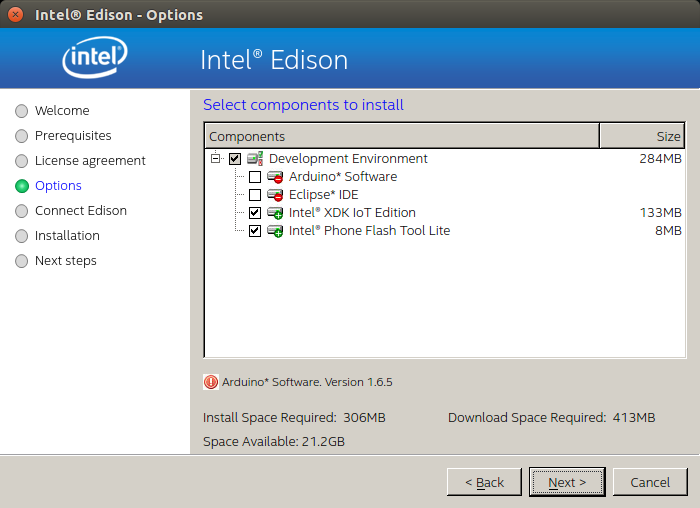
Deselect Arduino Software, and select Intel® XDK IoT Edition. Click Next.
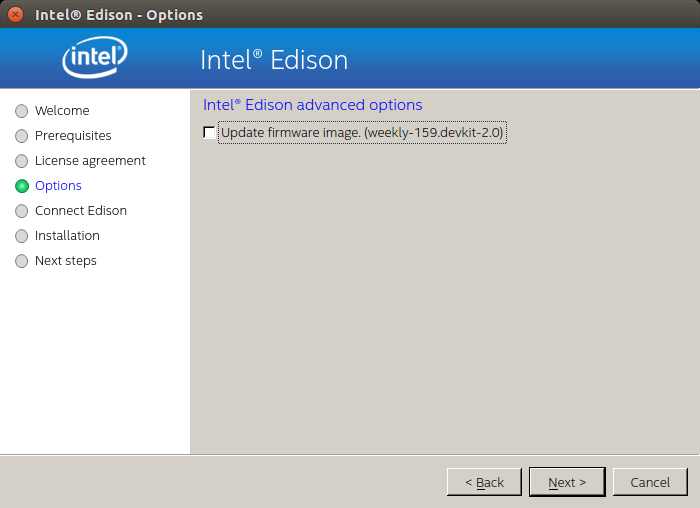
Deselect Update firmware image, and click Next. There is a chance that your system might be missing some dependencies (e.g. "Dependencies not resolved").
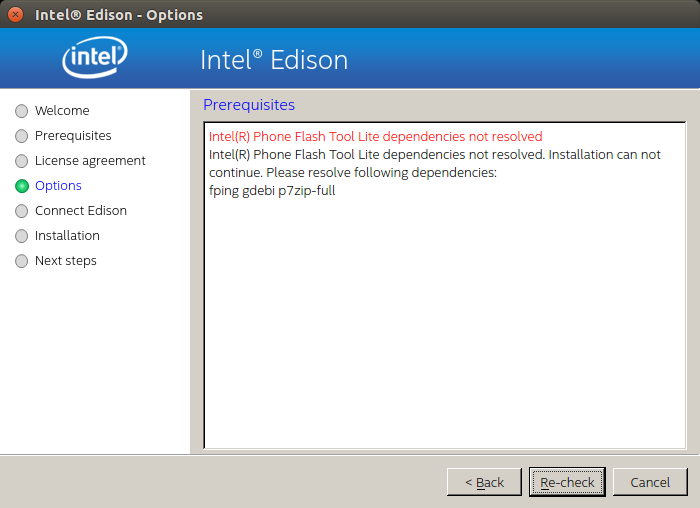
If so, you will need to open a command prompt and install them using apt-get. For example, I am missing fping, gdebi, and p7zip-full. So, I entered the following commands:
sudo apt-get update
sudo apt-get install fping gdebi p7zip-full
Wait for those to finish installing, and click Re-check on the missing dependencies screen. You should be good to install.
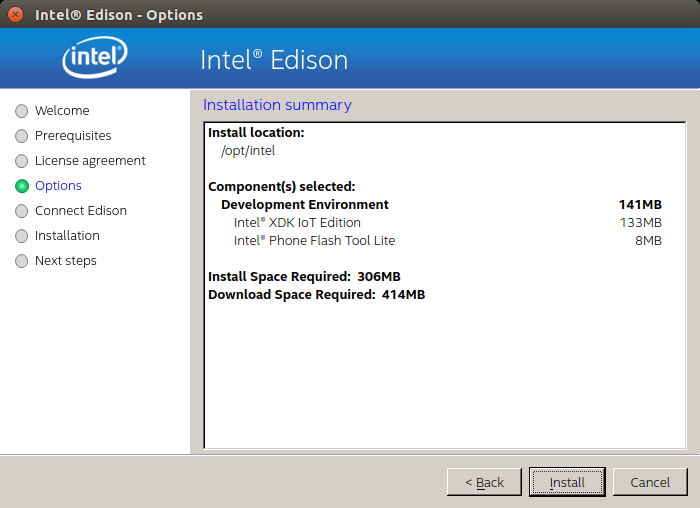
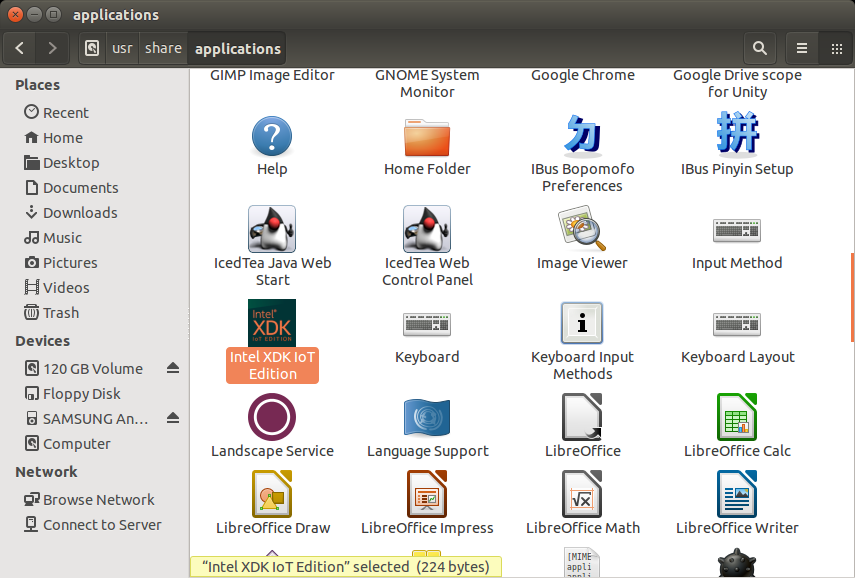
Click Install and wait for the installation to complete (clicking to accept any defaults on prompts). The XDK IoT Edition can be found in /usr/share/applications when the installation is complete.