SparkFun Inventor's Kit for MicroView
 Joel_E_B
Experiment 5: Photoresistors
You’ve already played with a potentiometer, which varies resistance based on the twisting of a knob. In this circuit, you’ll be using a photoresistor (also known as a photocell), which changes resistance based on how much light the sensor receives.
Parts Needed
You will need the following parts:
- 1x Photoresistor
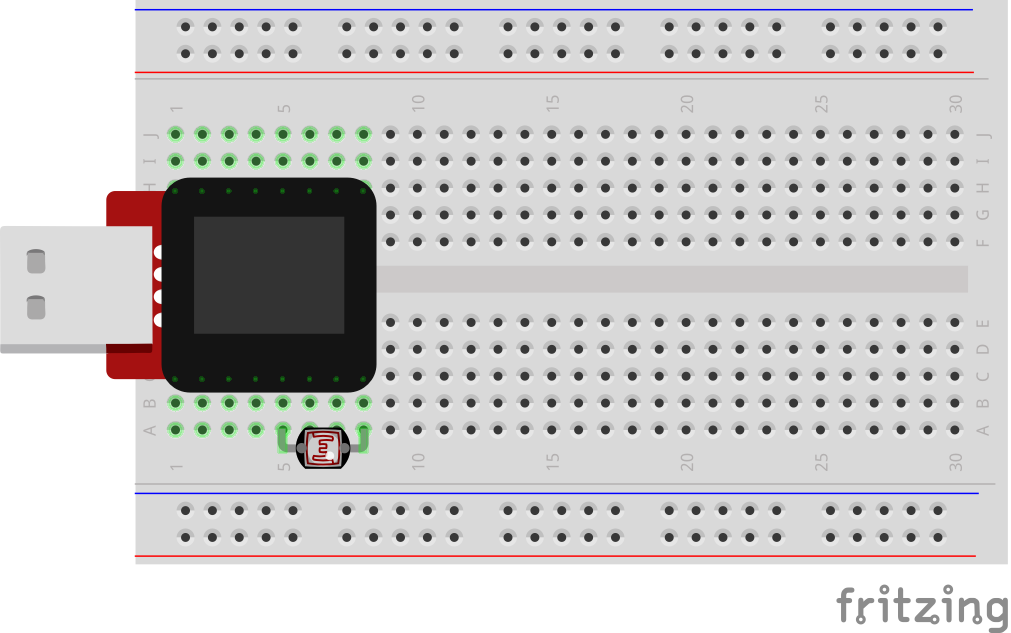
Breadboard Setup
Hook up your circuit as pictured below:
MicroView Arduino Code
language:c
#include <MicroView.h>      // include MicroView library

MicroViewWidget *widget;    // declare widget pointer

int sensorPin = A2;     // select the input pin for the photoresistor
int sensorValue = 0;    // variable to store the value coming from the sensor

void setup() {
    pinMode(sensorPin,INPUT);       // set sensor pin as INPUT
    digitalWrite(sensorPin,HIGH);   // set Internal pull-up
    uView.begin();                  // start MicrView
    uView.clear(PAGE);              // clear page
    widget = new MicroViewGauge(32,24,0,1023,WIDGETSTYLE1); // set widget as gauge STYLE1
}

void loop() {
    sensorValue= analogRead(sensorPin);     // read value from sensorPin
    widget->setValue(sensorValue);          // set the sensorValue to the gauge widget
    uView.display();                        // display the widget
}
What You Should See
You should see the potentiometer value being displayed on the MicroView's display.
Code to Note
A “variable” is a stored value you’ve given a name to. You must introduce, or "declare" variables before you use them; here we're declaring a variable called sensorValue, of type "int" (integer). Don't forget that variable names are case-sensitive!
int sensorValue;
We use the analogRead() function to read the value on an analog pin. analogRead() takes one parameter, the analog pin you want to use ("sensorPin"), and returns a number ("sensorValue") between 0 (0 volts) and 1023 (5 volts).
sensorValue = analogRead(sensorPin);
Troubleshooting
Sporadically Working
This is most likely due to a slightly dodgy connection with the photoresistor's pins. This can usually be conquered by pushing the photoresistor down into the breadboard.
Still No Success?
A broken circuit is no fun, send us an e-mail and we will get back to you as soon as we can: TechSupport@sparkfun.com
Pull-up Resistors
Many of the sensors you'll use (potentiometers, photoresistors, etc.) are resistors in disguise. Their resistance changes in proportion to whatever they're sensing (light level, temperature, sound, etc.).
The MicroView's analog input pins measure voltage, not resistance. But we can easily read voltage by using the MicroView's internal pull-up resistors. Visit our pull-up resistors tutorial for more info. To get the most out of your photoresistor, we recommend replacing one of the resistors in a voltage divider circuit with a photoresistor.