SparkFun Qwiic Shield for Teensy Hookup Guide
Hardware Overview
Qwiic Connectors
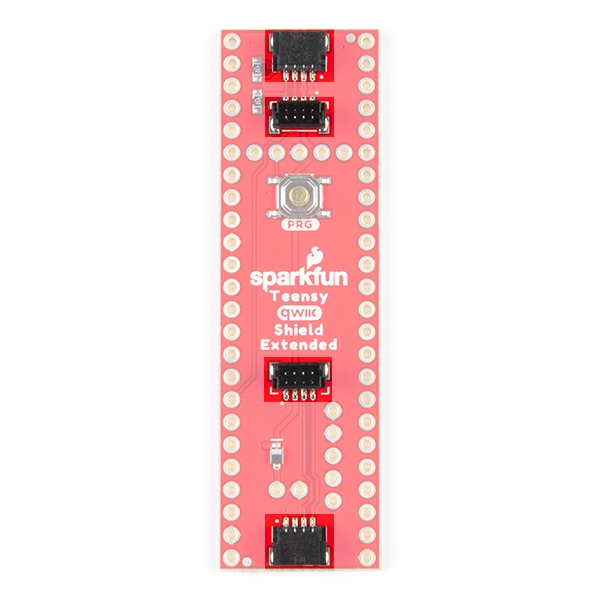
The Qwiic Shields for Teensy each have four Qwiic connectors on them. The two on the edges are the standard horizontal connectors and the two in the middle are vertical connectors.
Note, the horizontal Qwiic connector on the "top" (aka North end) of the non-extended version is positioned slightly downward to allow space for proper cable insertion, and to avoid any conflicts with the nearby 6-pin header on the edge of the board.

|
|
| Teensy Qwiic Connectors | Teensy Extended Qwiic Connectors |
Program Button
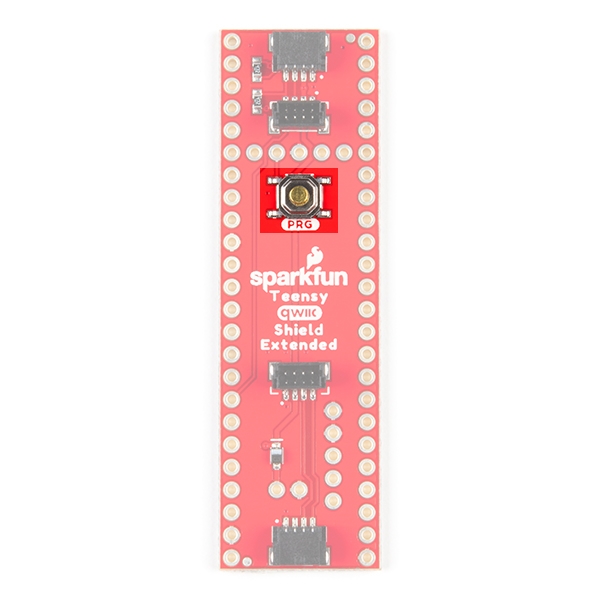
Each of these shields have a "PROG" button. This is to allow easier access to a programming button for each time you want to upload to the Teensy. Note, it is electrically in parallel with the "PROG" button on the Teensy boards themselves. This means that you can choose to use either the button on your Teensy or the button on the shield. If your shield is located on top of your Teensy (using stack-able headers), then it will be much more accessible to use the button on the shield, rather than trying to reach under the shield.

|
|
| Teensy Program Button | Teensy Extended Program Button |
I2C Jumper
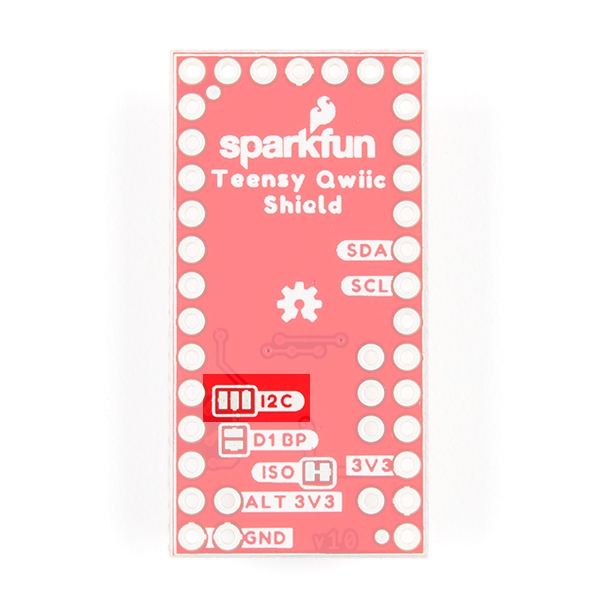
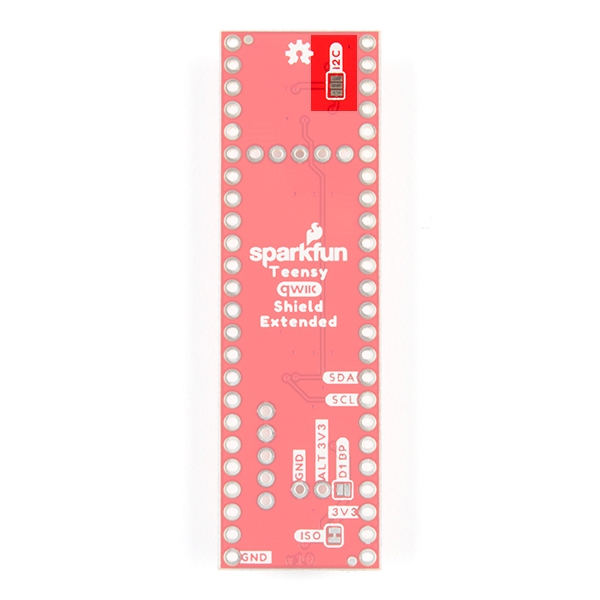
This jumper is a little different than our normal I2C pull up jumpers as it is open by default. The jumper only needs to be closed if your attached I2C device does not have pull up resistors. Essentially all SparkFun I2C breakouts come with pull up resistors on them so if you are using a Qwiic I2C device or another SparkFun I2C device, you can most likely leave it open. When closed, the SDA and SCL lines are pulled to 3.3V by 4.7KΩ resistors. If you have never worked with solder jumpers before, check out this tutorial for some tips and tricks for working with them.
|
|
| Teensy I2C Jumper | Teensy Extended I2C Jumper |
External Power Input
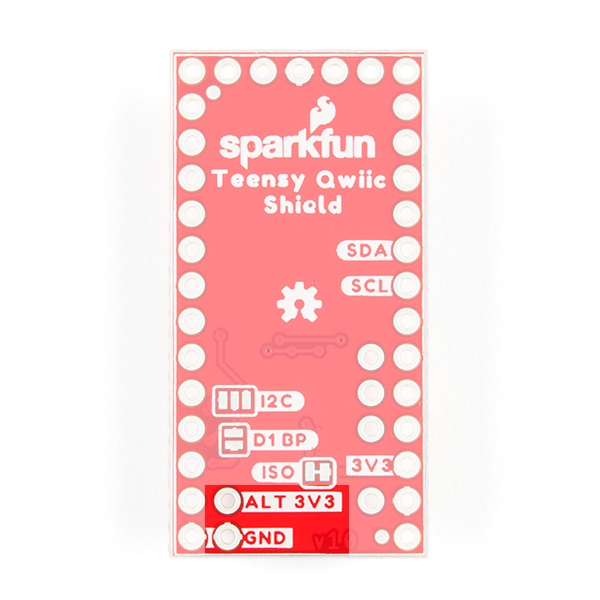
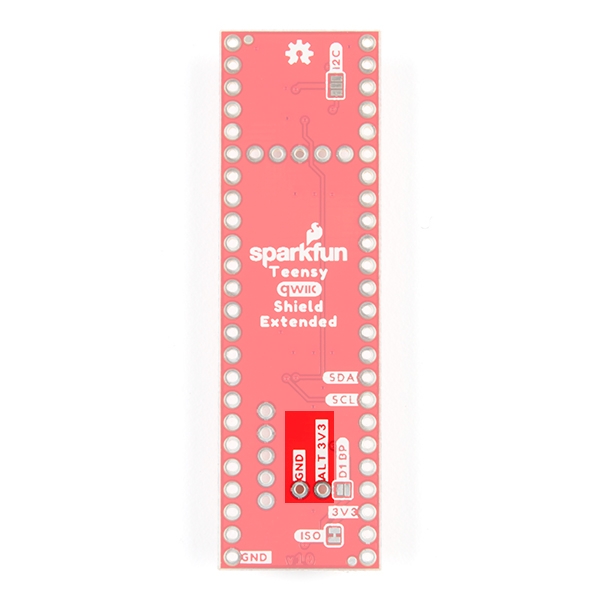
These shields include an optional 3.3V power input. The 3.3V pin off of the Teensy is rated to supply 250mA. If your project requires more than that on the Qwiic 3.3V power rail, then you should consider supplying a separate power source and soldering it into the header pins labeled "ALT 3V3". Note, you must also cut the jumper labeled "ISO" to properly isolate the Teensy's 3.3V power rail from your external.
|
|
| Optional External Power Input | Extended Optional External Power Input |
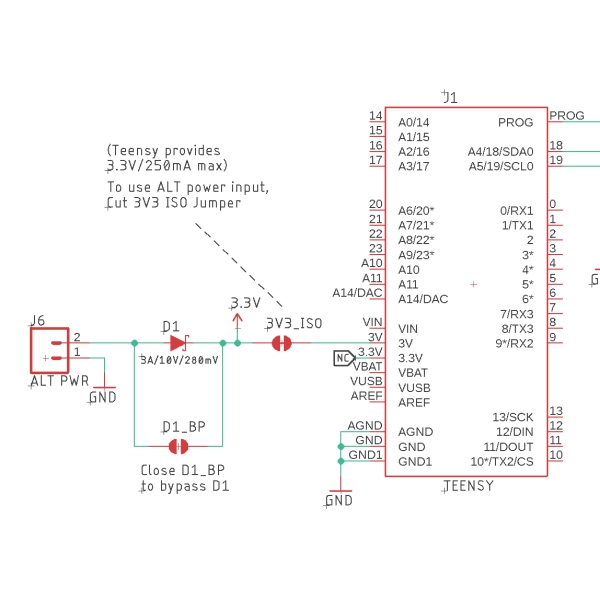
Note, when using the external power input header, you may notice a slight voltage drop. This is because we have included a protective diode in the circuit. For most applications, this will be fine to leave in place. For more advanced users, we have included a bypass jumper to easily bypass this jumper and have a direct connection to the 3.3V power net.
|

|
| Schematic highlight | External power input header and bypass jumper |
Board Dimensions
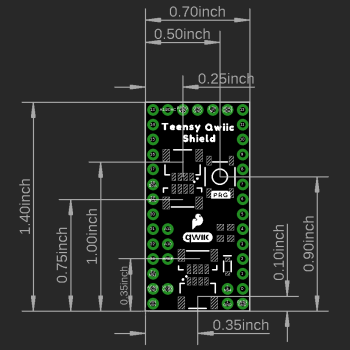
The Qwiic Shield for Teensy measures 0.70in x 1.40in (17.78mm x 35.56mm). The extended version measures 0.70in x 2.40in (17.78mm x 60.96mm). Note, because these are such small form factor boards, they do not have any standoff holes. They simply rely on the headers for both electrical connections and "mounting hardware".
 |
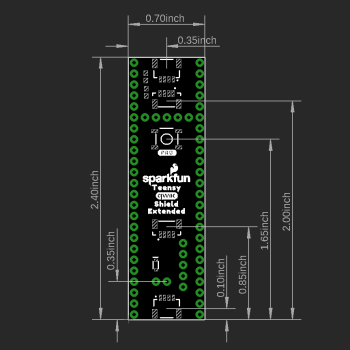 |
| Qwiic Shield for Teensy Dimensions | Qwiic Shield for Teensy Extended Dimensions |