SparkFun SAMD21 Pro RF Hookup Guide
 Elias The Sparkiest
Setting Up Arduino
Update Arduino! This setup requires at least Arduino version 1.6.4 or later. We've tested it on the latest version – 1.8.5. If you're running an older version of Arduino, consider visiting arduino.cc to get the latest, greatest release.
While the SAMD21 is powerful and completely supported by the Arduino IDE. This following section will list every step required for installing the SparkFun SAMD21 Pro RF into the Arduino IDE.
Install Arduino SAMD Boards
First, we'll install the SAMD board definitions via the Boards Manager in the Arduino IDE which contains a variety of tools, including low-level ARM Cortex libraries full of generic code, arm-gcc to compile your code, and bossa to upload over the bootloader.
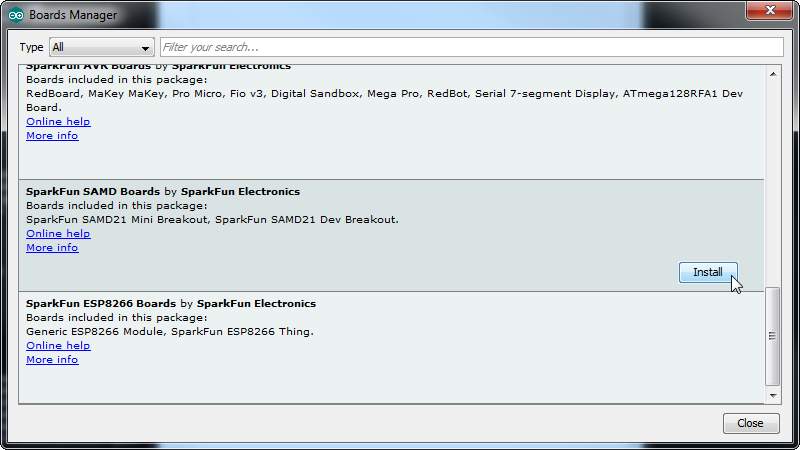
To install the Arduino SAMD board definitions, navigate to your board manager (Tools > Board > Boards Manager...), then find an entry for Arduino SAMD Boards (32-bits ARM Cortex-M0+). Select it, and install the latest version. At the time of this Hookup Guide, version 1.6.19 was used.

Downloading and installing the tools may take a couple minutes -- arm-gcc in particular will take the longest, it's about 250MB unpacked! Once installed. the Installed text will appear next to the SAMD boards list entry. Let's continue...
Install SparkFun Board Definition
Open your Arduino preferences (File > Preferences). Then find the Additional Board Manager URLs text box, and paste the link listed below in the field encapsulated in the red box:
https://raw.githubusercontent.com/sparkfun/Arduino_Boards/master/IDE_Board_Manager/package_sparkfun_index.json
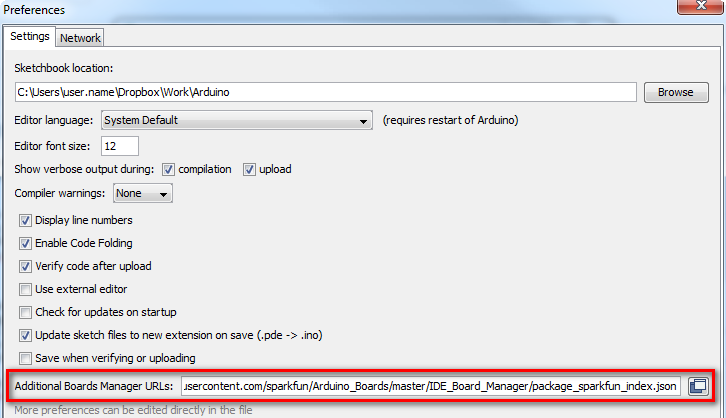
If you've done this before with different development boards, then you can add the SparkFun link text to the end of the text, just add a comma between seperate links or click on the small square to the right of the field and add it to the bottom of the list. Now hit OK, and travel back to the Boards Manager menu. You'll now see a new entry for SparkFun SAMD Boards. If you don't see it, close the boards manager and open it again. ¯\_(ツ)_/¯.
This installation should be much faster; you've already done the heavy lifting in the previous section. You're update should be 1.5.2 or later!
Select the Board and Serial Port
Once the board is installed, you should see a new entry in your Tools > Board list: SparkFun SAMD21 Pro RF.

Finally, select your SAMD21 Pro RF Board's port. Navigate back up to the Tool > Port menu. The port menu may magically know which of your ports (if you have more than one) are the SAMD21 board. On a Windows machine, the serial port should come in the form of "COM#". On a Mac or Linux machine, the port will look like "/dev/cu.usbmodem####".