SparkFun Troubleshooting Tips
 bboyho
 Start Something
"I want to connect 10,080 addressable LEDs attached to a network of wireless modules and controlled by one board attached to a shark. Oh, and I have not worked with electronics before."
Whoa, whoa, whoa. Let's take a giant step back and start simple before going crazy with a project. Also, please leave any animals out of the project! Our technical support department receives some interesting cases. The above example is a generalization of the questions that we get in support. Before we even dive into a project, let's begin with the basics and where to look for information to get started. You will want to start by checking out any associated documents. Dream big, but start with these small steps.
Start at the Product Page and Kits
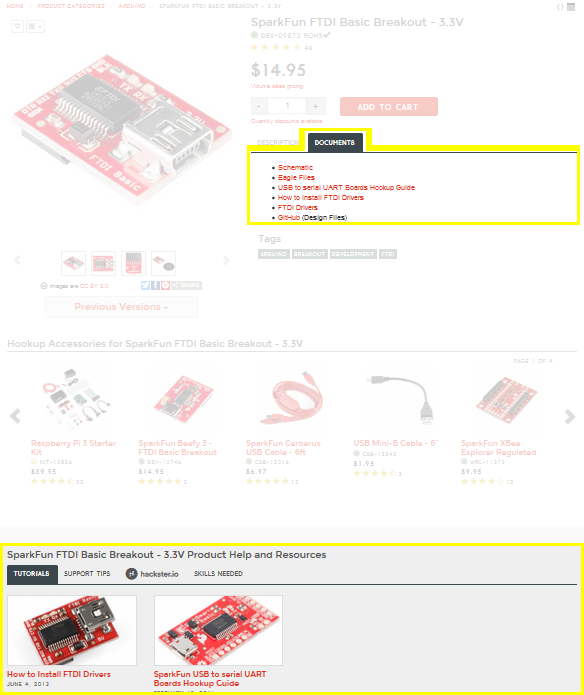
We at SparkFun try our best to provide information about the parts sold in our catalog. Besides reading the product description, try checking out a product page's document section for resources. Depending on the product, there can be a number of useful links. Let's take a look at the SparkFun FTDI Basic Breakout --- 3.3V! The information linked on the product page can range from:
- Schematics
- Eagle Design Files
- Hookup and Experimental Guides
- Project Tutorials
- Drivers
- Datasheets
- User Manuals
- GitHub Repositories
If you scroll down past the recommended products, "Product Help and Resources" may show up if there is information linked to the product. These can range from tutorials to technical support tips to projects that the part has been used in under Hackster.io. Farther down at the bottom (not shown in this image), you will also notice a section for comments provided by users.
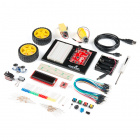
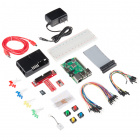
You can also check out the specific development boards used in kits to get started. There are basic examples and projects within each of these kits to help you get started with the product. If you have not worked with hardware electronics or programming before, you might want to check out the SparkFun Inventor's Kit V3.3 for RedBoard or micro:bit. These kits do not require you to solder components together.


Datasheets and Manuals
Depending on the complexity of the board, there can be a lot of components on the PCB with different specs. We usually try to think about the main IC on the breakout board and look at the Absolute Maximum Ratings for the I/O pins, how much the chip can handle overall, and what the IC is able to do. Try looking at our previous tutorial on How to Read a Datasheet for tips on reading a datasheet. User manuals can also provide examples and application notes on how to use the product.
Online Research for Resources
Besides browsing at SparkFun's growing list of online tutorials, YouTube videos and blog posts (i.e., Enginursdays, Engineering Roundtable, etc.), there are several other resources online. Here a few that might be of use:
- Non-SparkFun Manufactured Parts
- Instructables
- Hackster.io
- Electronics Stack Exchange
- Forums (i.e., SparkFun, Arduino.cc, Raspberry Pi, etc.)
The cloud knows all...that is posted on the internet. Besides using the local search engine at the top of the page, try using an online search engine with different search queries to see if anyone has done something similar to what you are doing. Chances are, there is someone in the world who has done the project (or something similar) already, and they have provided some documentation online.