SparkPunk Sequencer Hookup Guide
 Byron J.
Electronic Assembly I - Diodes
With a PCB like this, it's usually easiest to assemble if you start with the shortest components, and work up to the tallest ones. That way, you don't have work around the bulk of the larger components.
Diodes
The silicon diodes are the shortest components, so we'll start with them. Find the Silicon diodes in the kit - they have a small orange body that looks like a glass bead, with a black stripe near one end.
The silicon diodes are installed side-by-side in the locations marked below. It doesn't really matter which one you start with.

These diodes are polarized. The glass body has a black stripe on one end, which matches up with the white stripe on the PCB silkscreen.
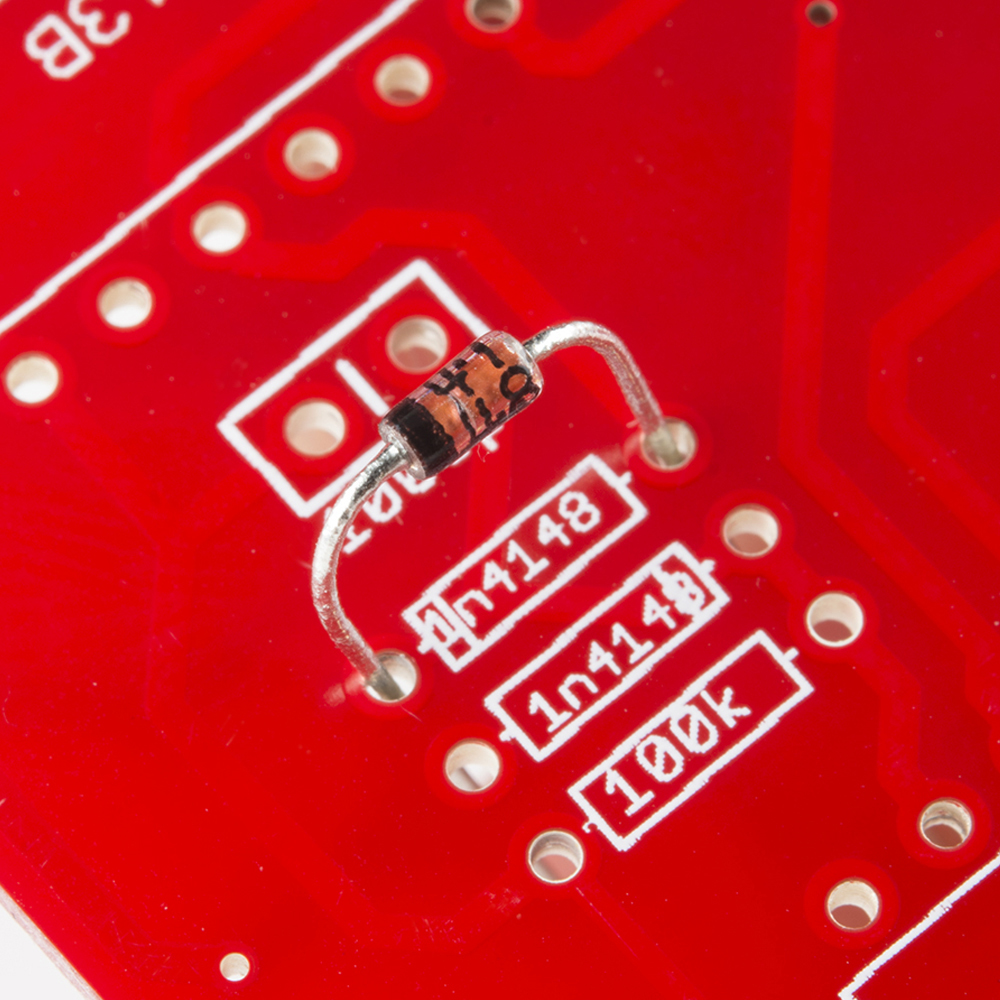
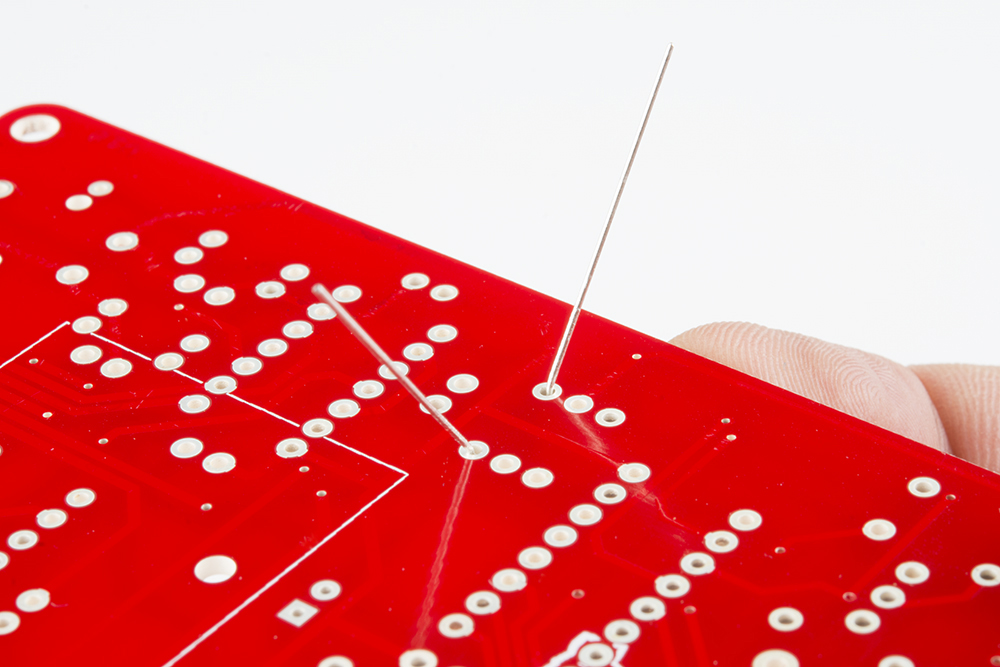
The diode gets mounted on the top the the PCB, the side with the silkscreen outline. Bend the leads so they fit through the holes, and push them through until the body sits on top of the PCB. You can bend the legs outward slightly to hold the diode while you work.
Turn the board over, and solder the diode in place. Take care to make good solder joints, with just the right amount of solder. The solder should flow evenly between the board the the lead, making a small, smooth dome or cone shape. If you're not sure about your fillets, refer to the diagram in our soldering tutorial.

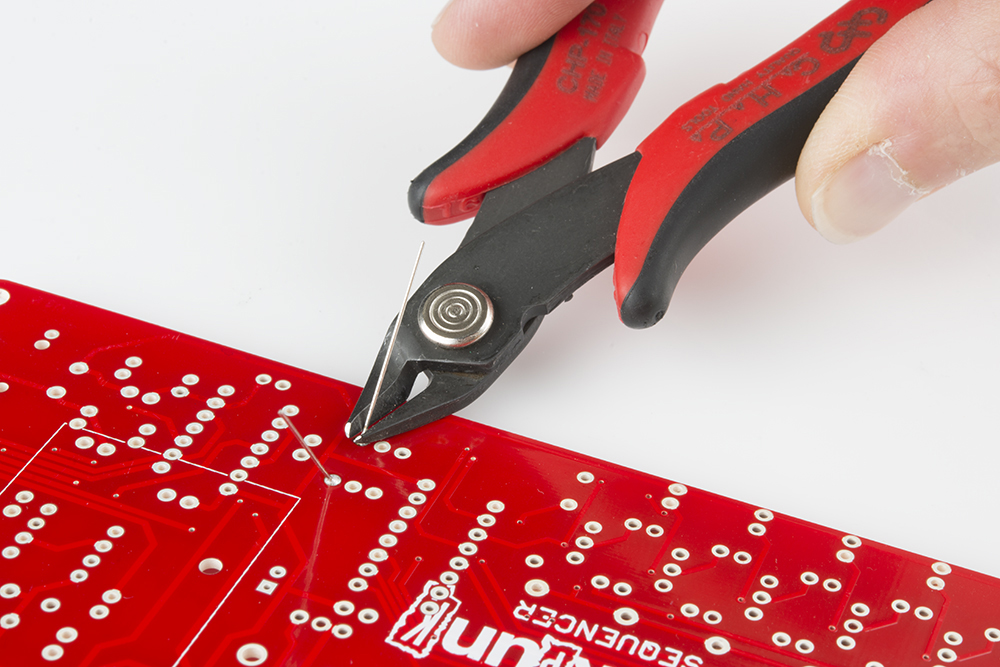
Once it's soldered, trim the excess leads near the fillet.
Install the other diode next to it. Again, it should be inserted with the stripes on both the body and PCB aligned, which faces the opposite direction of the first diode.
After both silicon diodes are in place, let's install the Schottky diodes. (Okay, they're a tiny bit larger than the resistors, but not so large that it will interfere with later steps).
The Schottky diodes are black cylinders with a gray or white stripe on one end. There are a lot of them on the board - the first towards the upper left corner, and the others placed in pairs across the bottom-right edge of the board.
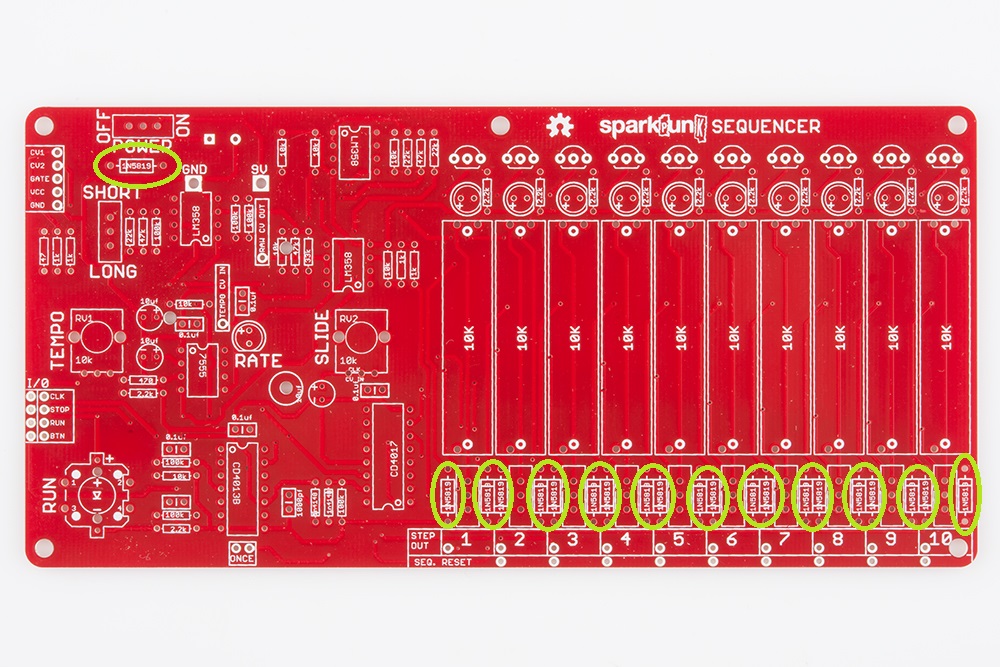
Like the silicon diodes, The Schottkies are polarized. Match the stripe on the body with the stripe on the PCB. Take care that the ones across the bottom edge of the board are oriented correctly - they alternate in polarity, with every other one being the opposite of it's neighbor.

Solder them in, and trim the excess leads.
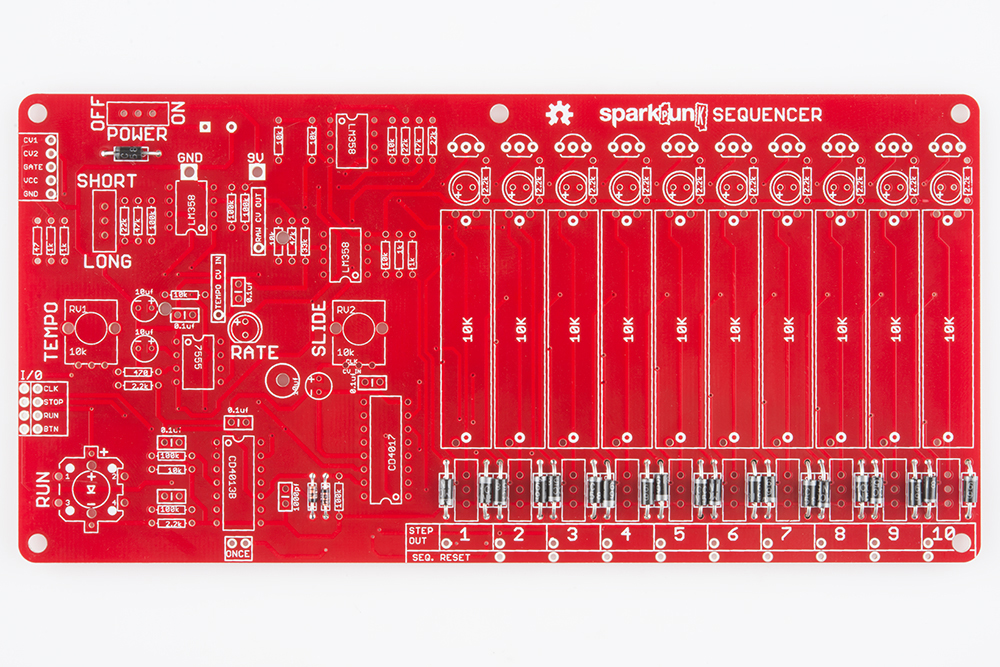
With all the diodes installed, your PCB should look like this (click picture to enlarge):
Before proceeding, take a moment to verify that you have the stripes on all the diodes oriented correctly. They will be harder to fix when all of the other components have been installed.
Lather, Rinse, Repeat
The pattern we've established here (insert, solder, trim) will be repeated for each of the other components on the PCB.