SparkPunk Sequencer Hookup Guide
 Byron J.
Electronic Assembly III - Capacitors
Capacitors
With the resistors complete, we'll move on to the capacitors (also known as "caps" for short). The shortest caps are the ceramic ones - the ones in this kit are little orange/yellow blobs, each with two leads.

Like the resistors, the ceramic caps are not polarized - they can be installed facing either direction.
0.1µF Ceramic Capacitors
There are six 0.1µF caps. The caps themselves are marked 104. The values are printed on the side of the caps, but in very tiny print - in some cases, it might be so small as to be nearly invisible. A magnifying glass can help. Be careful with these caps as there is also a 1nF cap. It's almost the same size as the 0.1µF caps, but it is marked 102.
The 0.1µF capacitors should be located as shown below:
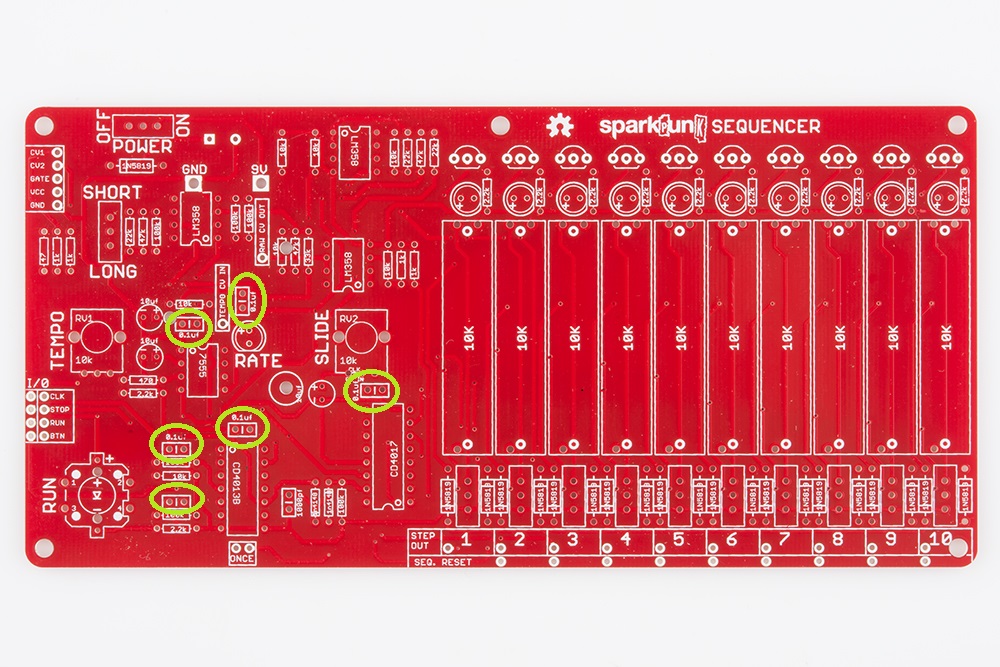
You'll notice that the lower left cap is missing the value marking on the silkscreen - it is indeed a 0.1 μF cap.
The procedure for these caps is similar to the components we've already installed. Insert, solder, then trim.
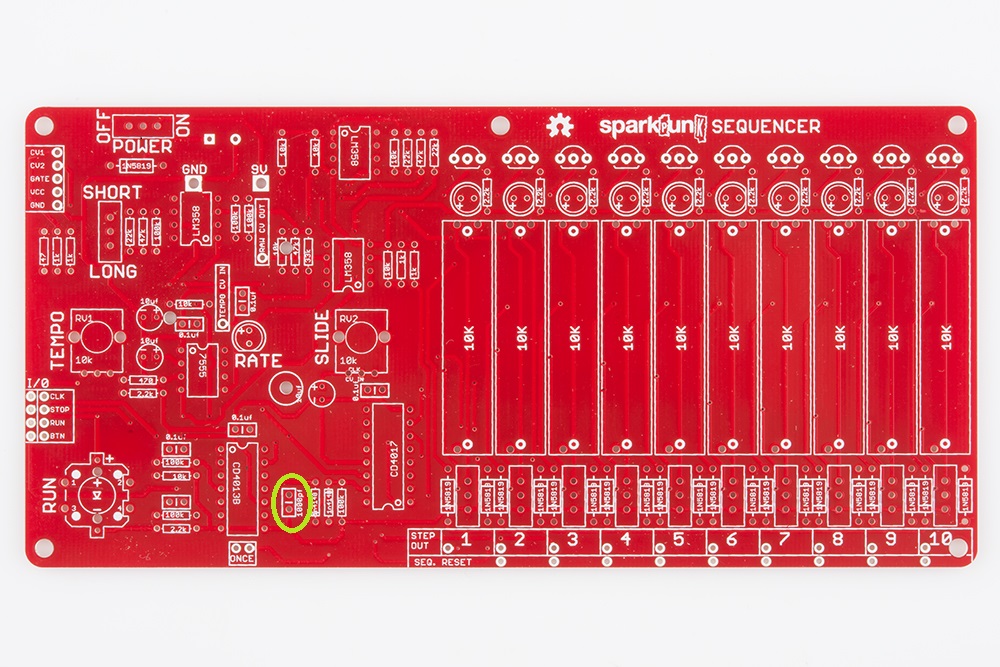
1nF Ceramic Capacitor
There is one 1nF (sometimes also known as 1000 pF) cap. It's marked 102, and it is located here:
Electrolytic Caps
Electrolytic Capacitors are the small cylinders that look like tiny soda cans. They are polarized, having a positive and a negative lead. The positive lead is usually longer than the negative, and the negative side is usually marked by a stripe on the body of the capacitor itself. The pads on the PCB are marked with both "+" and "-" symbols. Be sure to line up the "-" on the body with the "-" on the PCB.

There are three of the 10 µF Capacitors on the board, found in these locations

Check Your Progress
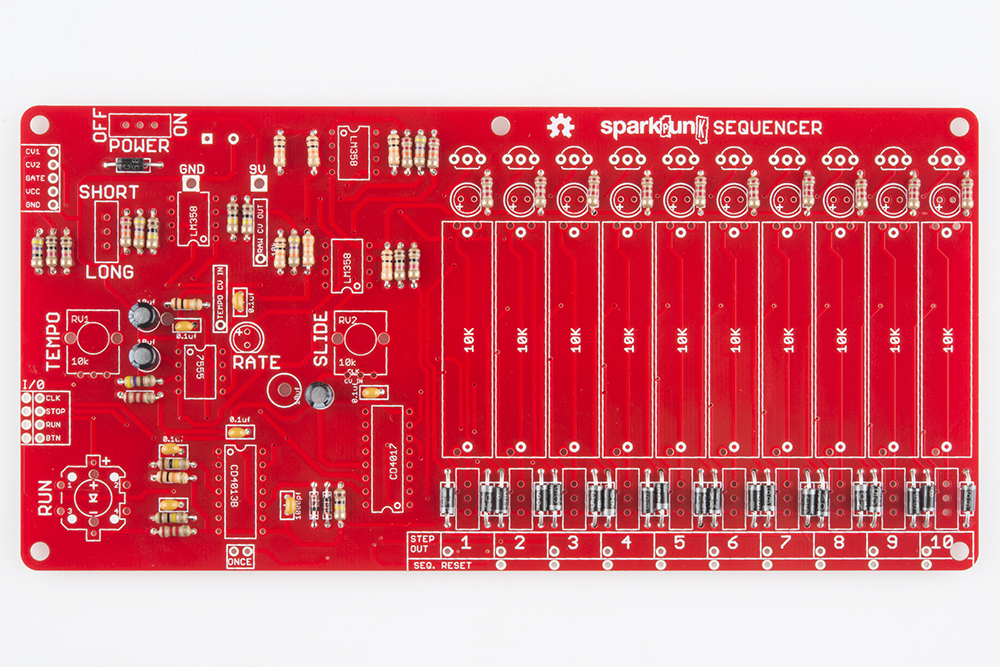
At this point, all of the smaller passive electronic components have been installed. Your board should look like this:
Odd Man Out
There is still one cap remaining, the large 1000 μF electrolytic. It gets mounted on the back of the board, but we'll hold off on that for the moment, as having it on the back makes the board rather cumbersome. We'll revisit it in the electromechanical section.