SparkPunk Sequencer Hookup Guide
 Byron J.
Testing/Troubleshooting
We will test the sequencer in several progressive stages.
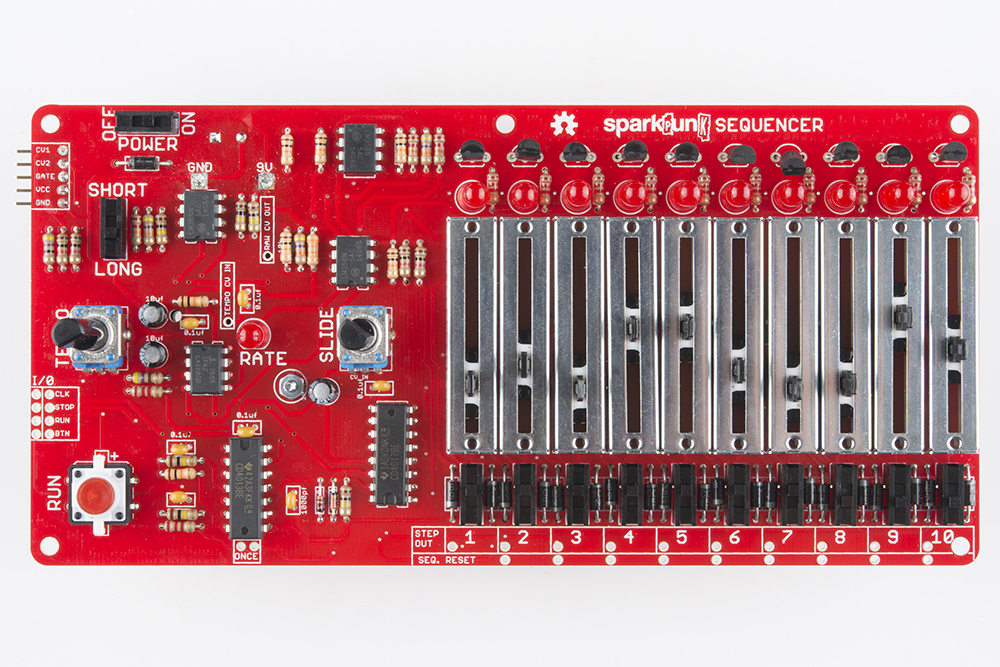
You’ll notice that as the board got assembled, a lot of the text and legends in the silkscreen got covered up by the components. The remaining text explains the function of the nearby controls. We’ll denote those labels using text in boxes like this.
Sequencer Alone
We'll begin by testing the sequencer by itself.
The first test is a smoke test. Install the battery in the battery compartment. There are a small “+” and “-” embossed in the box that will match the corresponding marks on the battery. The battery should slide into the holder, and be held in place by the tab at the back end. If it doesn’t fit easily, make sure that you’ve got it aligned properly.
Turn on the power switch. The first step LED, above the first slider, should light up solidly (not blinking or flickering).
Feel the ICs - none of them should be warm to the touch.
Press the RUN button. The button should illuminate, the RATE led should start to flash, and the step LEDs should start chasing from left to right.
Turn the TEMPO pot. It should vary the rate of the chasing and flashing - slower when counterclockwise, and faster when clockwise.
Stop playback by pressing the RUN switch again. The button LED should go out, and the chasing and flashing should stop. The LED over the first step should be lit steadily again.
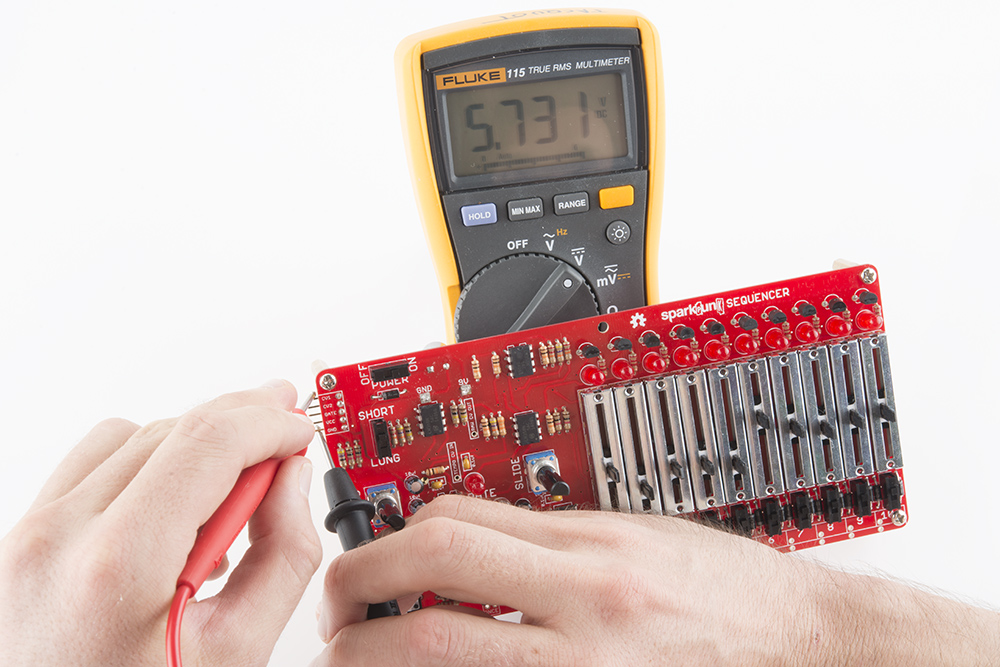
If you have a voltmeter handy, you can use it to test the output port. Set the meter to measure volts DC, in the 1 to 10 V range. Place the black lead on the GND pin, and the red lead on the CV1 pin. While the sequencer is stopped, adjust the slider on the first step. You should see the voltage vary between approximately 7.5 V at the bottom of it's travel and .7 V at the top.
If any of these tests are failing, check out the troubleshooting suggestions below.
Integrated System Test
Once the basic tests above indicate that the sequencer is functional in isolation, we're ready to test it in conjunction with the Sound Generator.
First lets connect everything:
- Plug the Sound Generator into the Sequencer by joining the 5-pin headers.
- Put a 9V battery in the sequencer - it will power the Sound Generator.
- Plug speakers or headphones into the Sound Generator.
Turn on the sequencer. It should power up as it did before.
Verify that the sound generator is set to make audible sounds by pressing its TRIGGER button. The button should light up, and you should be able to hear the sound. If it's silent, revisit the testing section of the SparkPunk Hookup guide.
Next, set the sequencer controls as follows:
- Turn on all ten of the step switches, near the
1to10labels across the lower right edge of the board. - Pull all of the sliders to the bottom of their travel.
- Set the
LONG/SHORTswitch toLONG. - Turn the
TEMPOcontrol fully counterclockwise.
Press play. The step LEDs should chase, and the RATE LED should blink. You should hear a continuous sound.
While it is playing, set the LONG/SHORT switch to SHORT. The continuous sound should now be broken into shorter bursts that correspond to the illumination of the RATE LED. With the TEMPO control fully counterclockwise, the pulses should be about 1/4 second long, repeating every 1/2 second.
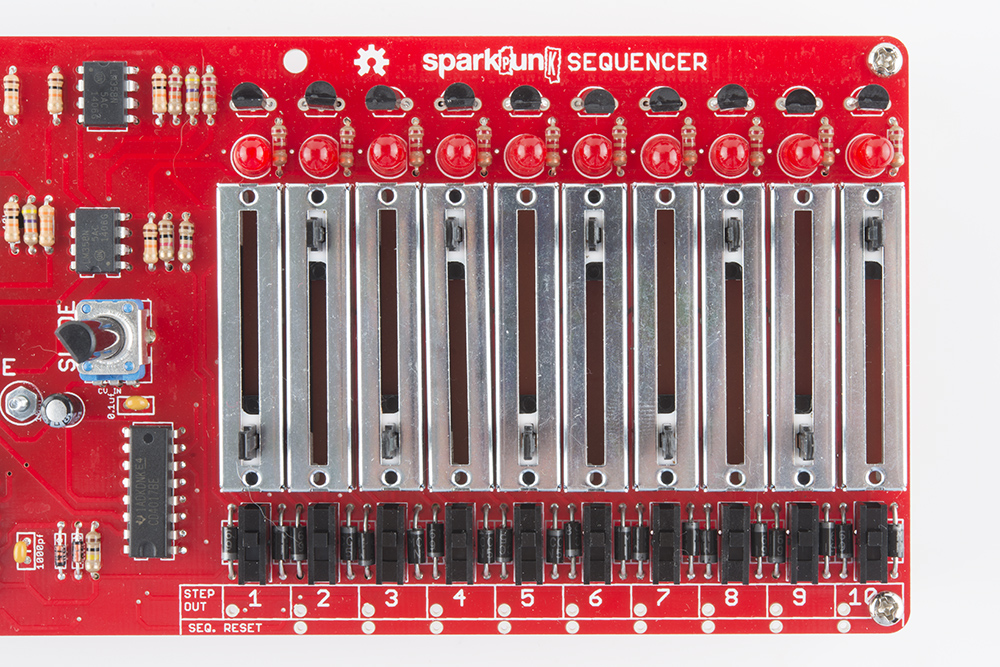
While it continues to play, turn the SLIDE control all the way down, and start adjusting the sliders. You should be able to hear the effect that the sliders have on pitch. When a step is indicated by the step LED, the slider for that step controls the pitch from the sound generator. Eventually, you'll want to wind up with sliders alternating between all the way up, and all the way down, as shown below.
Turn the LONG/SHORT switch back to LONG, and experiment with adjusting the slide time. You should be able to hear the notes gliding from pitch to pitch.
Next, turn the step switches off one by one, and listen as holes of silence open up in the audio output.
Finally, press RUN to stop the playback.
We will describe exactly what these controls are doing in more detail in the next section.
Troubleshooting
The first thing to check is the control settings on both units - if they're set to generate silence, you won't hear anything! You can check that the sound generator portion is working by pressing its TRIGGER button. If the sequencer plays, but you aren't hearing anything, check the volume control, sound generator waveform switches and the sequencer step trigger switches.
If you're still having trouble with the above tests, you can start troubleshooting by following this checklist.
- All solder connections should have neat fillets - small cones or domes of solder that smoothly join the component leads to the PCB.
- Verify battery orientation & freshness.
- Check that all polarized components are installed correctly. These include:
- The electrolytic capacitors
- The diodes
- The ICs
- The Battery
- Verify the volume is turned up
- Verify that output is connected
If things still aren't working, try contacting Sparkfun's friendly technical support team.