Spectacle Example: Super Mario Bros. Diorama
 SFUptownMaker
Animating the Diorama
To animate the diorama, we 3D printed a longer arm for the servo motor. The length of the arm must be approximately equal to the linear distance the moving component is expected to cover.
We then attached a piece of 0.020" (0.5mm) music wire to the end of the arm. The wire must be affixed in such a way that it can rotate freely as the arm moves. We passed it through a hole in the arm and bent it to a shape that will be retained by the hole.
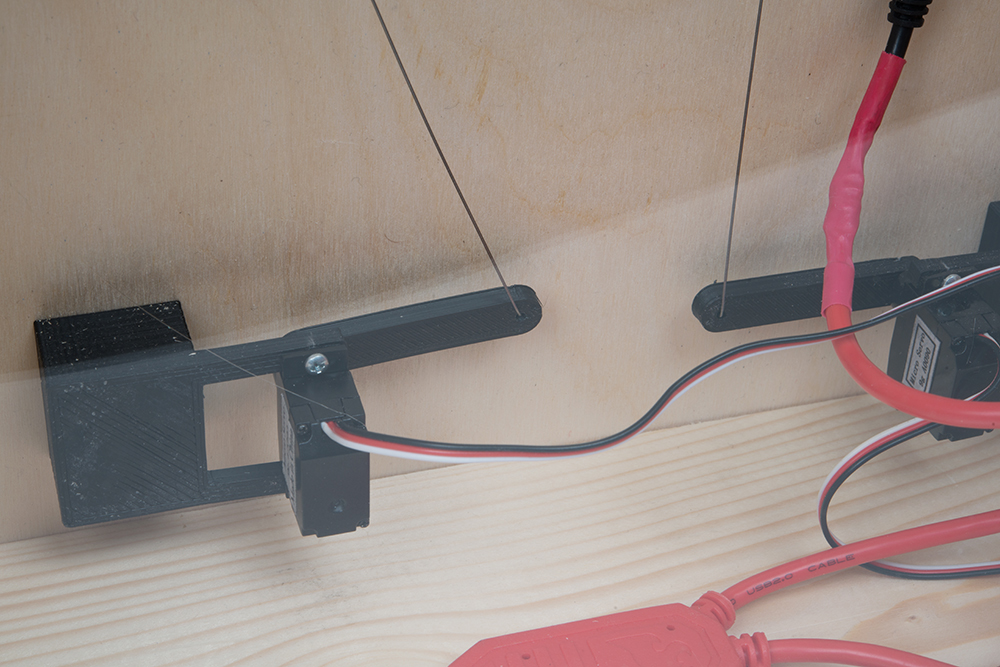
The other end of the wire was affixed to the slide mechanism to which the tiles were glued. In that case, a small loop is printed on the back of the slide mechanism and the wire is again bent into a shape that will be retained by that loop. The wire is rigid enough to push the tiles into a new position, but flexible enough to bend when the stop is hit.
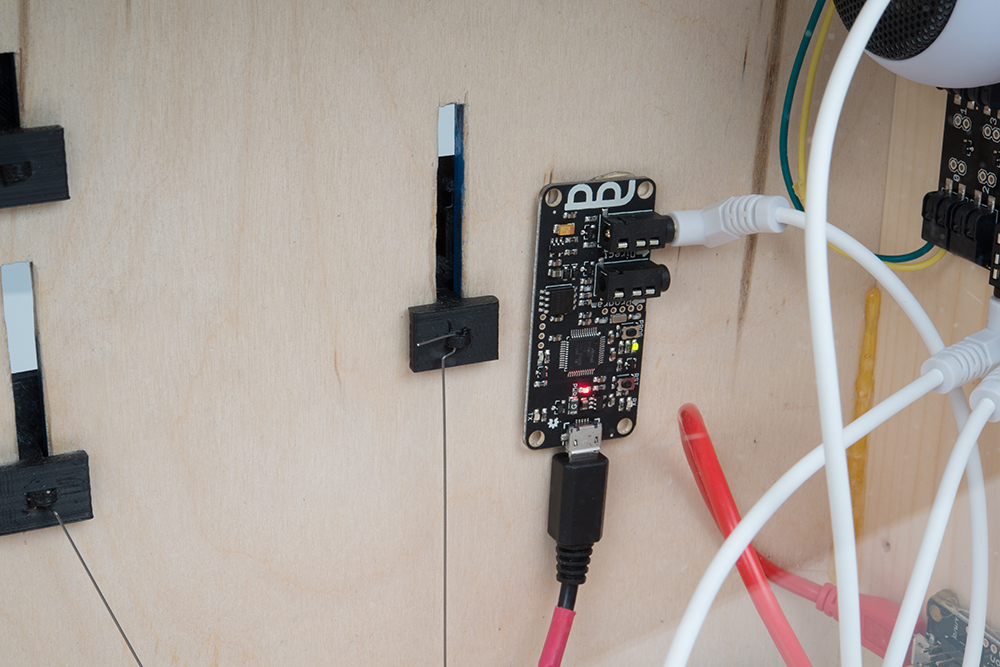
Adding Sound
We elected to keep the sound simple for this project, using the delaying mechanism of the Audio Board to trigger the sounds at the appropriate time rather than trying to trigger the sound by having Mario hit another switch.
Finding sound effects is left as an exercise for the reader, to prevent possible copyright or trademark issues. A quick web search will turn up sound effects for most projects, however.