Sunny Buddy Solar Charger Hookup Guide
This Tutorial is Retired!
This tutorial covers concepts or technologies that are no longer current. It's still here for you to read and enjoy, but may not be as useful as our newest tutorials.
View the updated tutorial: Sunny Buddy Solar Charger V13 Hookup Guide
 SFUptownMaker
Introduction
NOTE: There is a newer version of this guide. This guide is only for the Sunny Buddy V10. Check the back of your board to see which version you have.
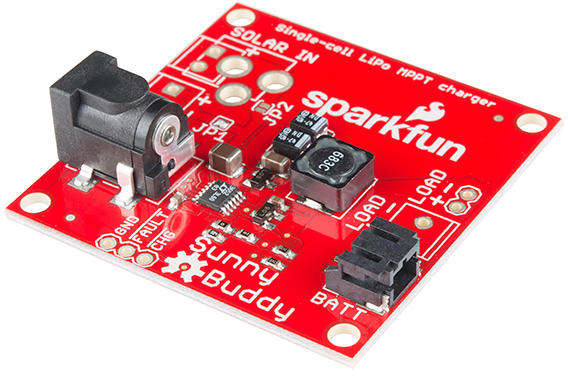
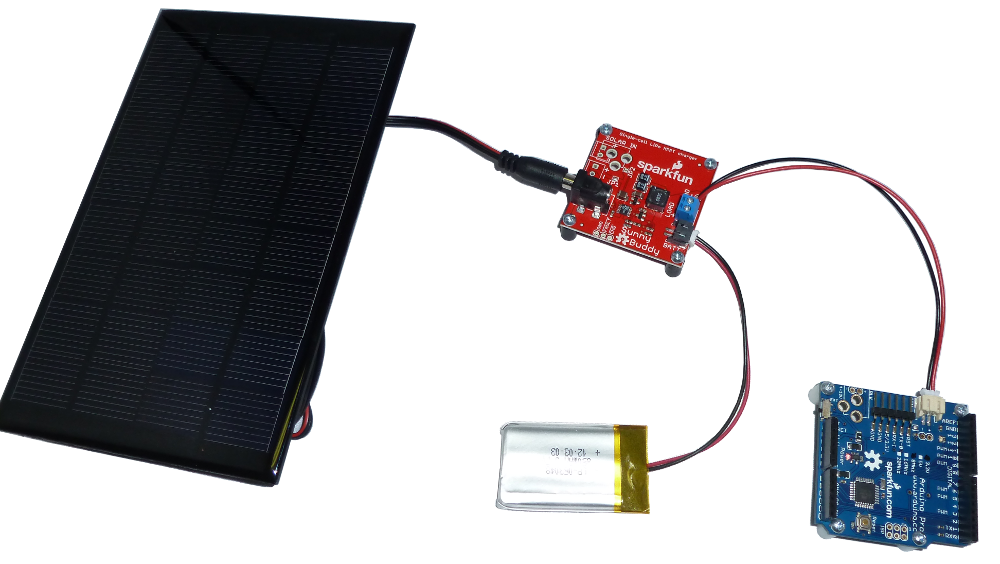
The Sunny Buddy is a small maximum power point tracking solar charger for single-cell LiPo batteries.
This tutorial will help you understand what the Sunny Buddy is, why it's useful, and how to use it.
What You'll Need
The Sunny Buddy can't do anything without a supporting cast. Pair the Sunny Buddy with these buddies to make it work:
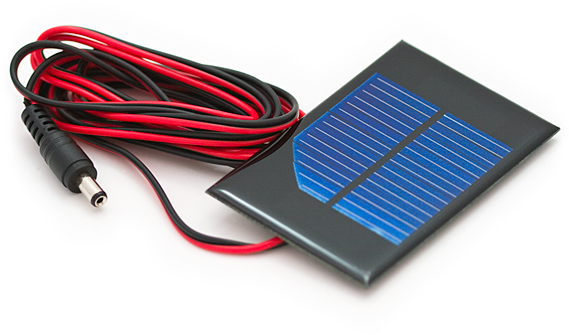
- Solar Panel -- Most panels should work, just make sure they produce an output voltage between 6-20V. Our small, large, and huge panels will all work. Panels with a center-positive barrel jack (like those) will be able to plug directly into the Sunny Buddy.
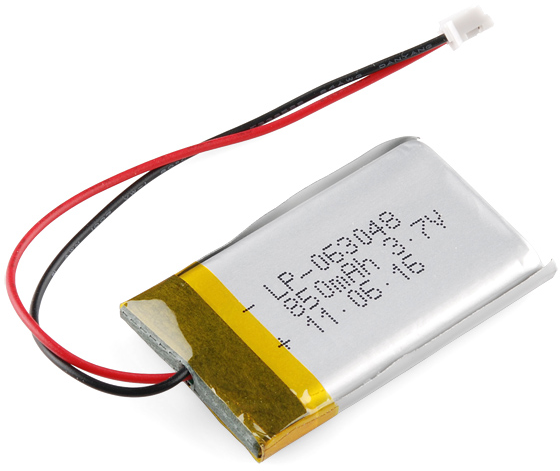
- LiPo Battery (single cell) -- The Sunny Buddy is intended to charge a single Polymer Lithium Ion cell. LiPo's come in all shapes and sizes, we recommend you use one with a capacity greater than 450mAh (e.g. 850mAh, 1000mAh, or 2000mAh). Batteries like those, with a JST termination, will plug directly into the Sunny Buddy.
- A Load -- Your battery has to power something, right? Your load can be anything from an LED to an Arduino-powered robot.
Suggested Reading
Here are some other tutorials you may find useful before delving into this hookup guide:
- Batteries -- Check out the battery tutorial for some help understanding why the Sunny Buddy works only with LiPo batteries.
- Electricity Basics -- It may be useful to review how current and voltage combine to transmit power to a load.
- How to Power Your Project -- Solar power and batteries are just one of many ways to power your project. Make sure to consider all possibilities!
Why MPPT?
The Sunny Buddy is a maximum power point transfer (MPPT) solar charger. Why does that matter? What makes it worth having in a circuit? The answers lay ahead.
How Batteries Are Charged
Battery charging is a current dependent action, not a voltage dependent action. Battery chargers monitor the current flowing into the battery and limit it to some set value, chosen to prevent damage to the battery. An ideal battery charger will provide as much current to the battery as it is capable of drawing from its power supply, but no more than the battery can handle.
Power Supply Behavior
Consider the first part of that last sentence: "as much current as it is capable of drawing from its power supply." I've collected some data from five different power supplies: a 2000 mAh LiPo battery, a bench supply, our small solar cell, our large solar cell, and the Sunny Buddy attached to the small cell in full Colorado sunlight (albeit in midwinter).
-> 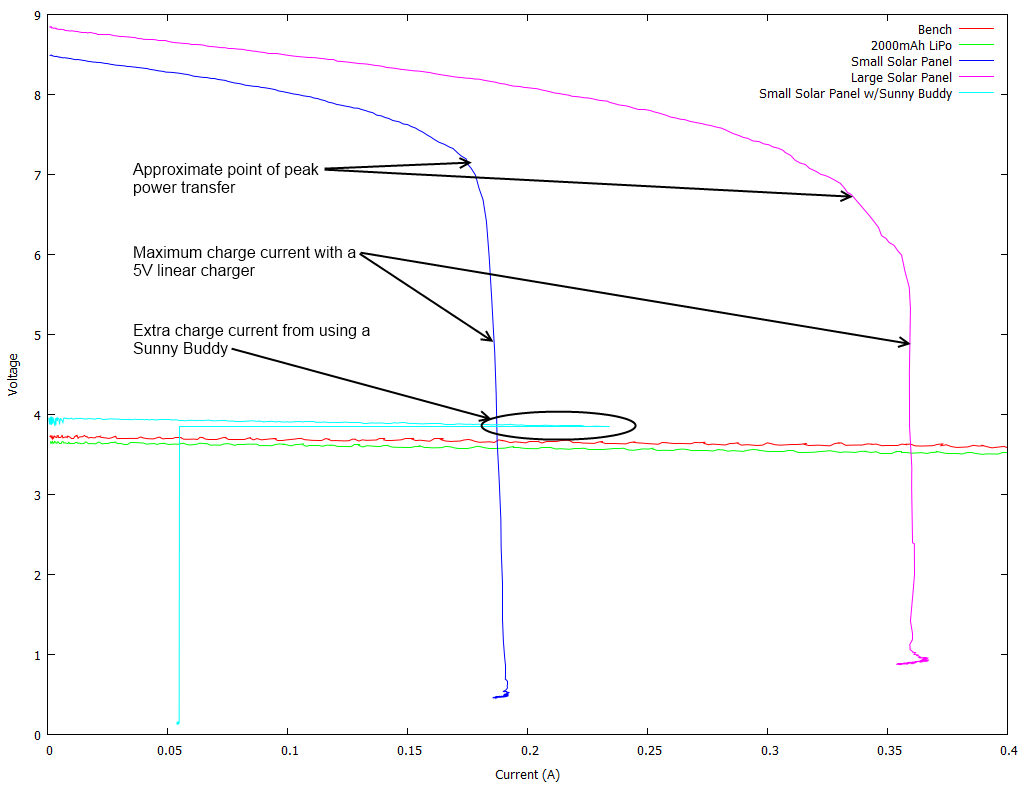
That's some mighty fine data! <-
The chart compares output voltage versus load current for the five sources listed above: in short, how much current each is capable of providing. For a sort of baseline comparison, note that the output of the bench supply, the battery, and the Sunny Buddy are pretty flat. You can clearly see the point at about 240mA where the Sunny Buddy could no longer safely draw more current from the solar cell. In a charging application, that's the point at which it would have settled in and charged the battery. Since I was actively increasing the load to stress the supplies, it folded back to a lower voltage to gracefully handle the excessive load without bursting into flames.
The solar cells, however, behave quite differently. They slowly droop until they reach a certain point, then decline increasingly rapidly until even a small increase in current draw causes the output voltage to plummet. There's a point on that curve, in the "knee" region, where the power transferred to the load is at its peak. This point, called the maximum power point, is crucial to squeezing the most efficiency out of a solar cell.
Finding that point is the key here. The solar cell curves will be compressed along the X-axis in lower light conditions, and, while the unloaded voltage may remain quite high even in low light, the amount of current which can be drawn from the cell decreases rapidly with the amount of light available.
The Sunny Buddy locks in on that point in the curve, pulling the maximum current the cell will provide, but no more, and turning it into charge current. The circled region of the graph shows this: the highest current the small solar cell can deliver is around 180mA, but the Sunny Buddy pushes out 240mA before entering current limit. That's an extra 33% more charge current available to your battery over a comparable 5V charger.
Efficiency
Efficiency in any power supply system can be said to be the ratio of power out to power in. This is another place where the Sunny Buddy is better than comparable linear solutions.
The Sunny Buddy is a switching supply; the output power is given by the equation Pout = Pin * Efficiency. The Sunny Buddy's efficiency has repeatedly measured to be about 80% in tests.
Let's consider a linear solution. To avoid getting too far into that steep region of the graph, we'll set our charge current at 160mA. To calculate the output efficiency, we divided the output power by the input power. Looking at the voltage on the solar cell curve, we see that for 160mA the output voltage is about 7V; thus, input power is 7V * 160mA = 1142mW. Output power is 4.2V * 160mA = 672mW. Tthat's the approximate charge voltage times the charge current. Efficiency is power in over power out: 672/1142 = 59%. Best case, that's the percentage of the electric power generated by the cell that you're using. It will actually be lower when the cell voltage is lower than 4.2V, which it will be over most of the charging range.
Here, again, Sunny Buddy wins: it's using (at least) 20% more of the available power from the solar cell.
Cloudy Days
But what happens to our linear charge circuit when the sun goes behind a cloud? As I mentioned earlier, as available solar energy decreases, the graph compresses along the X-axis. If that steep region drops below the set current of our charger, things go pear-shaped fast. The available voltage plummets, and the charger stops working.
We can combat that by either setting a lower charge current in the first place, which isn't ideal because it means on a good, sunny day, you're losing a lot of potential solar energy by not loading the solar cell heavily enough, or by servoing our charge current to the voltage, reducing or increasing it based on the cell voltage. While that may sound simple, in practice it's quite complex.
Enter the Sunny Buddy
The Sunny Buddy does just that: it monitors the cell voltage and stops drawing current when the voltage droop indicates the cell is being pushed a little too far. Furthermore, since the Sunny Buddy uses a switching topology rather than a linear topology, it has a better efficiency than any linear solution can provide.
Hooking It Up
There are three parts to consider when embedding the Sunny Buddy into a project: the solar panel input, battery output, and load.
Solar Panel Input
The input side of the Sunny Buddy comes with a common barrel jack installed. SparkFun's small, large, and huge solar panels all come with this sort of jack installed, and can be plugged directly into the Sunny Buddy.
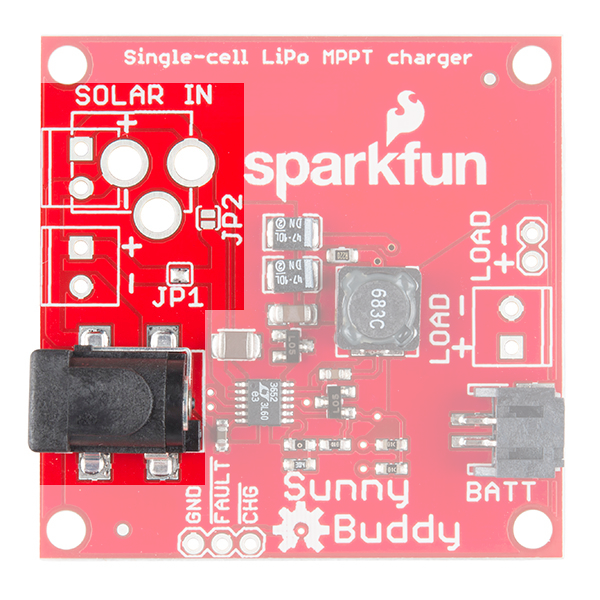
There are also additional footprints for attaching 3.5mm screw terminals or an additional barrel jack to the board. Please note that if you intend to use two solar panels, you must clear solder jumper JP1 and connect solder jumper JP2. Failure to do this will result in the second supply being left unconnected. If both jumpers are left unconnected, no power will be sent to the board, and if both are shorted, the second panel will be shorted out and contribute no power to the system.
The maximum recommended input to the board is 20V; this is a stack of two of our panels. The minimum is 6V, but most solar panels should be above this.
Battery Output
The output of the Sunny Buddy is intended to charge a single Polymer Lithium Ion cell. A 2-pin JST connector is populated, and will mate up to most of the LiPo batteries SparkFun sells.The load should be connected in parallel with the battery; again, footprints for a 3.5mm terminal or a standard .1" spaced header have been provided.
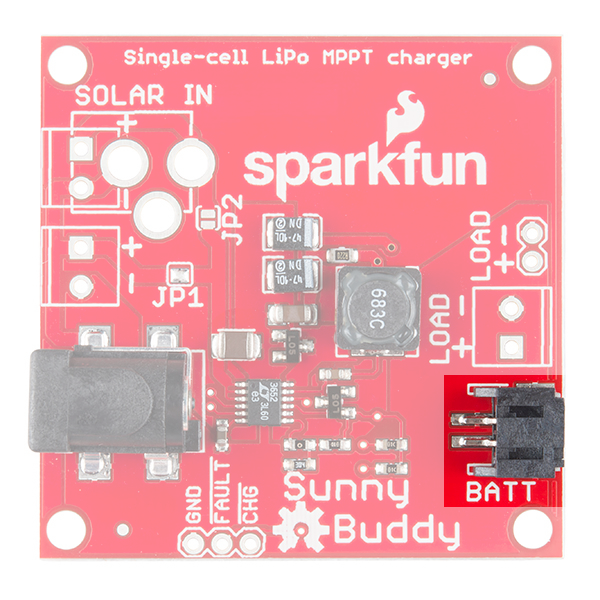
The charge current is set by resistor R1 in the schematic. By default it comes set to a maximum charge current of 450mA. It's recommended that batteries not be charged at greater than their capacity rating; thus, the smallest battery that should be charged with the Sunny Buddy is 450mAh.
The Load
It's important that the load not be too heavy; since it is in parallel with the battery, it will steal some of the charge current from the battery when it is operating.
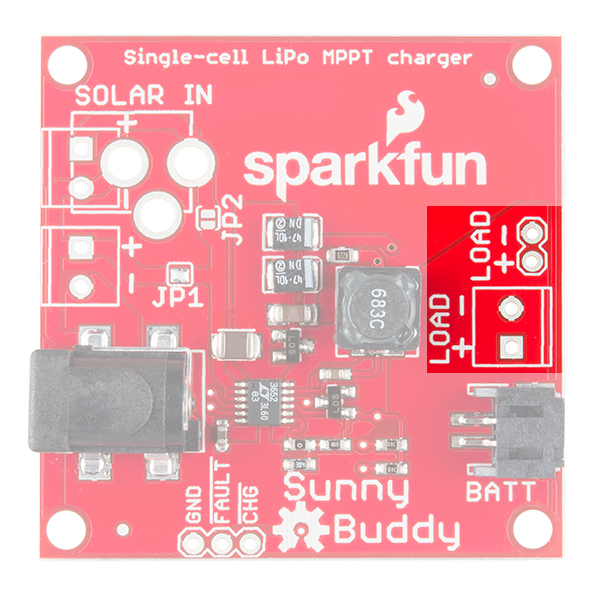
To avoid this, consider putting active circuitry to sleep whenever possible, or using a microcontroller to turn parts of the load on or off as they are not needed. Methods for doing this are beyond the scope of this tutorial.
Resources and Going Further
If you're looking to get more out of your Sunny Buddy, be sure to check out these resources first:
- Sunny Buddy Schematic -- A PDF of the Sunny Buddy schematic.
- Sunny Buddy Eagle Files -- The PCB design files.
- Sunny Buddy GitHub Repo -- Your source for the latest and greatest design files.
- LT3652 Datasheet -- Everything you could ever want to know about the Linear Tech LT3652, the peak-power tracking, battery charging soul of the Sunny Buddy.
If you're looking for some inspiration for a project that you can embed the Sunny Buddy into, check out some of these related tutorials:
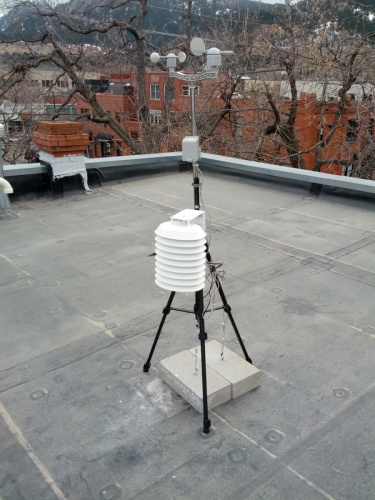
- Weather Station Wirelessly Connected to Wunderground -- The Sunny Buddy plays an important role in keeping this Electric Imp-driven, wireless weather station humming.
- GPS Basics -- If your project is outdoors (a safe assumption if you're using the Buddy), consider adding GPS to it. It's not as hard as you think!