TSL2561 Luminosity Sensor Hookup Guide
This Tutorial is Retired!
This tutorial covers concepts or technologies that are no longer current. It's still here for you to read and enjoy, but may not be as useful as our newest tutorials.
 MikeGrusin
Using the Arduino Library
Hopefully at this point you've installed the SFE_TSL2561 library, and connected the hardware to your Arduino. Now we're ready to measure some photons.
Running the example sketch
The library you just installed includes an example sketch that shows the basic operation of the TSL2561.
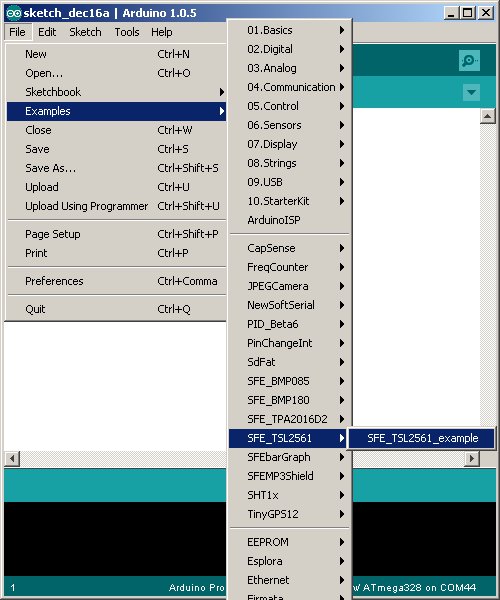
After you install the library, run the Arduino IDE, and open the following menu item: File / Examples / SFE_TSL2561 / SFE_2561_example.
(If you don't see this menu item, you may not have installed the library correctly, or didn't restart the Arduino IDE. Take another look at the library installation page to see if you missed any steps.)
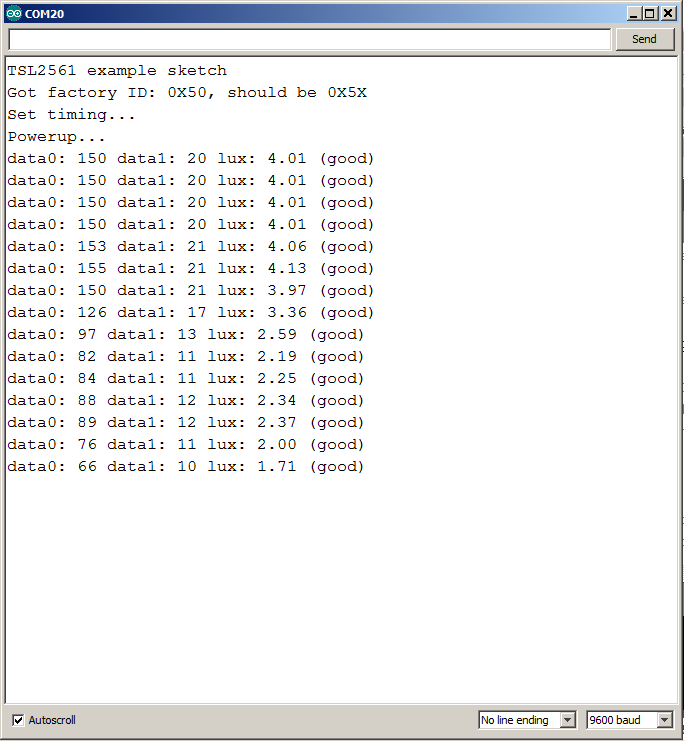
When the example opens, upload it to your Arduino and open the Serial Monitor to 9600 baud. You should see some diagnostic information (if it can't find the device, double check your hardware connections) followed by raw data and lux readings. (See the first page of this tutorial for information on lux.)
Settings
There are two settings you can make to control the sensitivity of the TSL2561.
Integration time
The TSL2561 is a bit like a camera with a shutter. The sensor will soak up light as long as the shutter is open. You can open the shutter for a brief period if there's plenty of light, or you can keep the shutter open for a long time to capture dim objects like stars. The amount of time the shutter is open is called the integration time.
The default integration time is 402ms ("ms" stands for milliseconds. One ms is 1/1000 of a second, so 402ms is about 0.4 seconds.) In addition to the default integration time of 402ms, there are also built-in settings for shorter times of 101ms and 13.7ms. Shorter integration times will let less light into the device, which is better for bright conditions. Longer integration times will let more light into the device, which is better for dim conditions.
Gain
In addition to the integration time, there are two gain levels you can choose between. The default setting is X1. There is also an X16 setting, which has sixteen times the sensitivity of X1. To continue the camera analogy, this would be like using ASA 100 speed film (X1), which is good for bright conditions, or ASA 1600 speed film (X16) which is better for night scenes.
The example sketch sets up the default integration time of 402ms, and uses the default gain of X1. You can easily change these settings in the example sketch (see the comments), and upload the modified sketch to try out your new settings.
Too much light?
Note that if there is too much light, one or both of the TSL2561's sensors will "saturate", which means that they're at the maximum possible reading and can't go any higher.
The internal sensor registers are 16 bits wide, which means they can hold numbers from 0 to 65535. (Fun fact: 65535 is 1111 1111 1111 1111 in binary.) Larger numbers just won't fit, in the same way you can't fit 100 into two digits.
If there's more light present than the sensor can measure, the register will peg at the maximum 65535 value. If this happens, the example code will show one or both of the raw sensor readings at 65535, the lux will be 0.0, and the reading will be marked "BAD".
But all is not lost! You can reduce the sensitivity of the TSL2561 in several ways, either or both of which will get the light reading back down into the 0 to 65535 range.
The easiest way to reduce sensitivity is to reduce the integration time of the TSL2561. The default integration time is 402ms. You can easily change this to one of the shorter times of 101ms and 13.7ms. Shorter integration times will let less light into the device, causing a lower reading, which is good for bright conditions.
You can also change the gain setting. If you're using X16 and the sensor saturates, definitely change it to X1 which will let 16 times less light into the device. (Unfortunately if you're already at X1, you can't go any lower and must reduce the integration time.)
Too little light?
If you'll be measuring very small amounts of light, you should increase the integration time and/or sensitivity as much as you can (without saturating the sensors). This will improve the resolution you get at very small lux readings.
For example, at the lowest sensitivity, the resolution will only be about 0.9 lux. At the highest sensitivity, the resolution will be around 0.002 lux. (Note that this only involves the resolution, which is separate from accuracy.)
The maximum native sensitivity will be acheived at 402ms integration time and 16X gain.
However, if you're already using those settings and the device still isn't sensitive enough, you can try doing a longer manual exposure.
The above built-in integration times are fully automatic (the device handles its own timing), but you also have the option to perform your own manual integration. This requires you to start integration ("open the shutter"), wait for your desired time period, then stop the integration ("close the shutter"). This is less convenient and less accurate than the built-in settings, but may be useful for very low light levels. See the comments in the example sketch for how to do this.
Note that even in complete darkness, the sensor will still measure a small amount of intrinsic electrical noise that will limit the low end of the useful range. In other words, even if you do very long exposures, you may not be able to accurately measure extremely small amounts of light.
Writing your own sketches
The comments and code in the example sketch should get you started when writing your own sketches. In many cases you should be able to copy and paste the example code into your own.